Onigiri Rice Balls Recipe (Bonito Soy Sauce & Tuna Mayonnaise)
This is a dish made by forming rice into triangles or ball shapes and then eaten by hand. It’s a dish with a certain texture and delicious flavor different from rice eaten from a bowl. Learn the technique for making rice balls.
- by Yuko Ihara
Table of Contents
- What is Onigiri?
- The Secret to Delicious Flavor of Onigiri
- Things to Remember When Making Onigiri
- Ingredients for Making Onigiri
- Calories and Cooking Time
- Recipe prep for making the Onigiri
- Before Making the Onigiri
- How to Make the Onigiri
- More Ways to Enjoy Onigiri
- FAQ
- Tools for Making Delicious Onigiri
- Onigiri as Food On-the-Go
- Kikkoman Products Used in This Recipe
- About the Recipe Author
What is Onigiri?
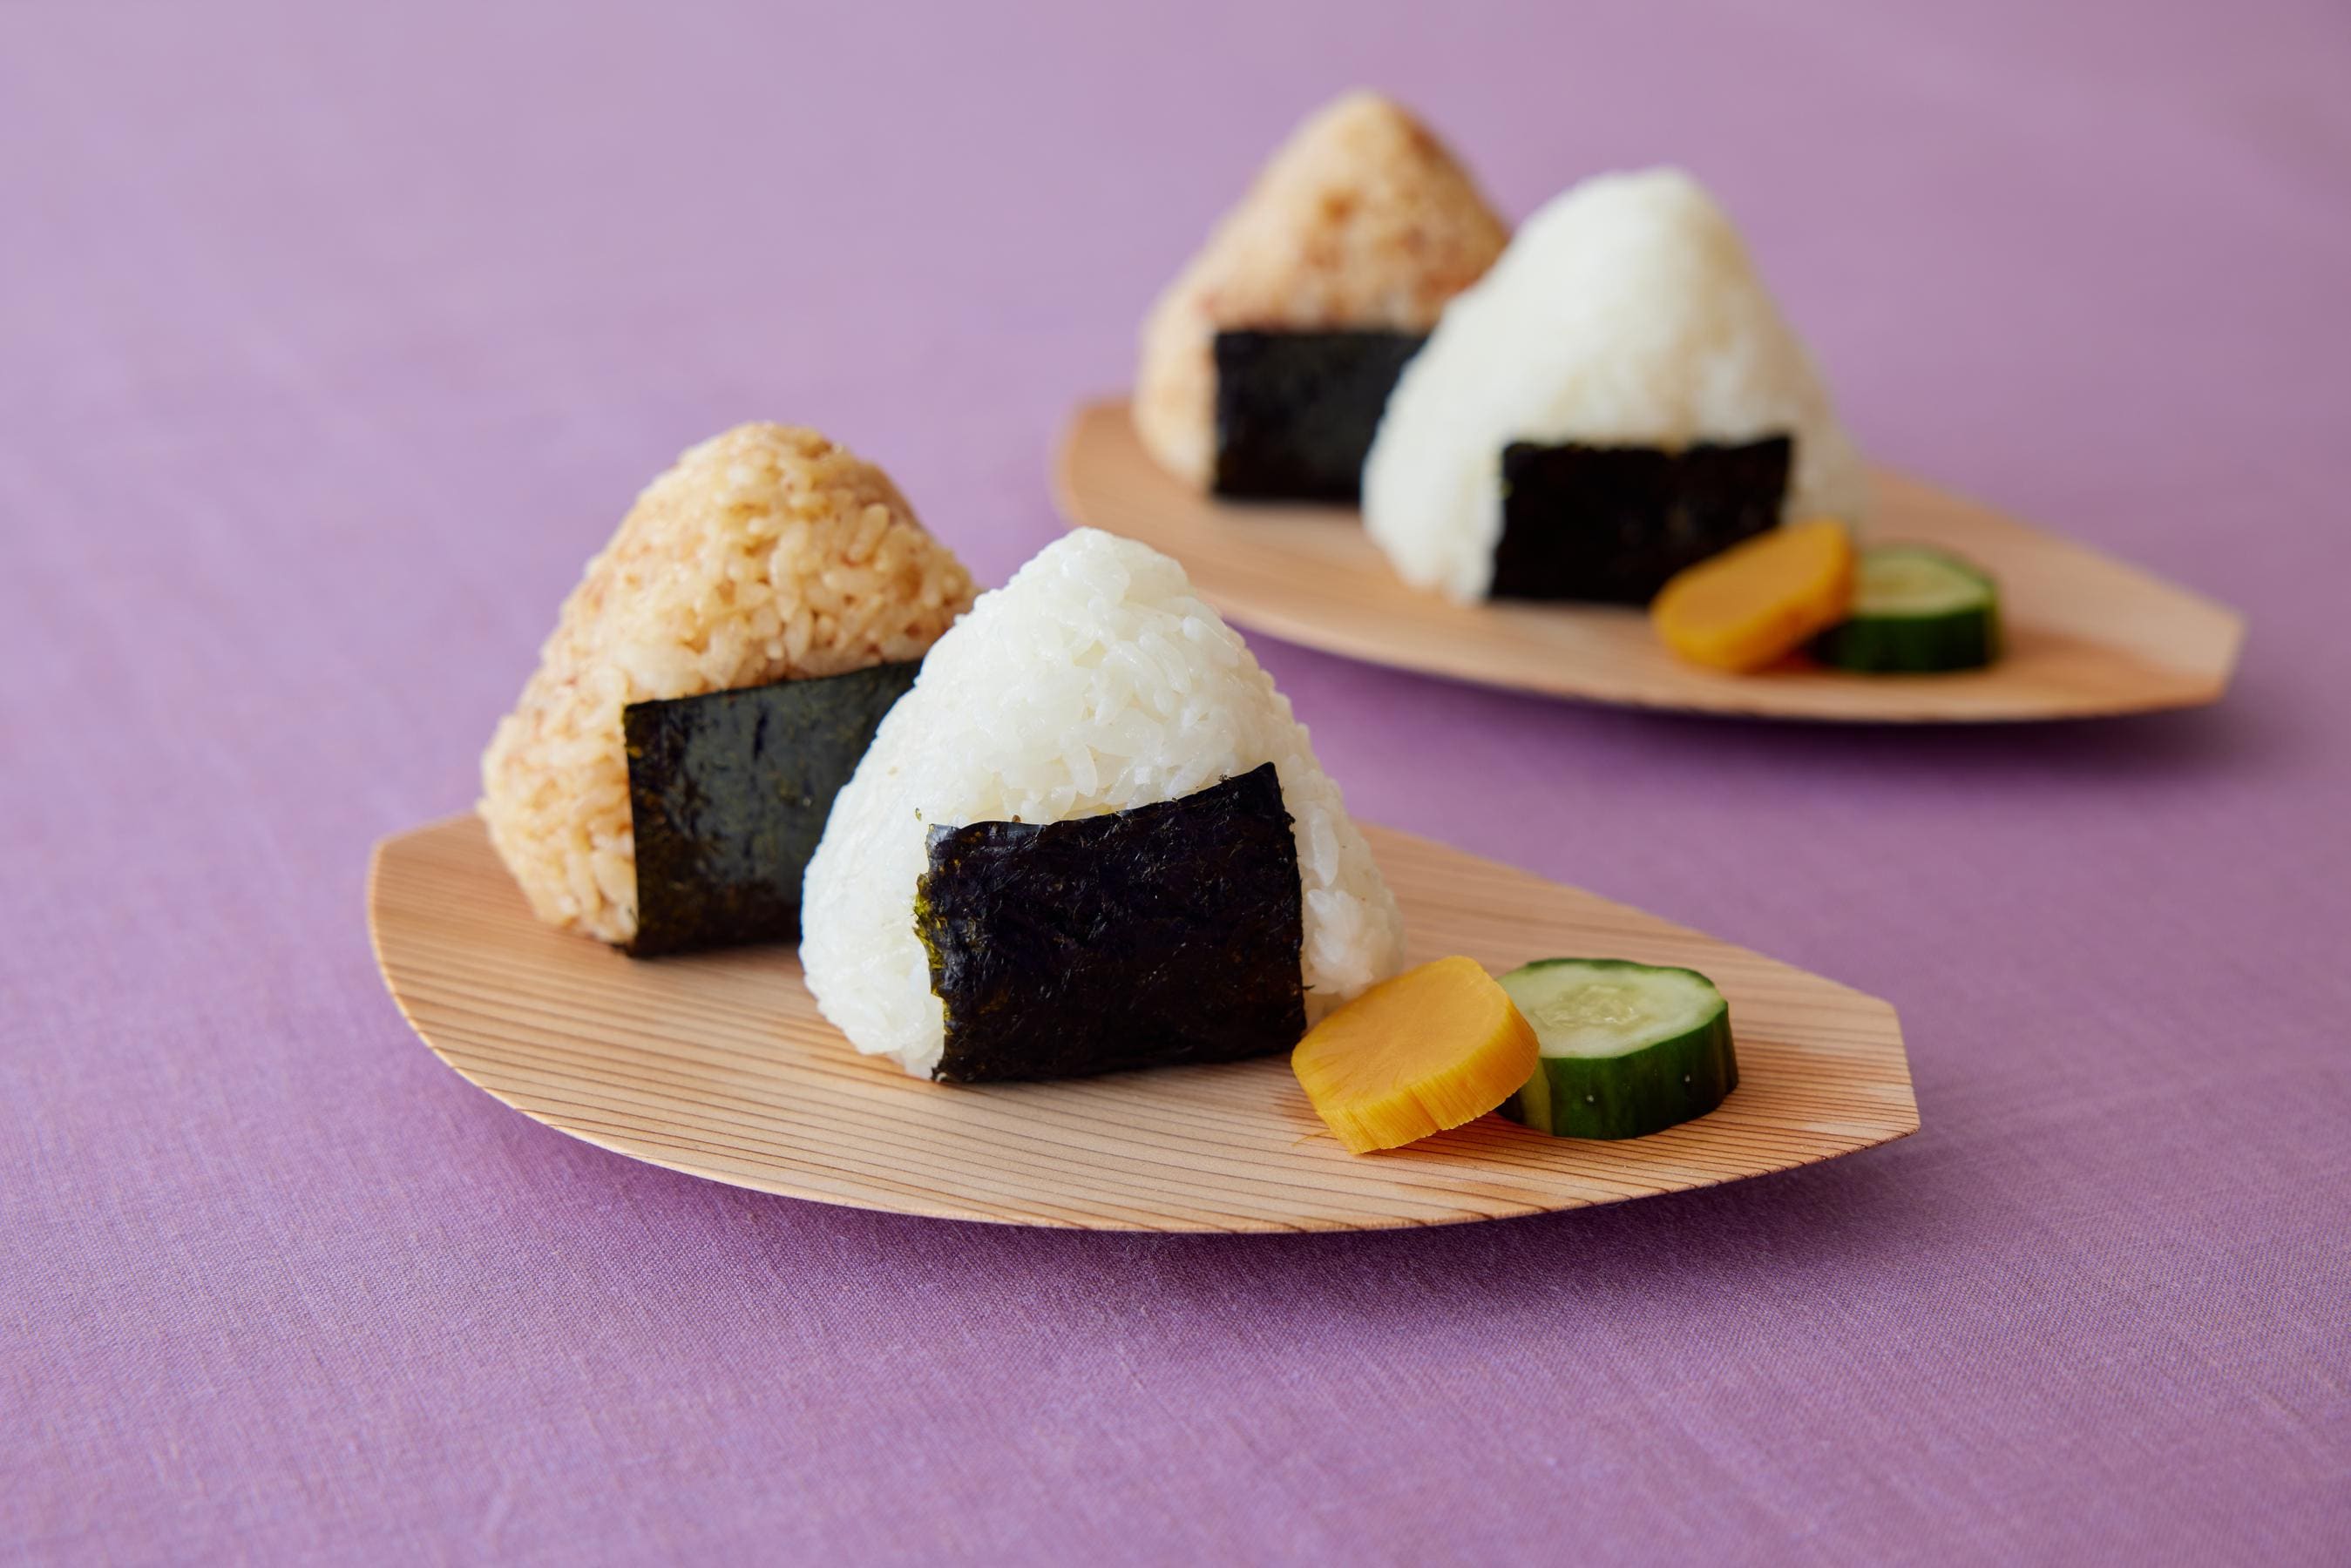
Onigiri is a way of eating rice that has been passed down from long ago in Japan. Its name comes from the action of holding and squeezing the rice in one’s hands (“握る” / “nigiru” in Japanese). Since Onirigi is easy to carry around and can be eaten using just one hand, it’s common as a portable food for fieldwork and travel, and also works well packed in “bento” lunchboxes. You can enjoy lots of Onigiri variations by filling the inside with ingredients or adding flavoring on the outside of the rice ball!
The Secret to Delicious Flavor of Onigiri
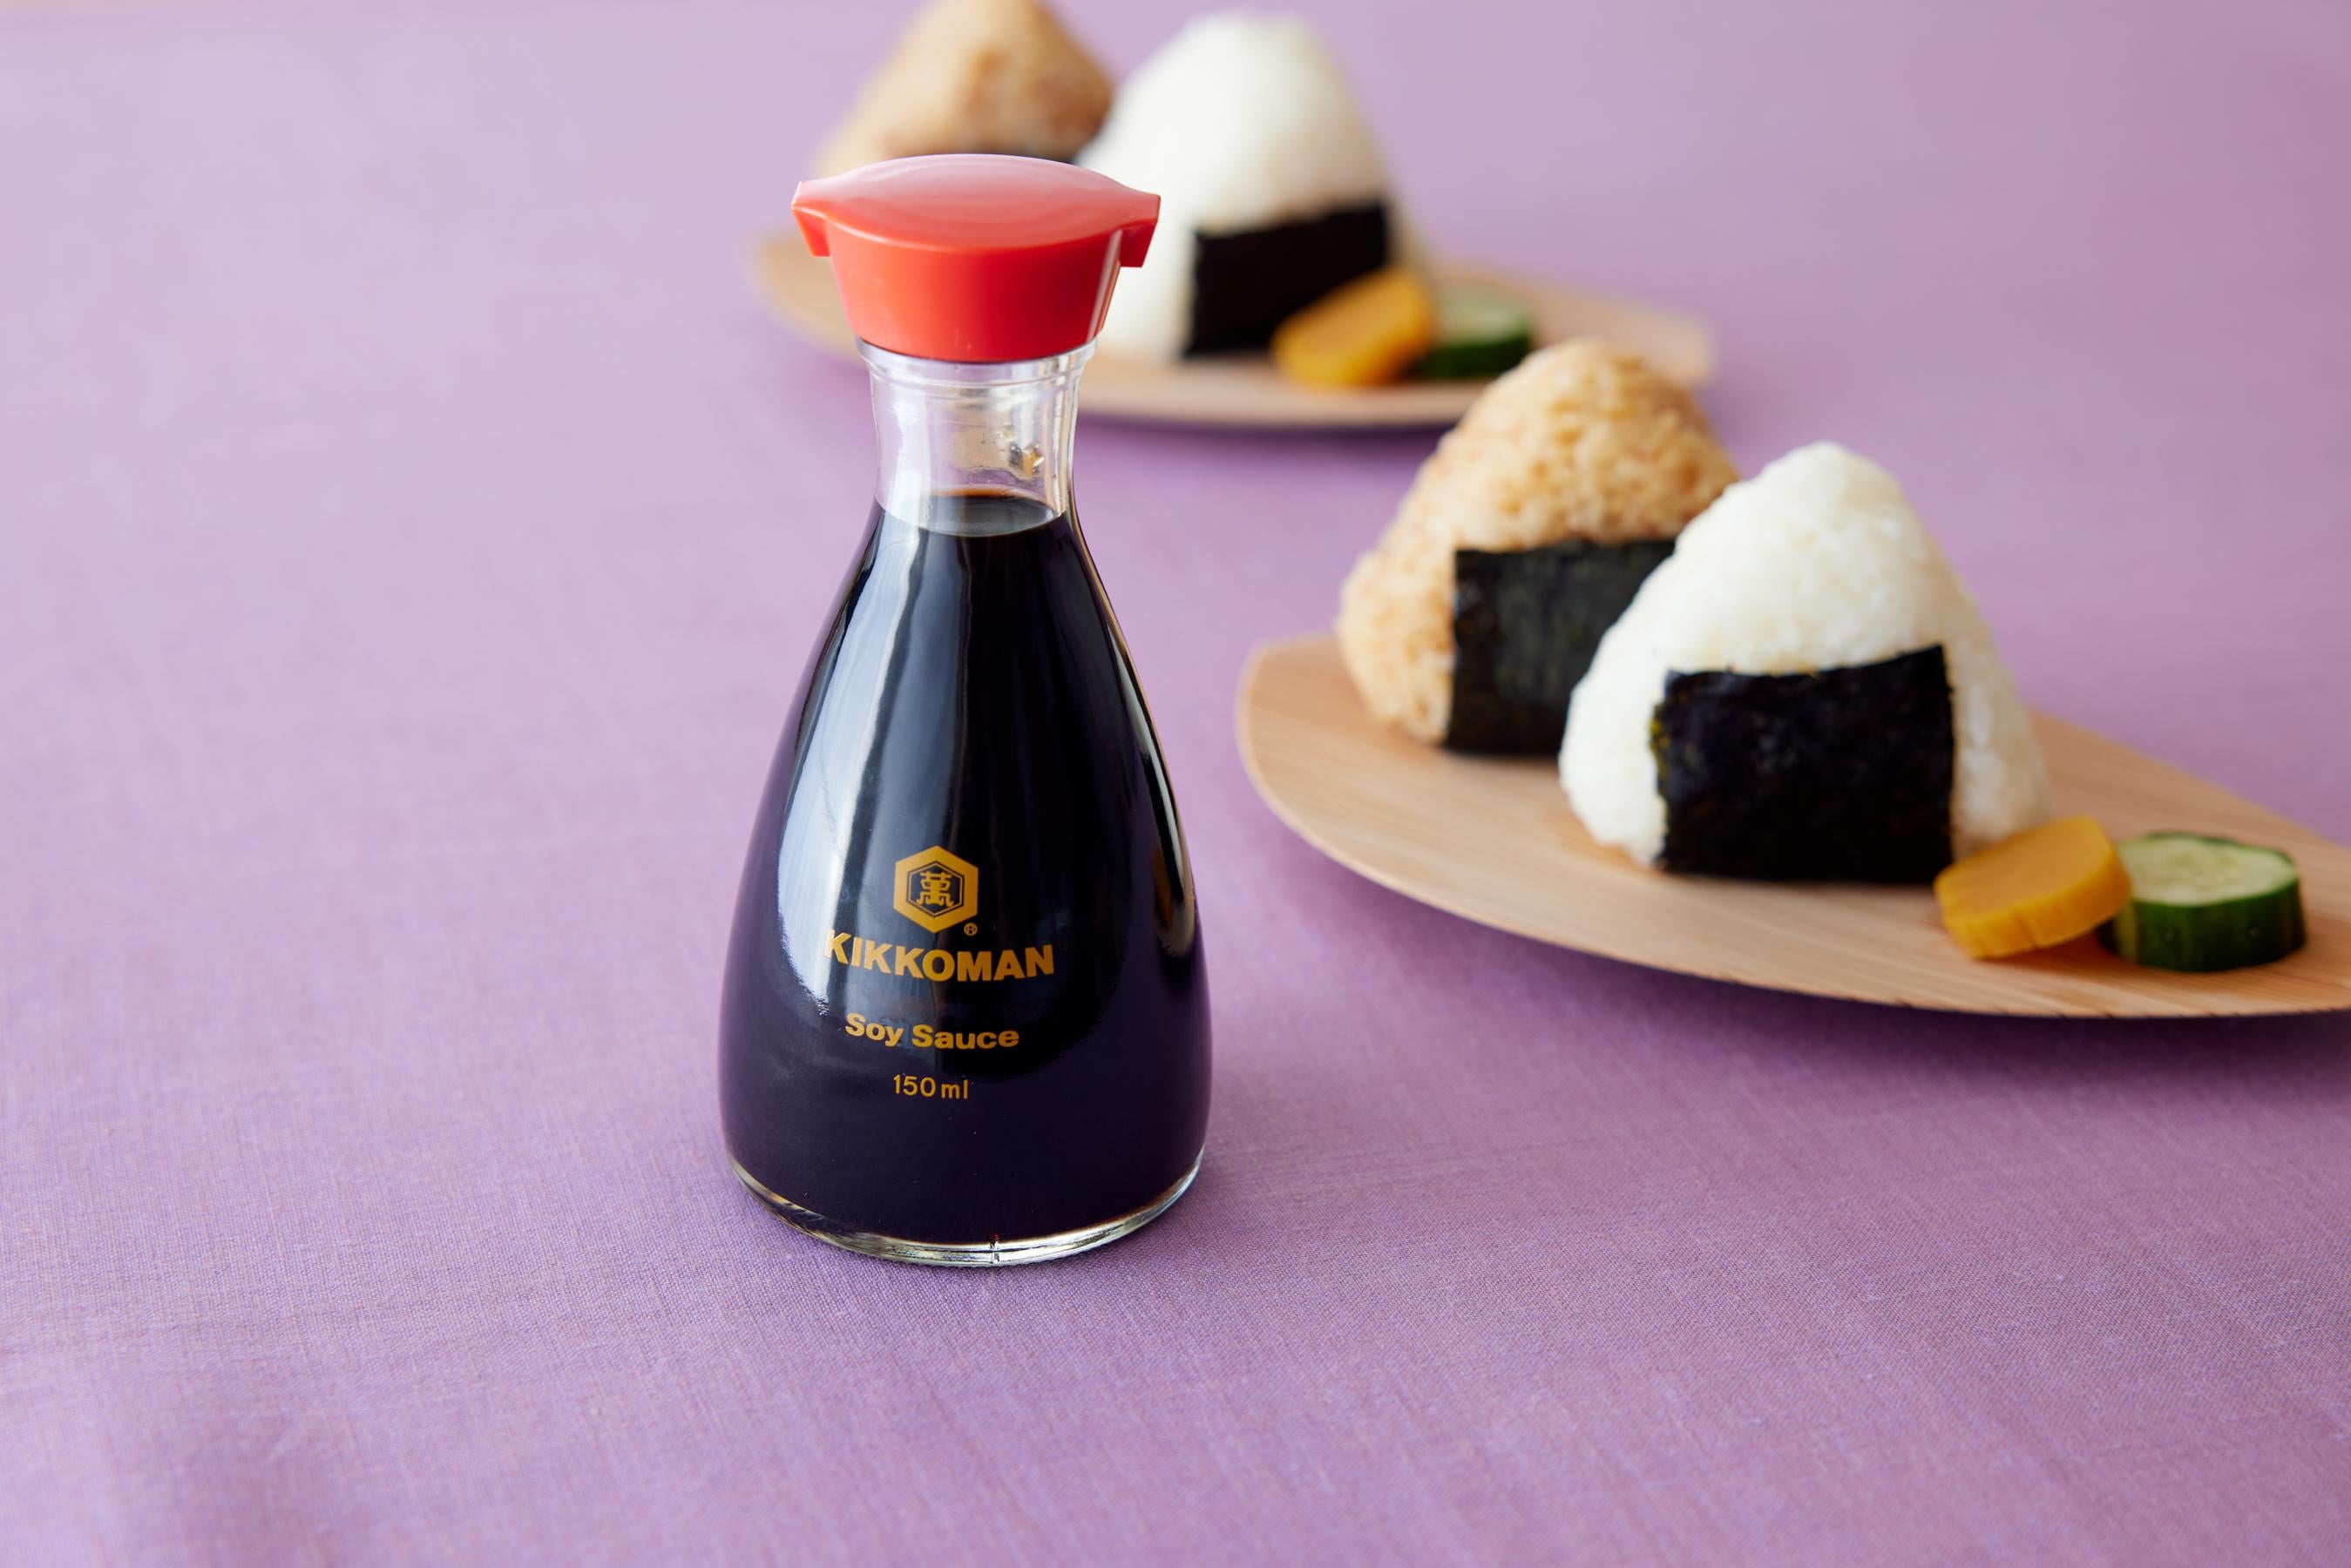
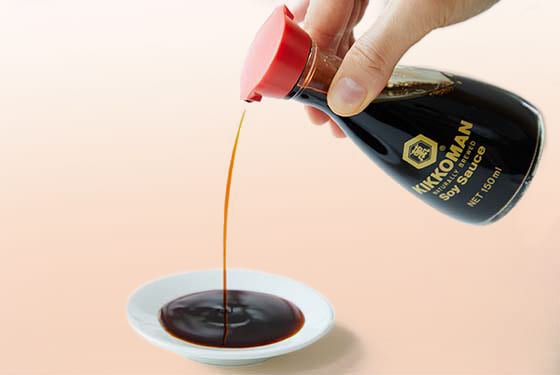
Rice alone is not salty and does not have a robust flavor. Therefore, it is necessary to sprinkle salt on Onigiri or season the rice and fillings with ingredients like soy sauce. Soy sauce, in particular, has a flavor and umami that goes well with rice, making it a good match for Onigiri. It enhances the deliciousness of the rice.
Things to Remember When Making Onigiri
Shape the Rice Balls Softly Without Too Much Force
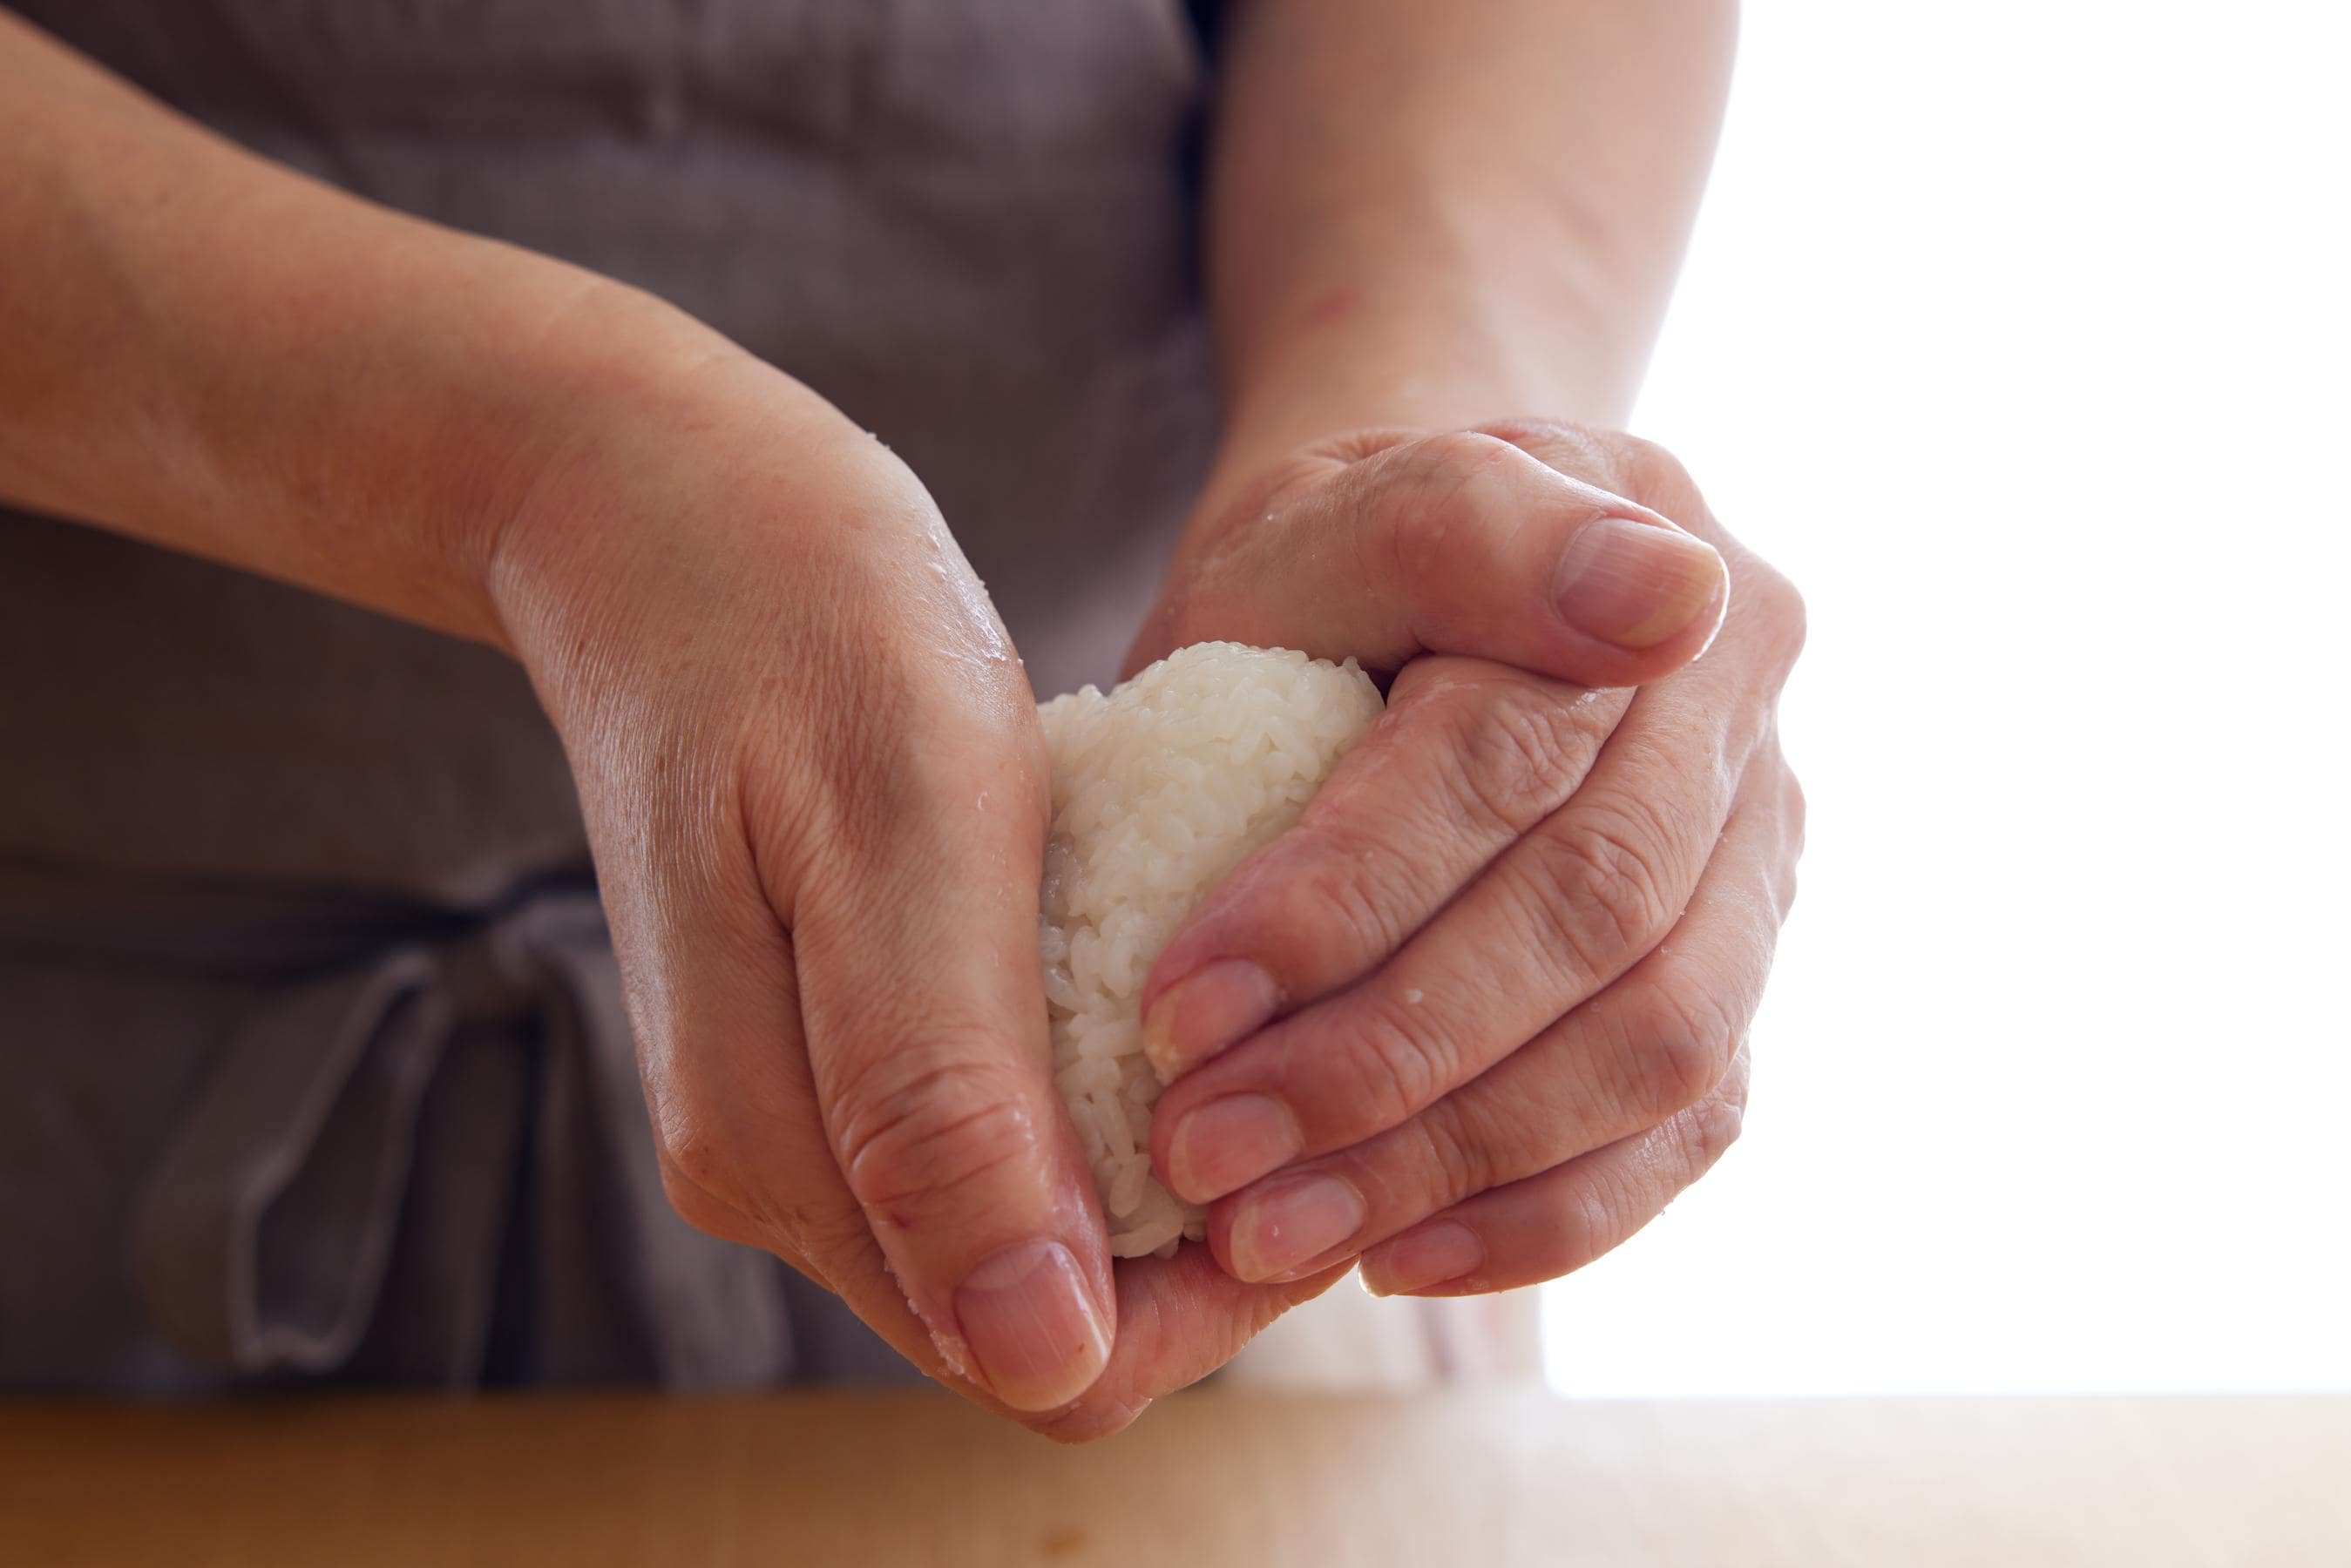
When squeezing the rice in your hands, squeezing with too much force will cause the rice to tightly harden. Instead, squeezing gently only so that the rice does not fall apart will better allow you to enjoy the delicious flavor of the rice. If possible, roll the rice ball in your hand to shape its surface and form the overall ball. After making several rice balls, you’ll get used to this process!
Ingredients for Making Onigiri (servings: 2)
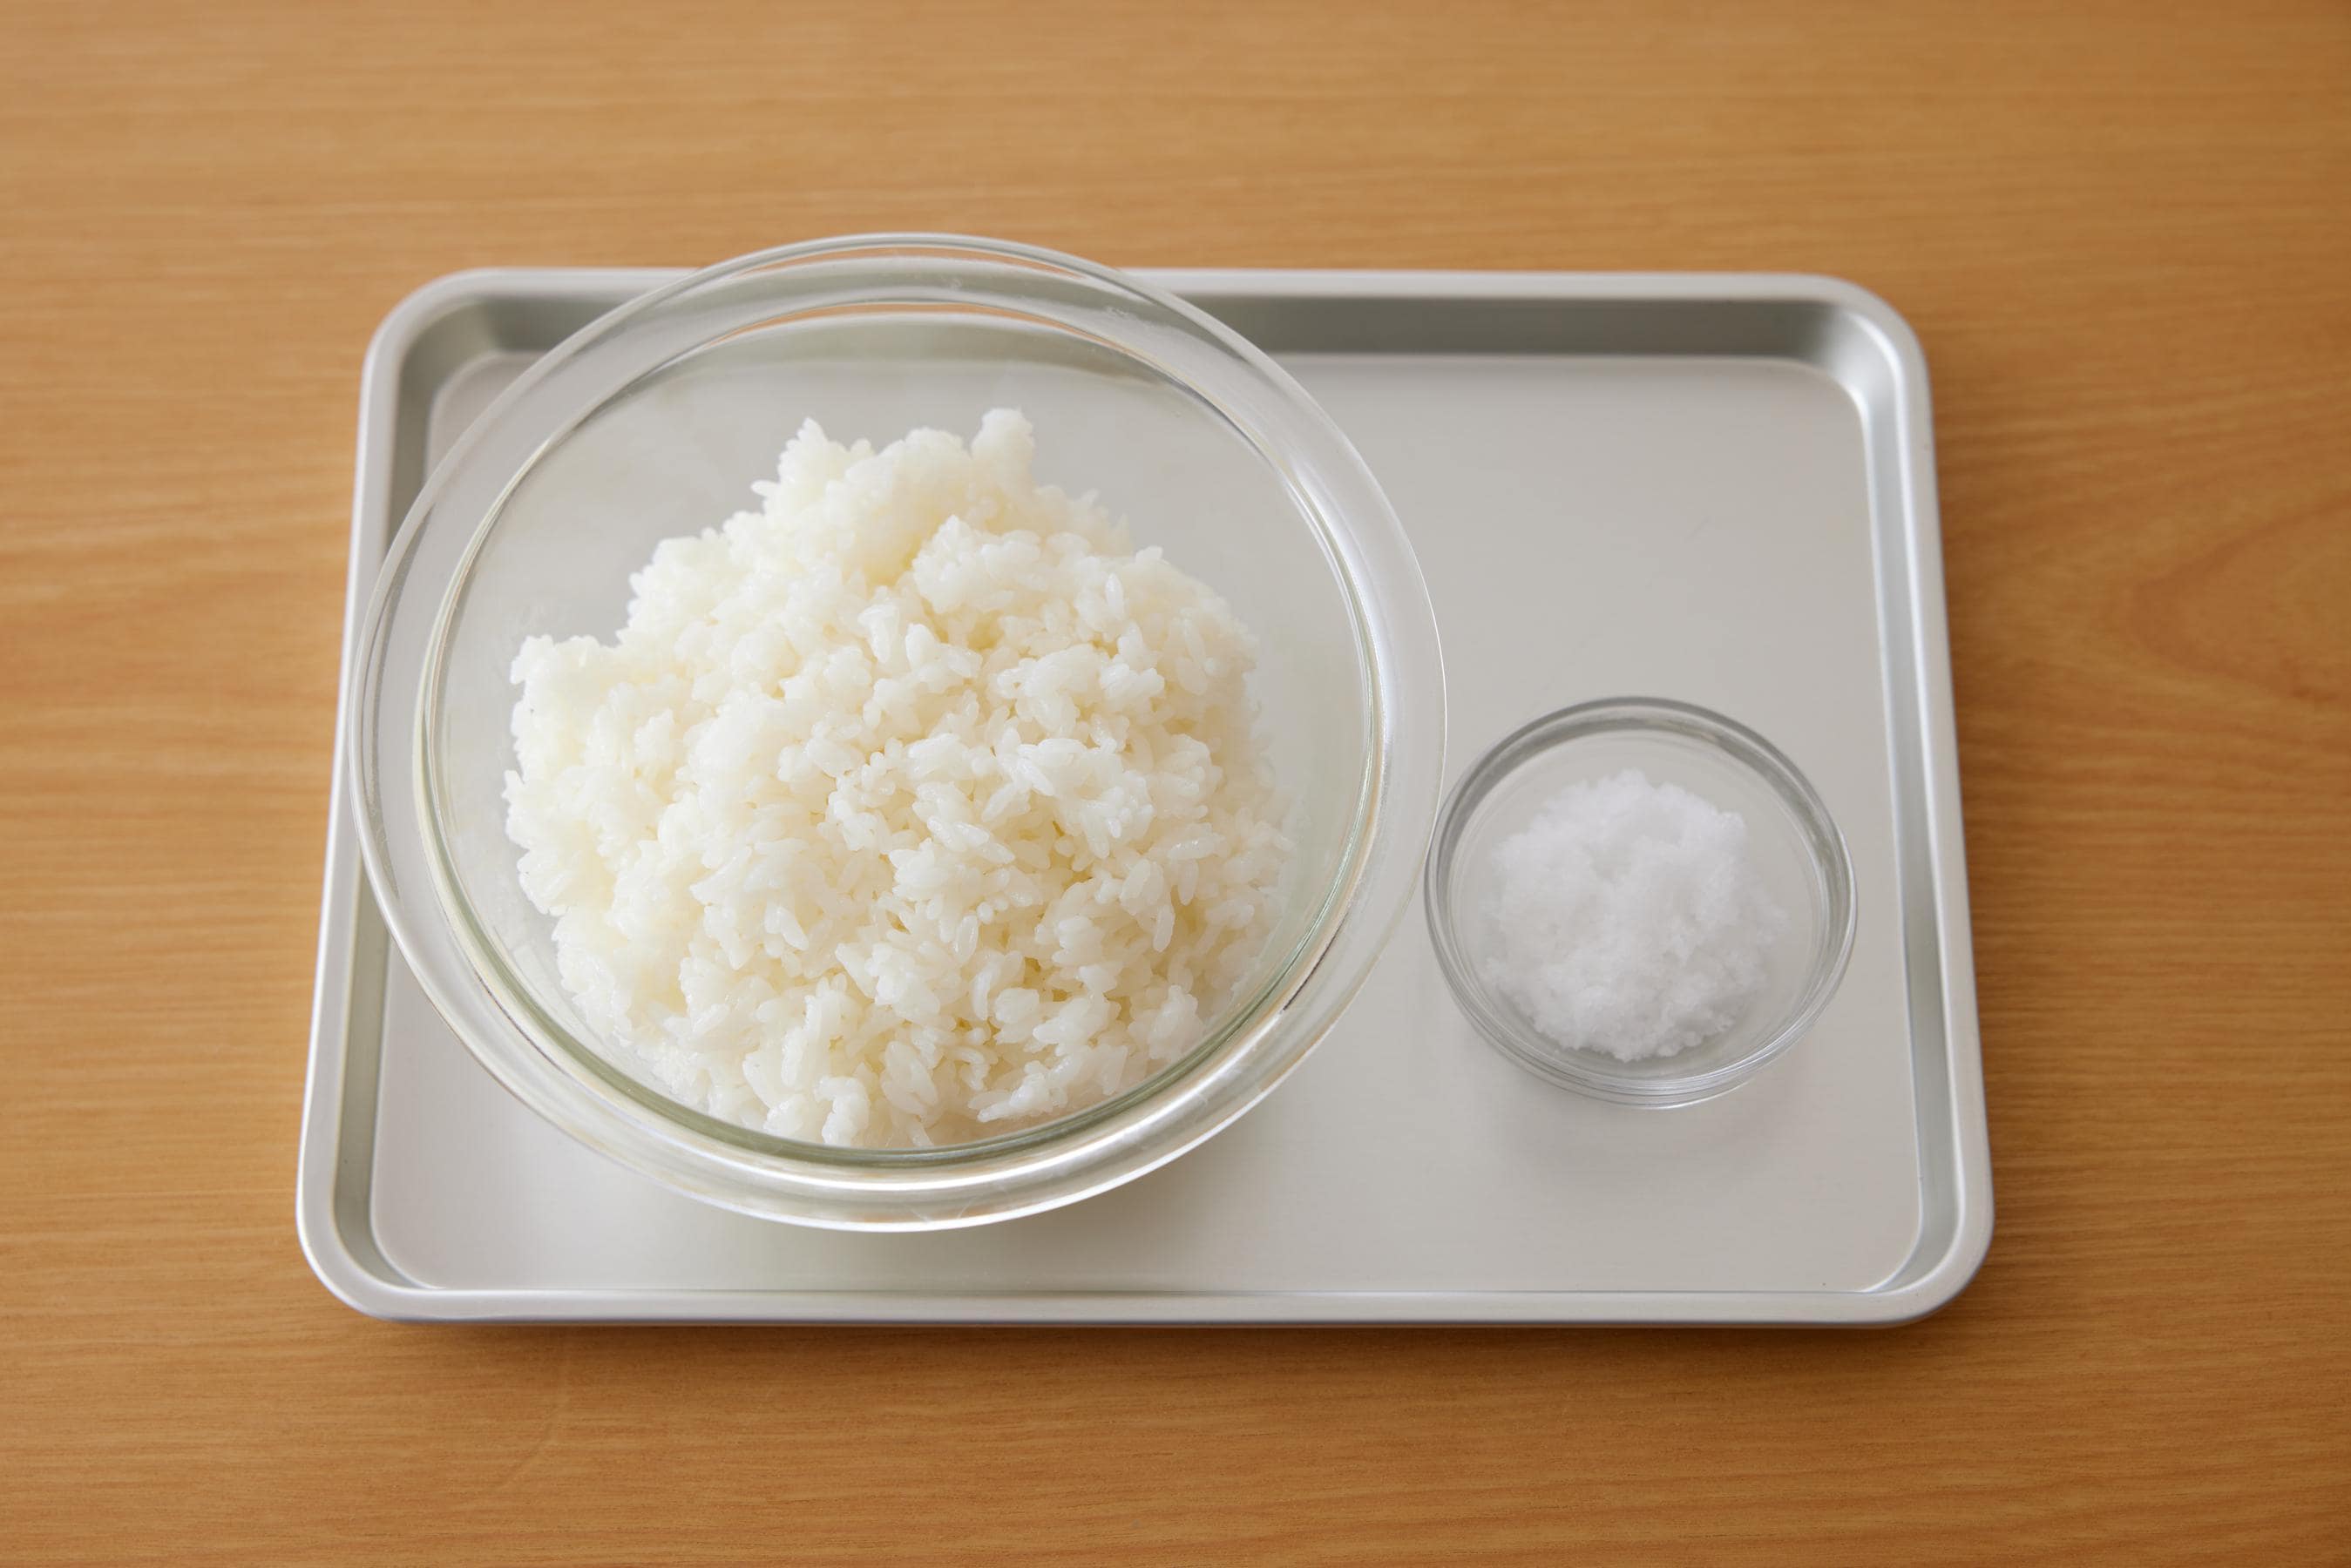
warm rice - 400g (14.1 oz.)
salt - as needed
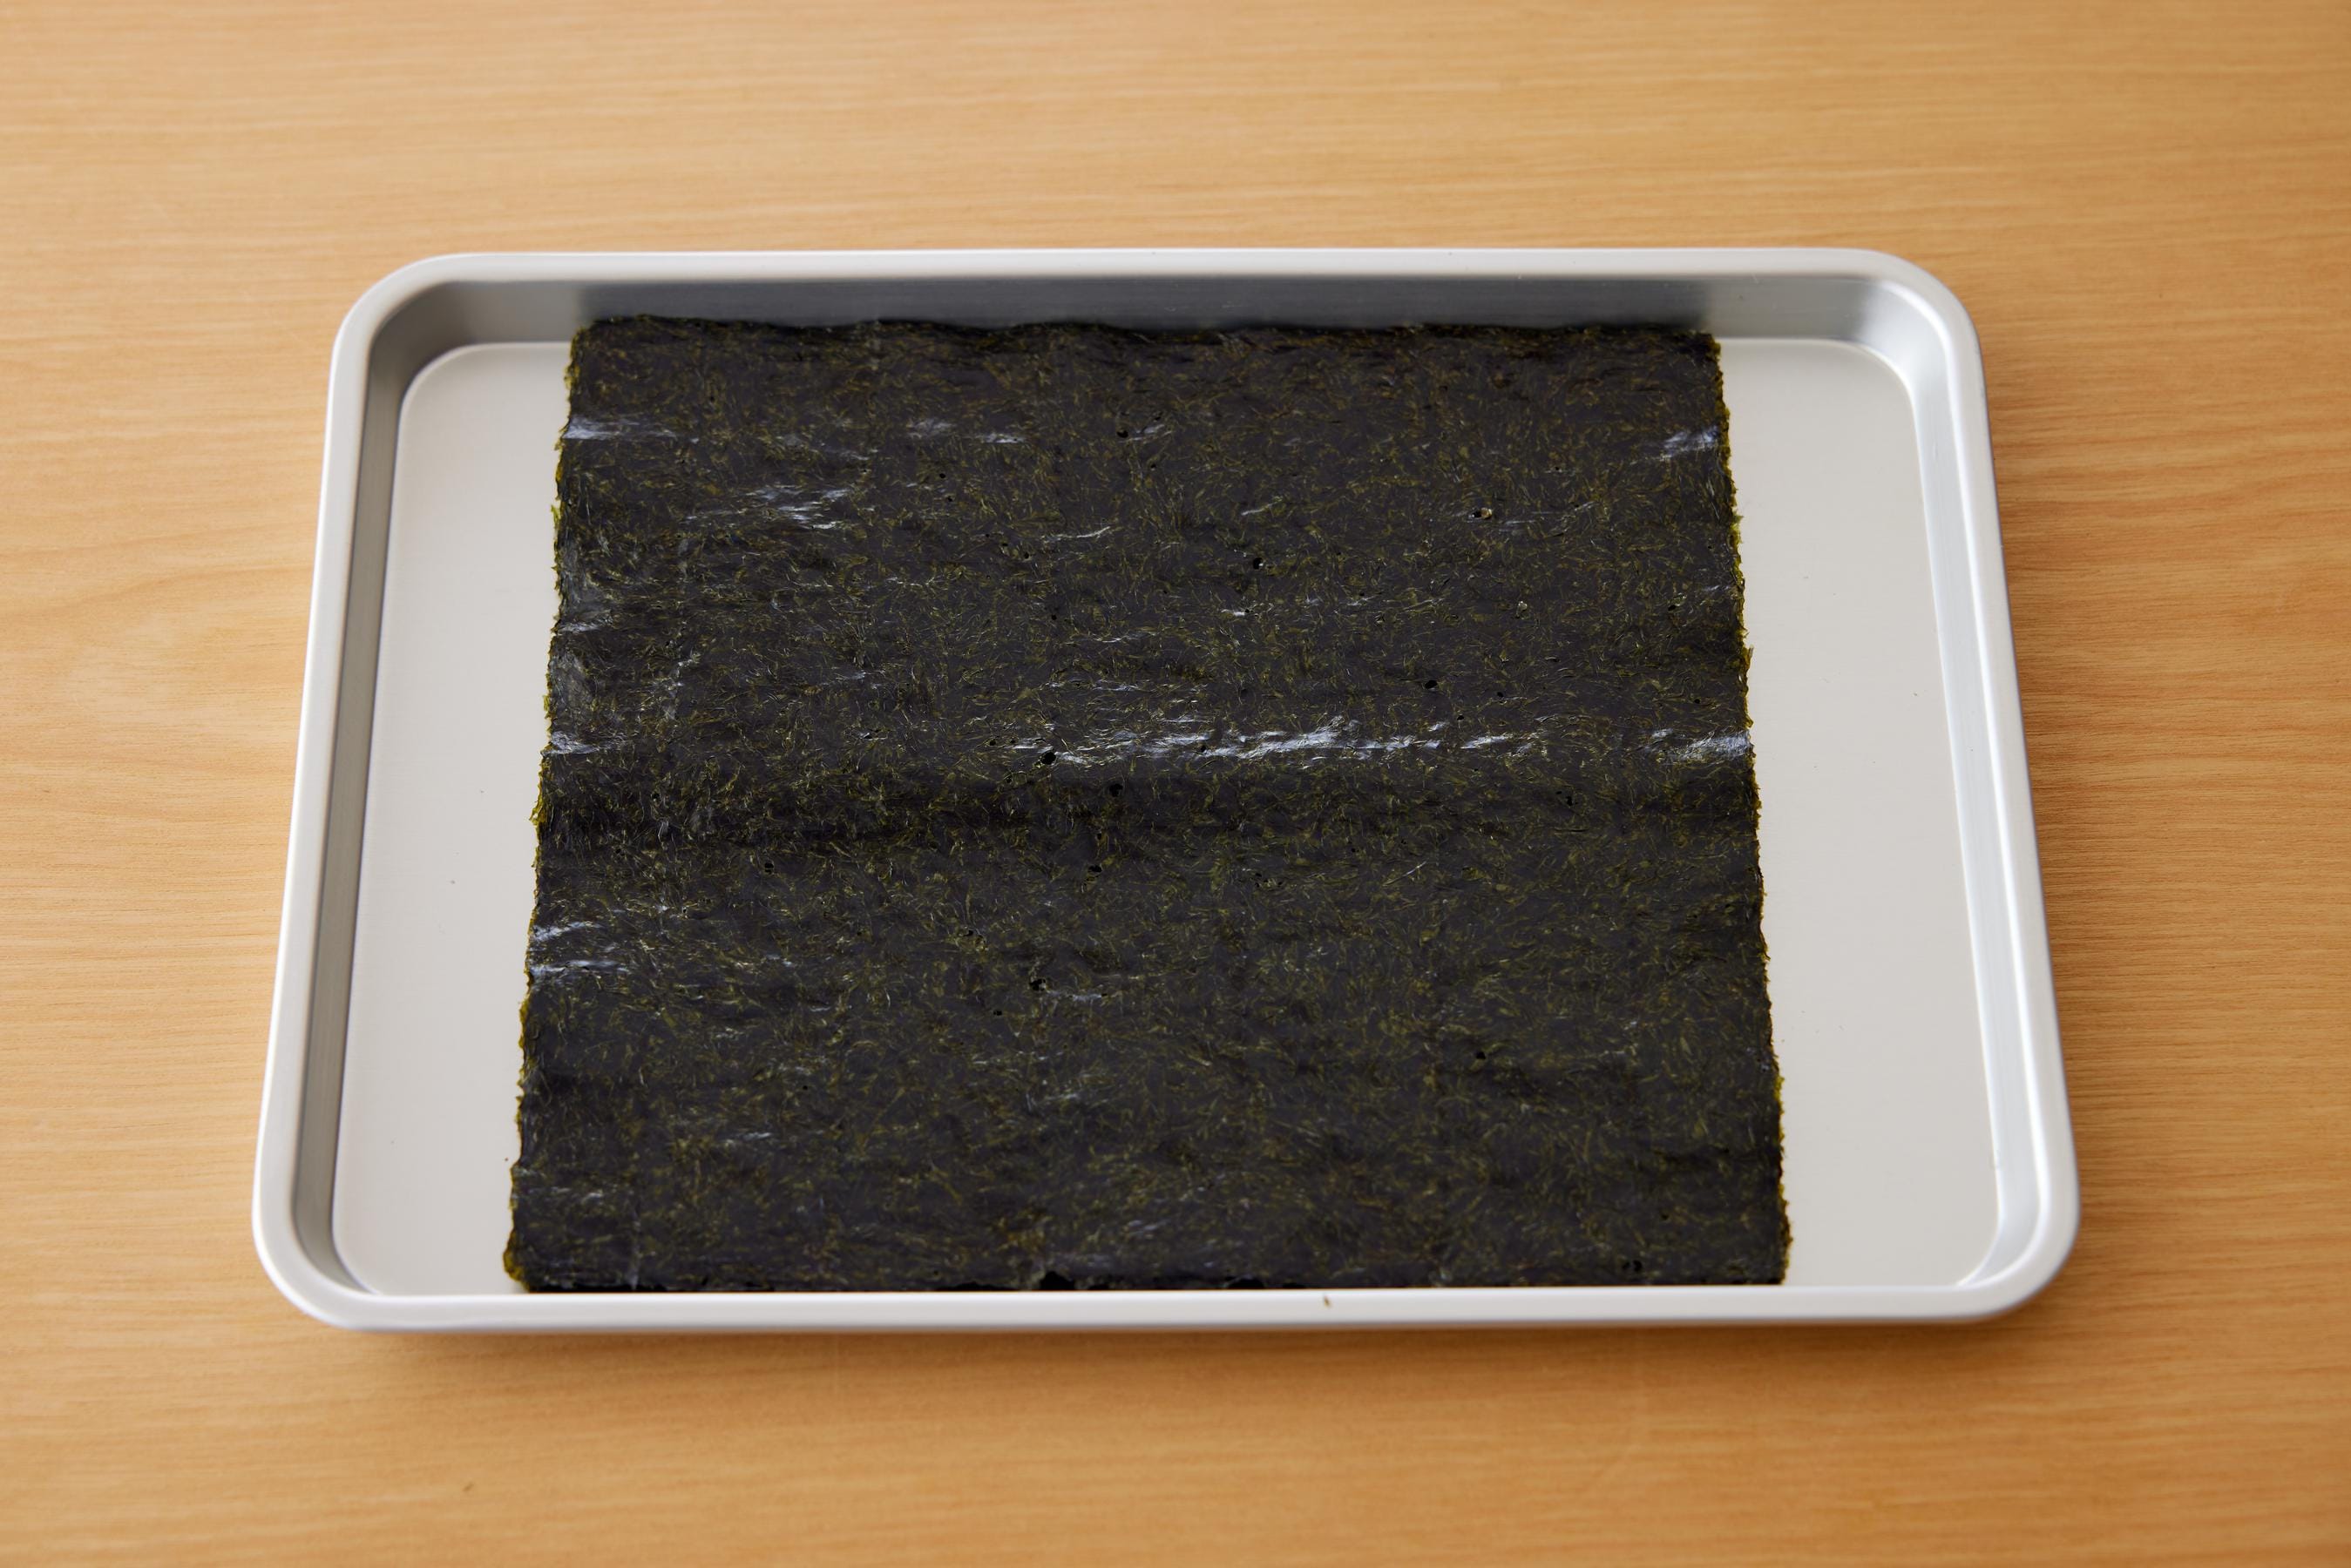
yaki-nori (dried seaweed) - as needed
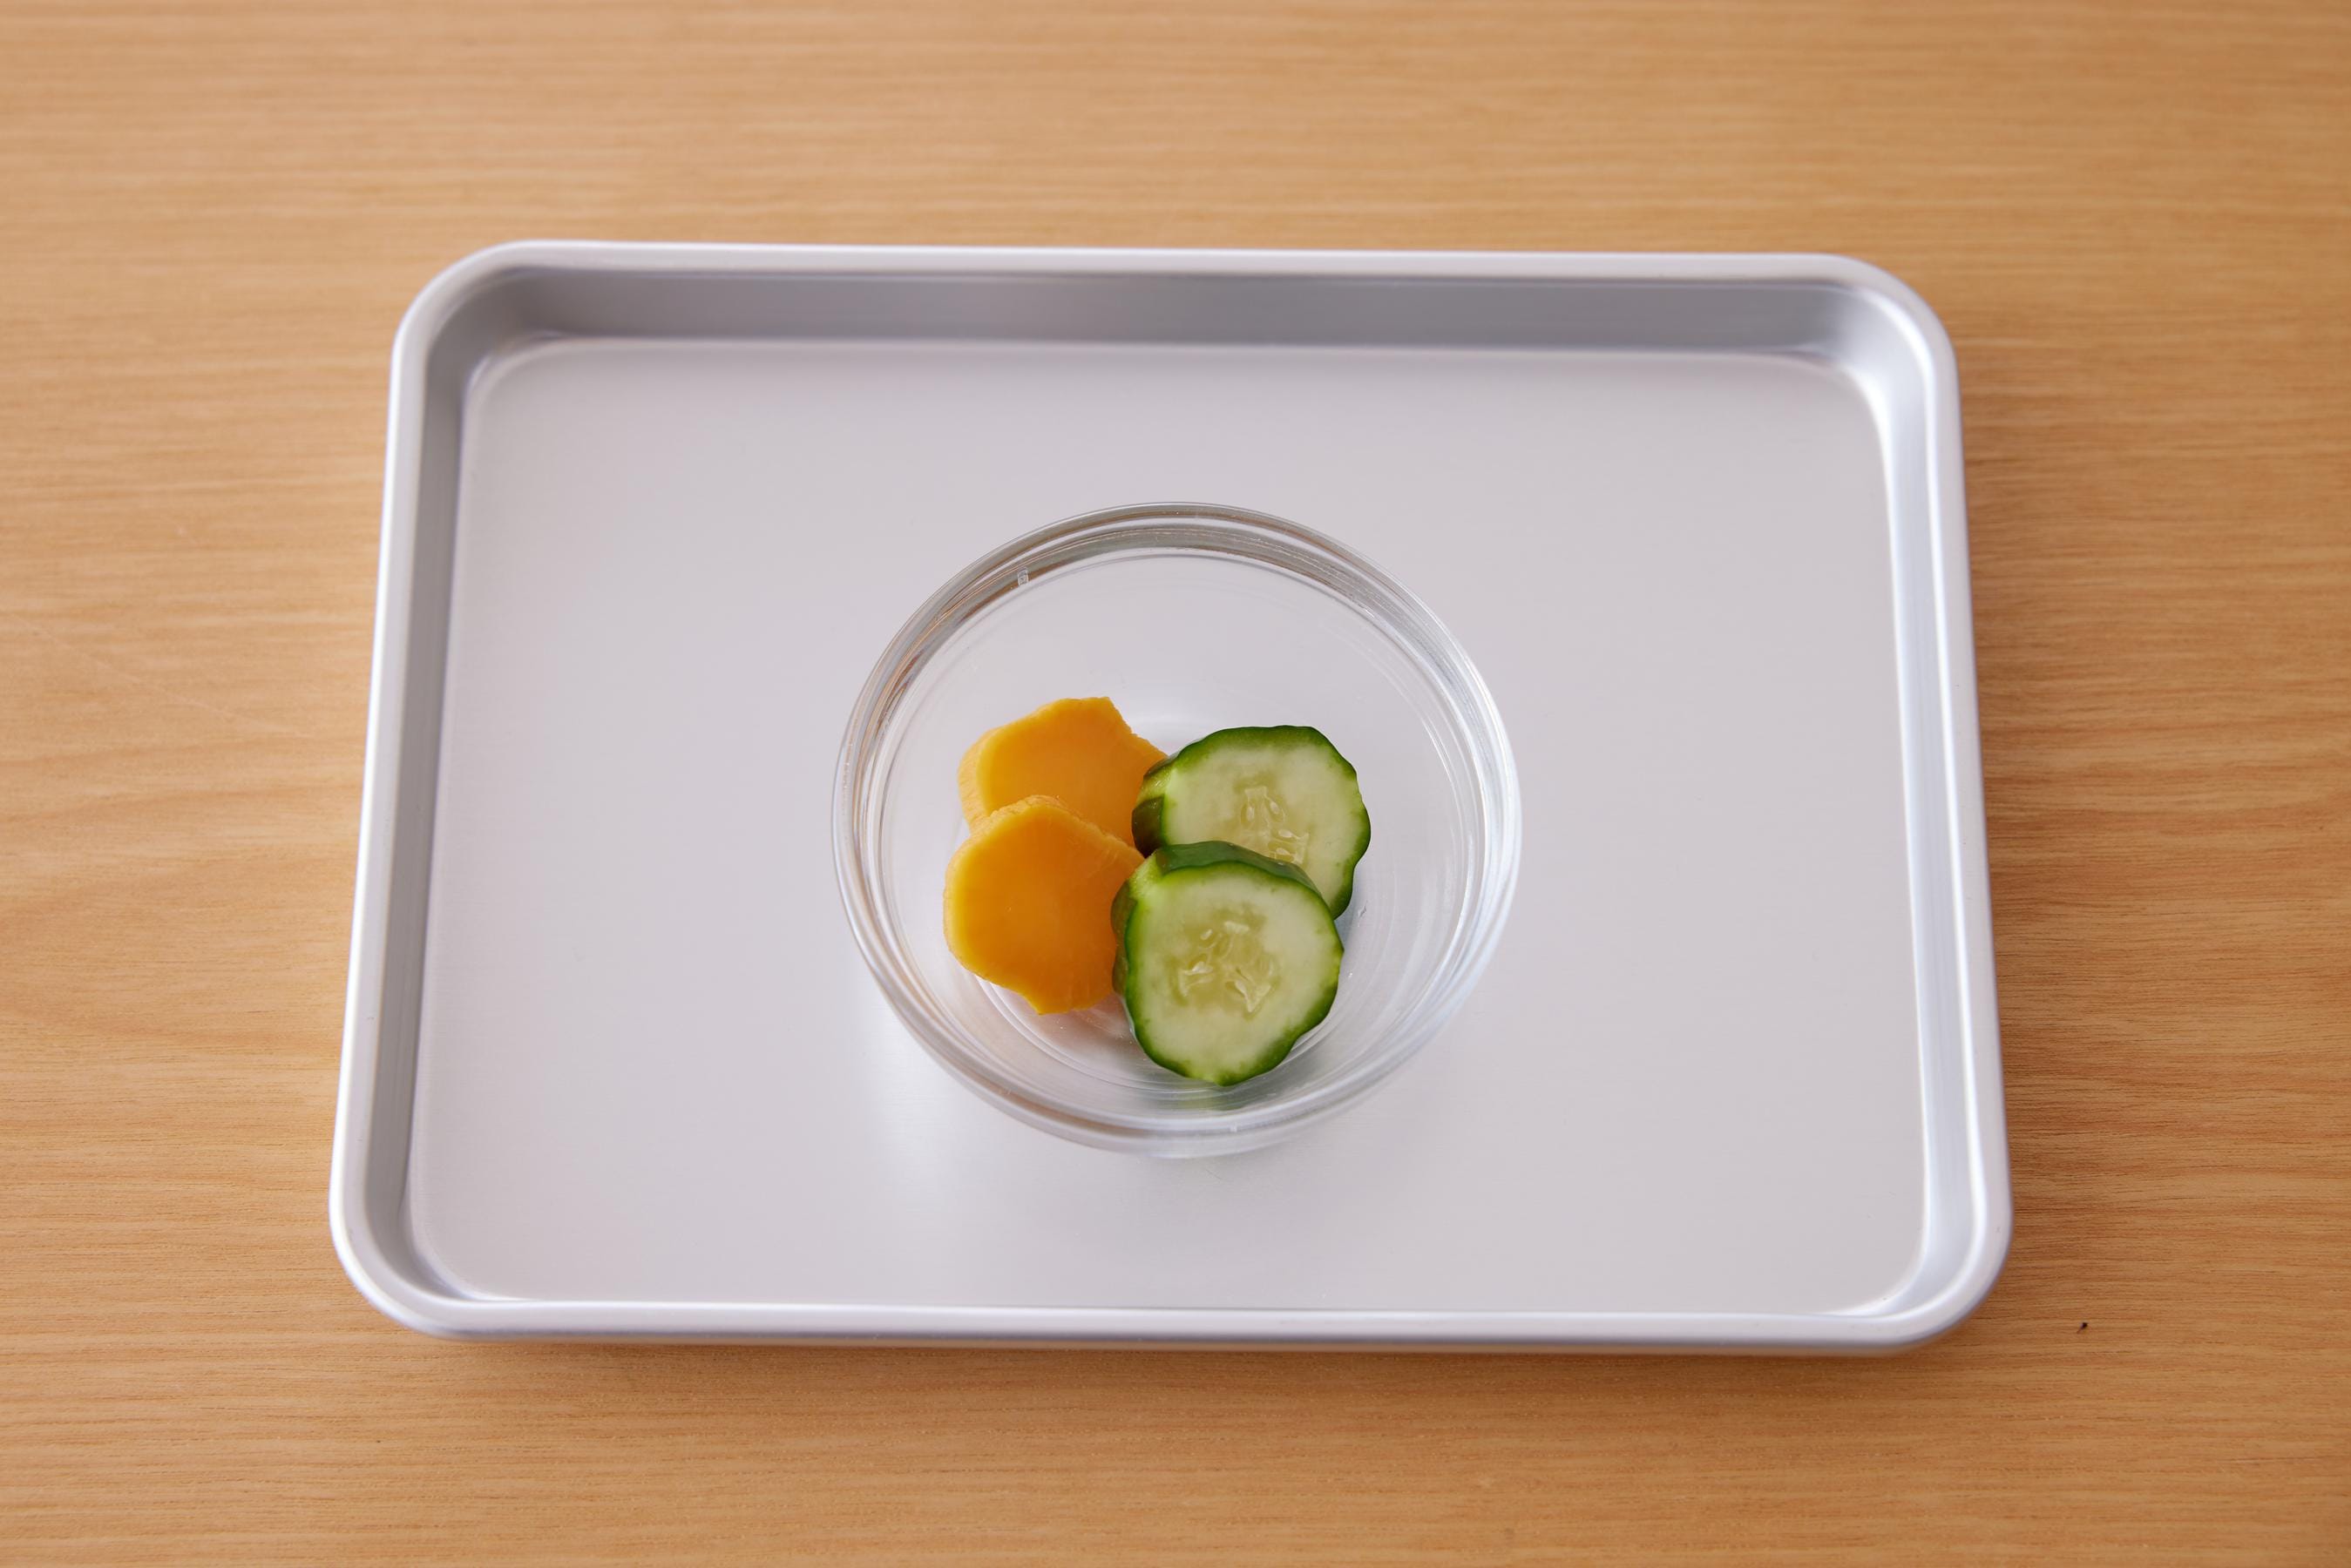
vegetable tsukemono (if available / desired assortment) - as needed
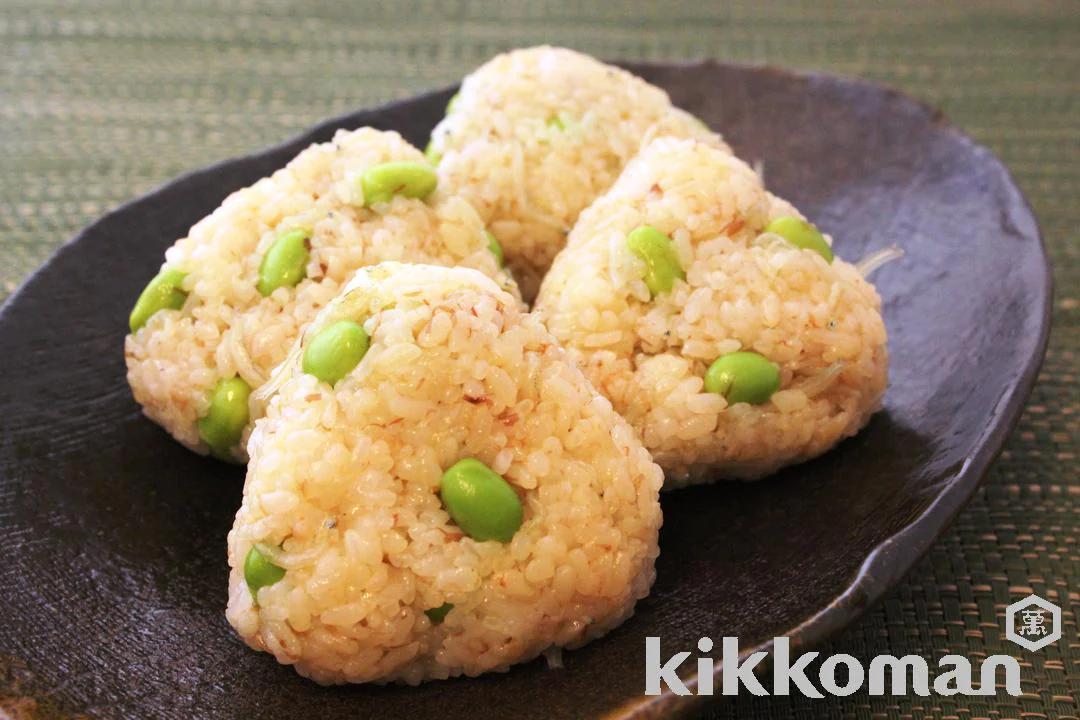
Okaka Shoyu (bonito soy sauce)
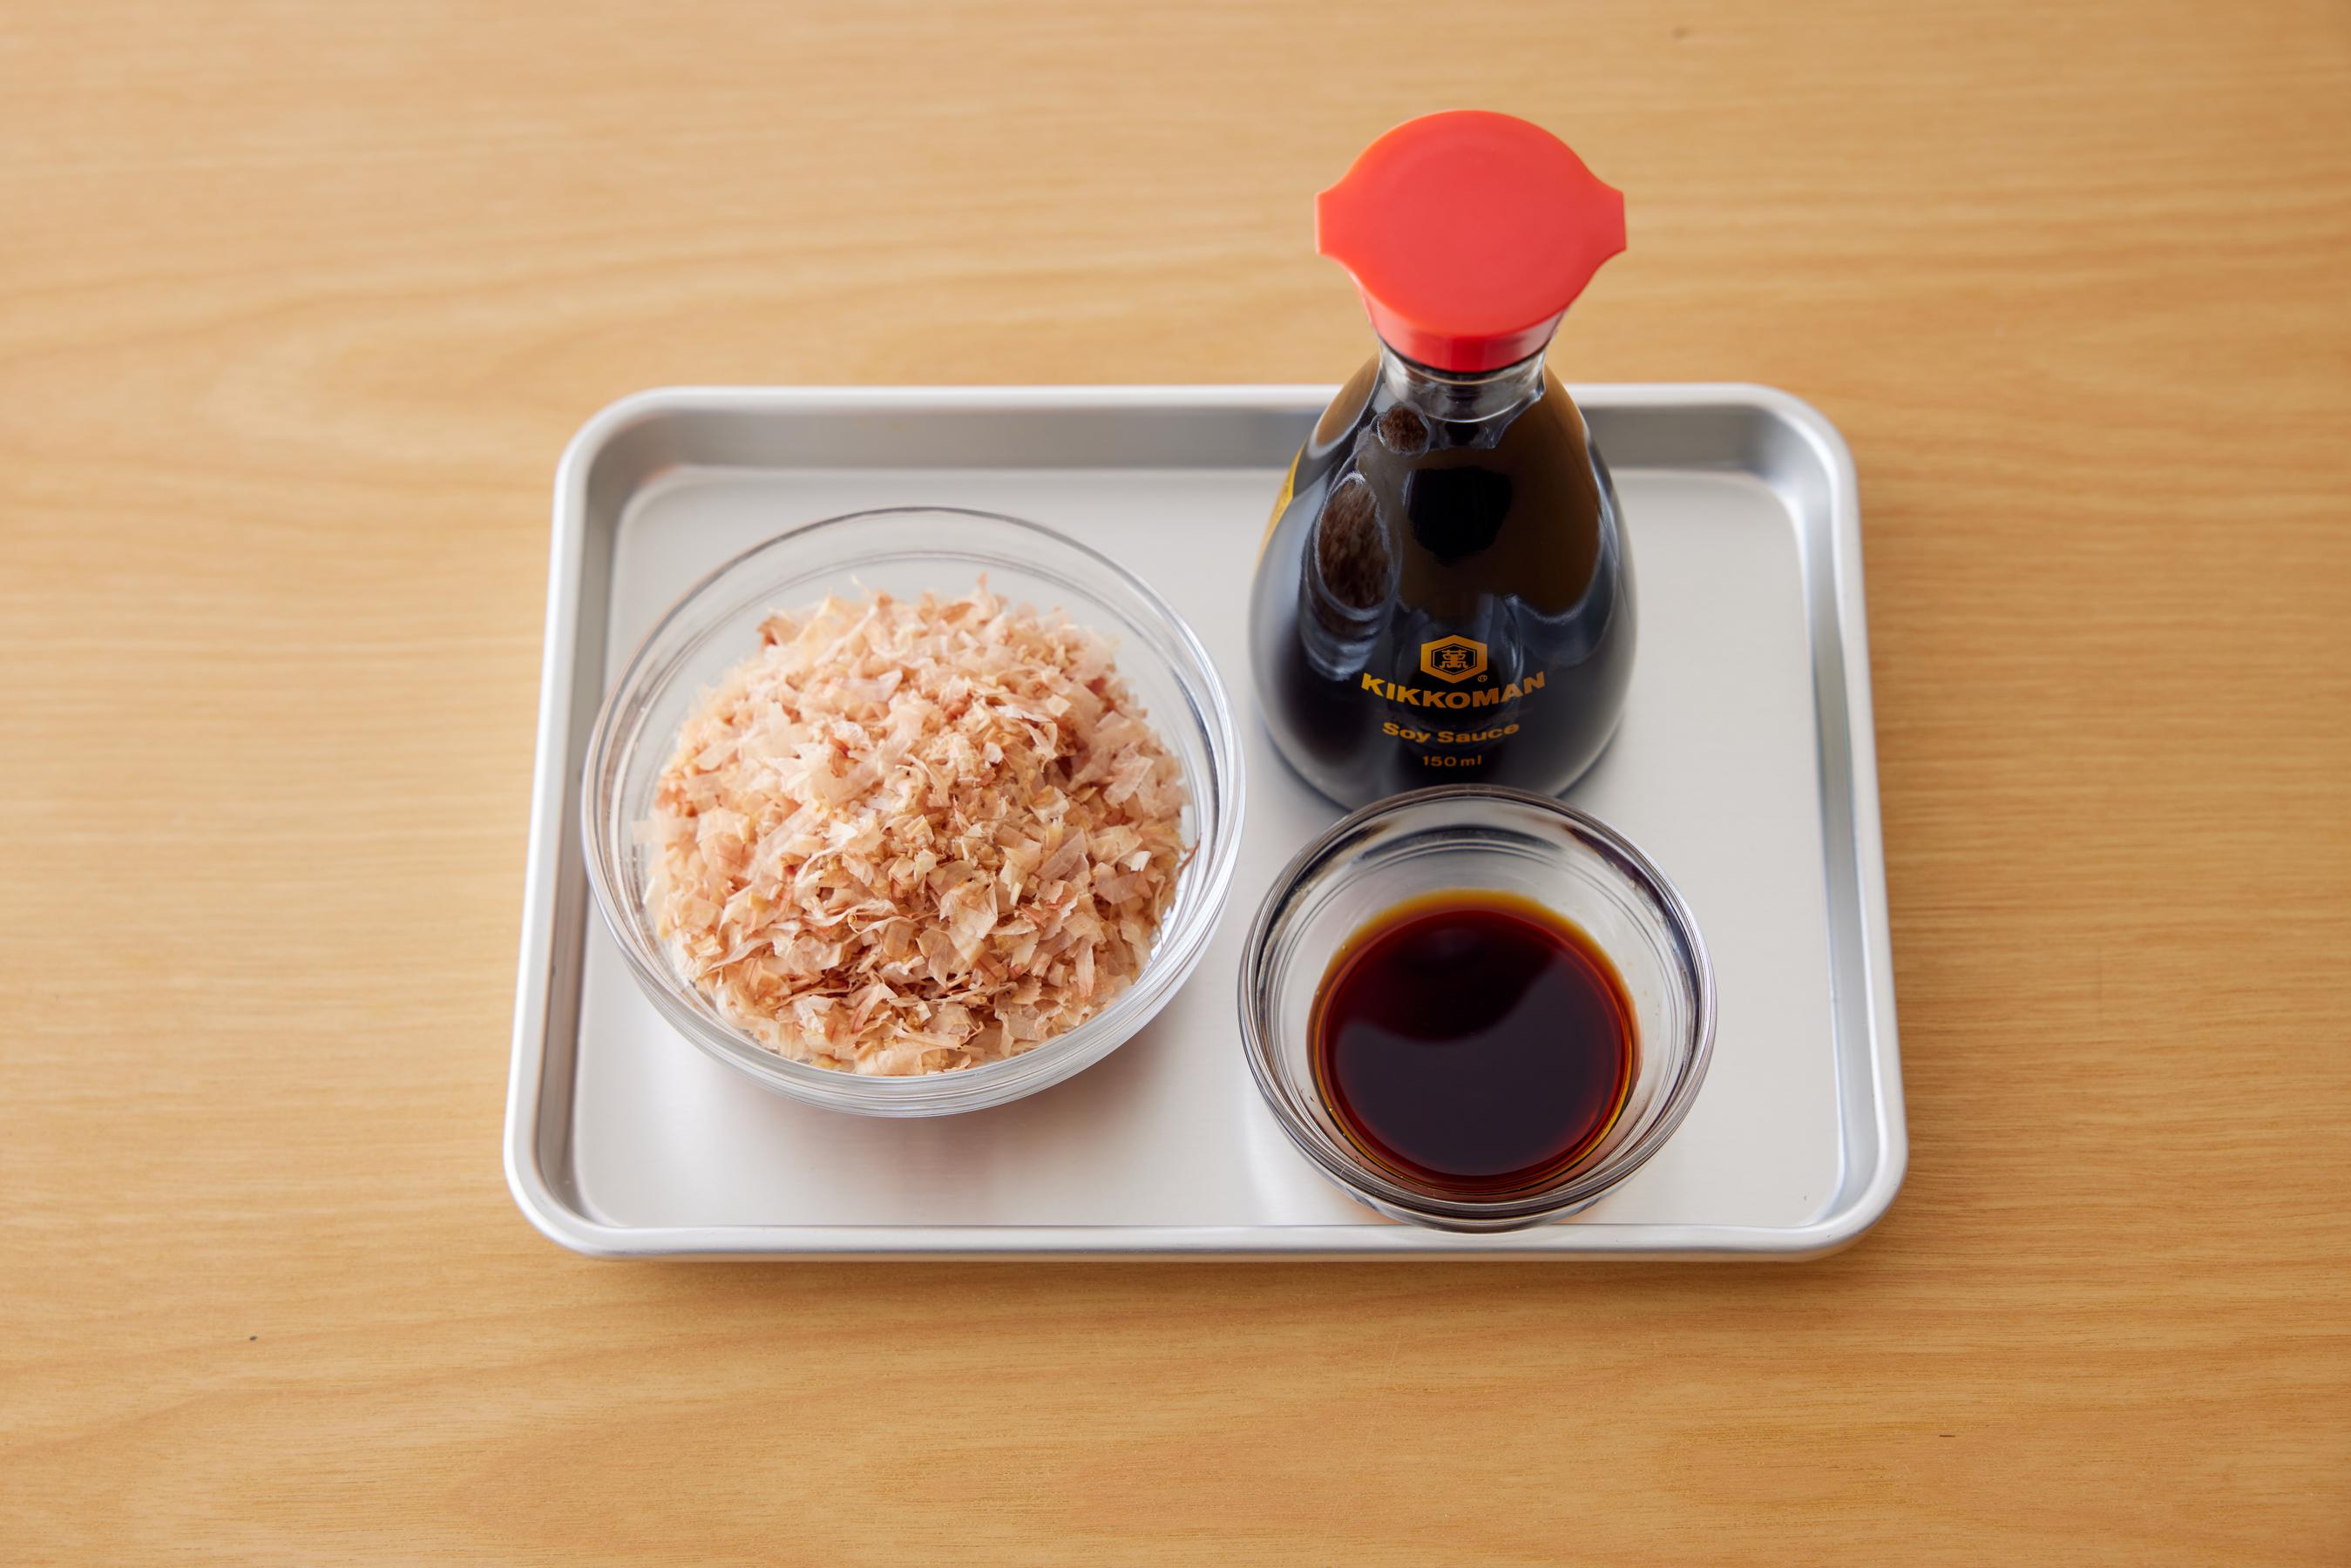
dried bonito shavings - 4g (0.14 oz.)
Kikkoman Soy Sauce - 2 tsp
Tuna Mayonnaise
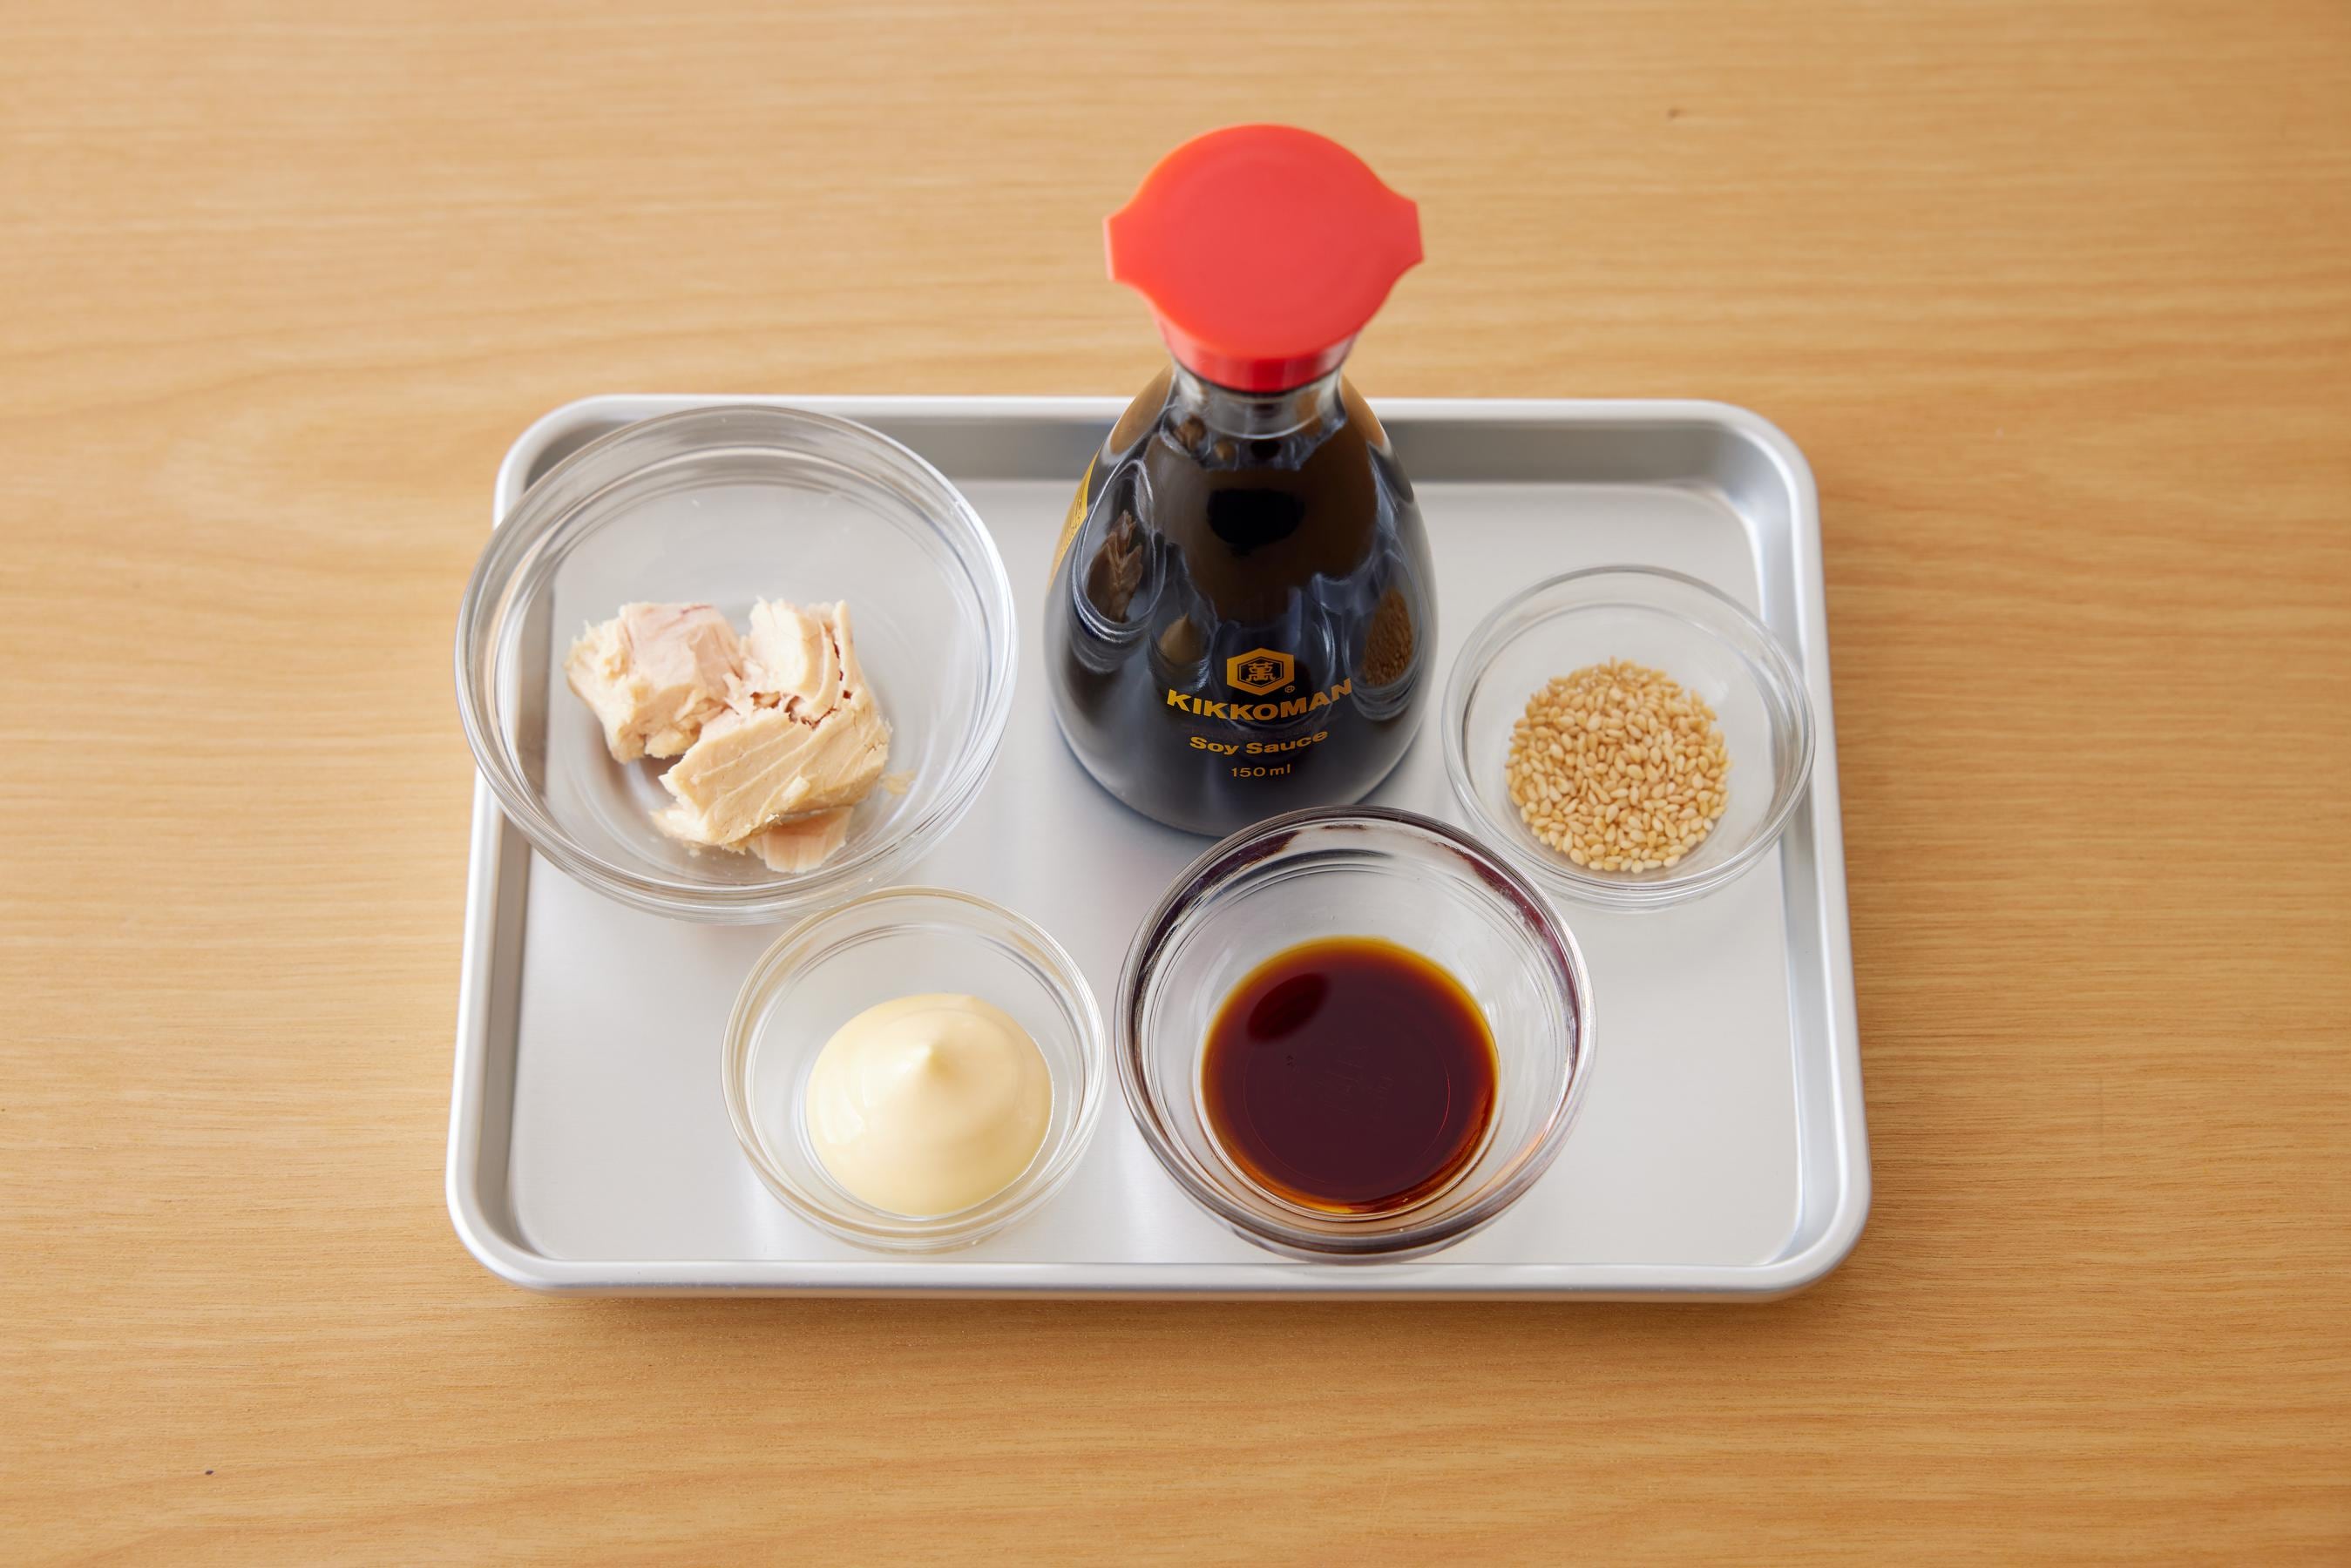
tuna (canned, drained) - 20g (0.7 oz.)
mayonnaise - 10g (0.35 oz.)
Kikkoman Soy Sauce - 1 tsp
white roasted sesame seeds - ½ tsp
Calories and Cooking Time

* Nutrition facts are for one serving. (1 Bonito Soy Sauce Onigiri and 1 Tuna Mayo Onigiri)
* Time to cook rice is not included in the cooking time.
Recipe Prep for Making the Onigiri
How to Make the Bonito Soy Sauce Rice
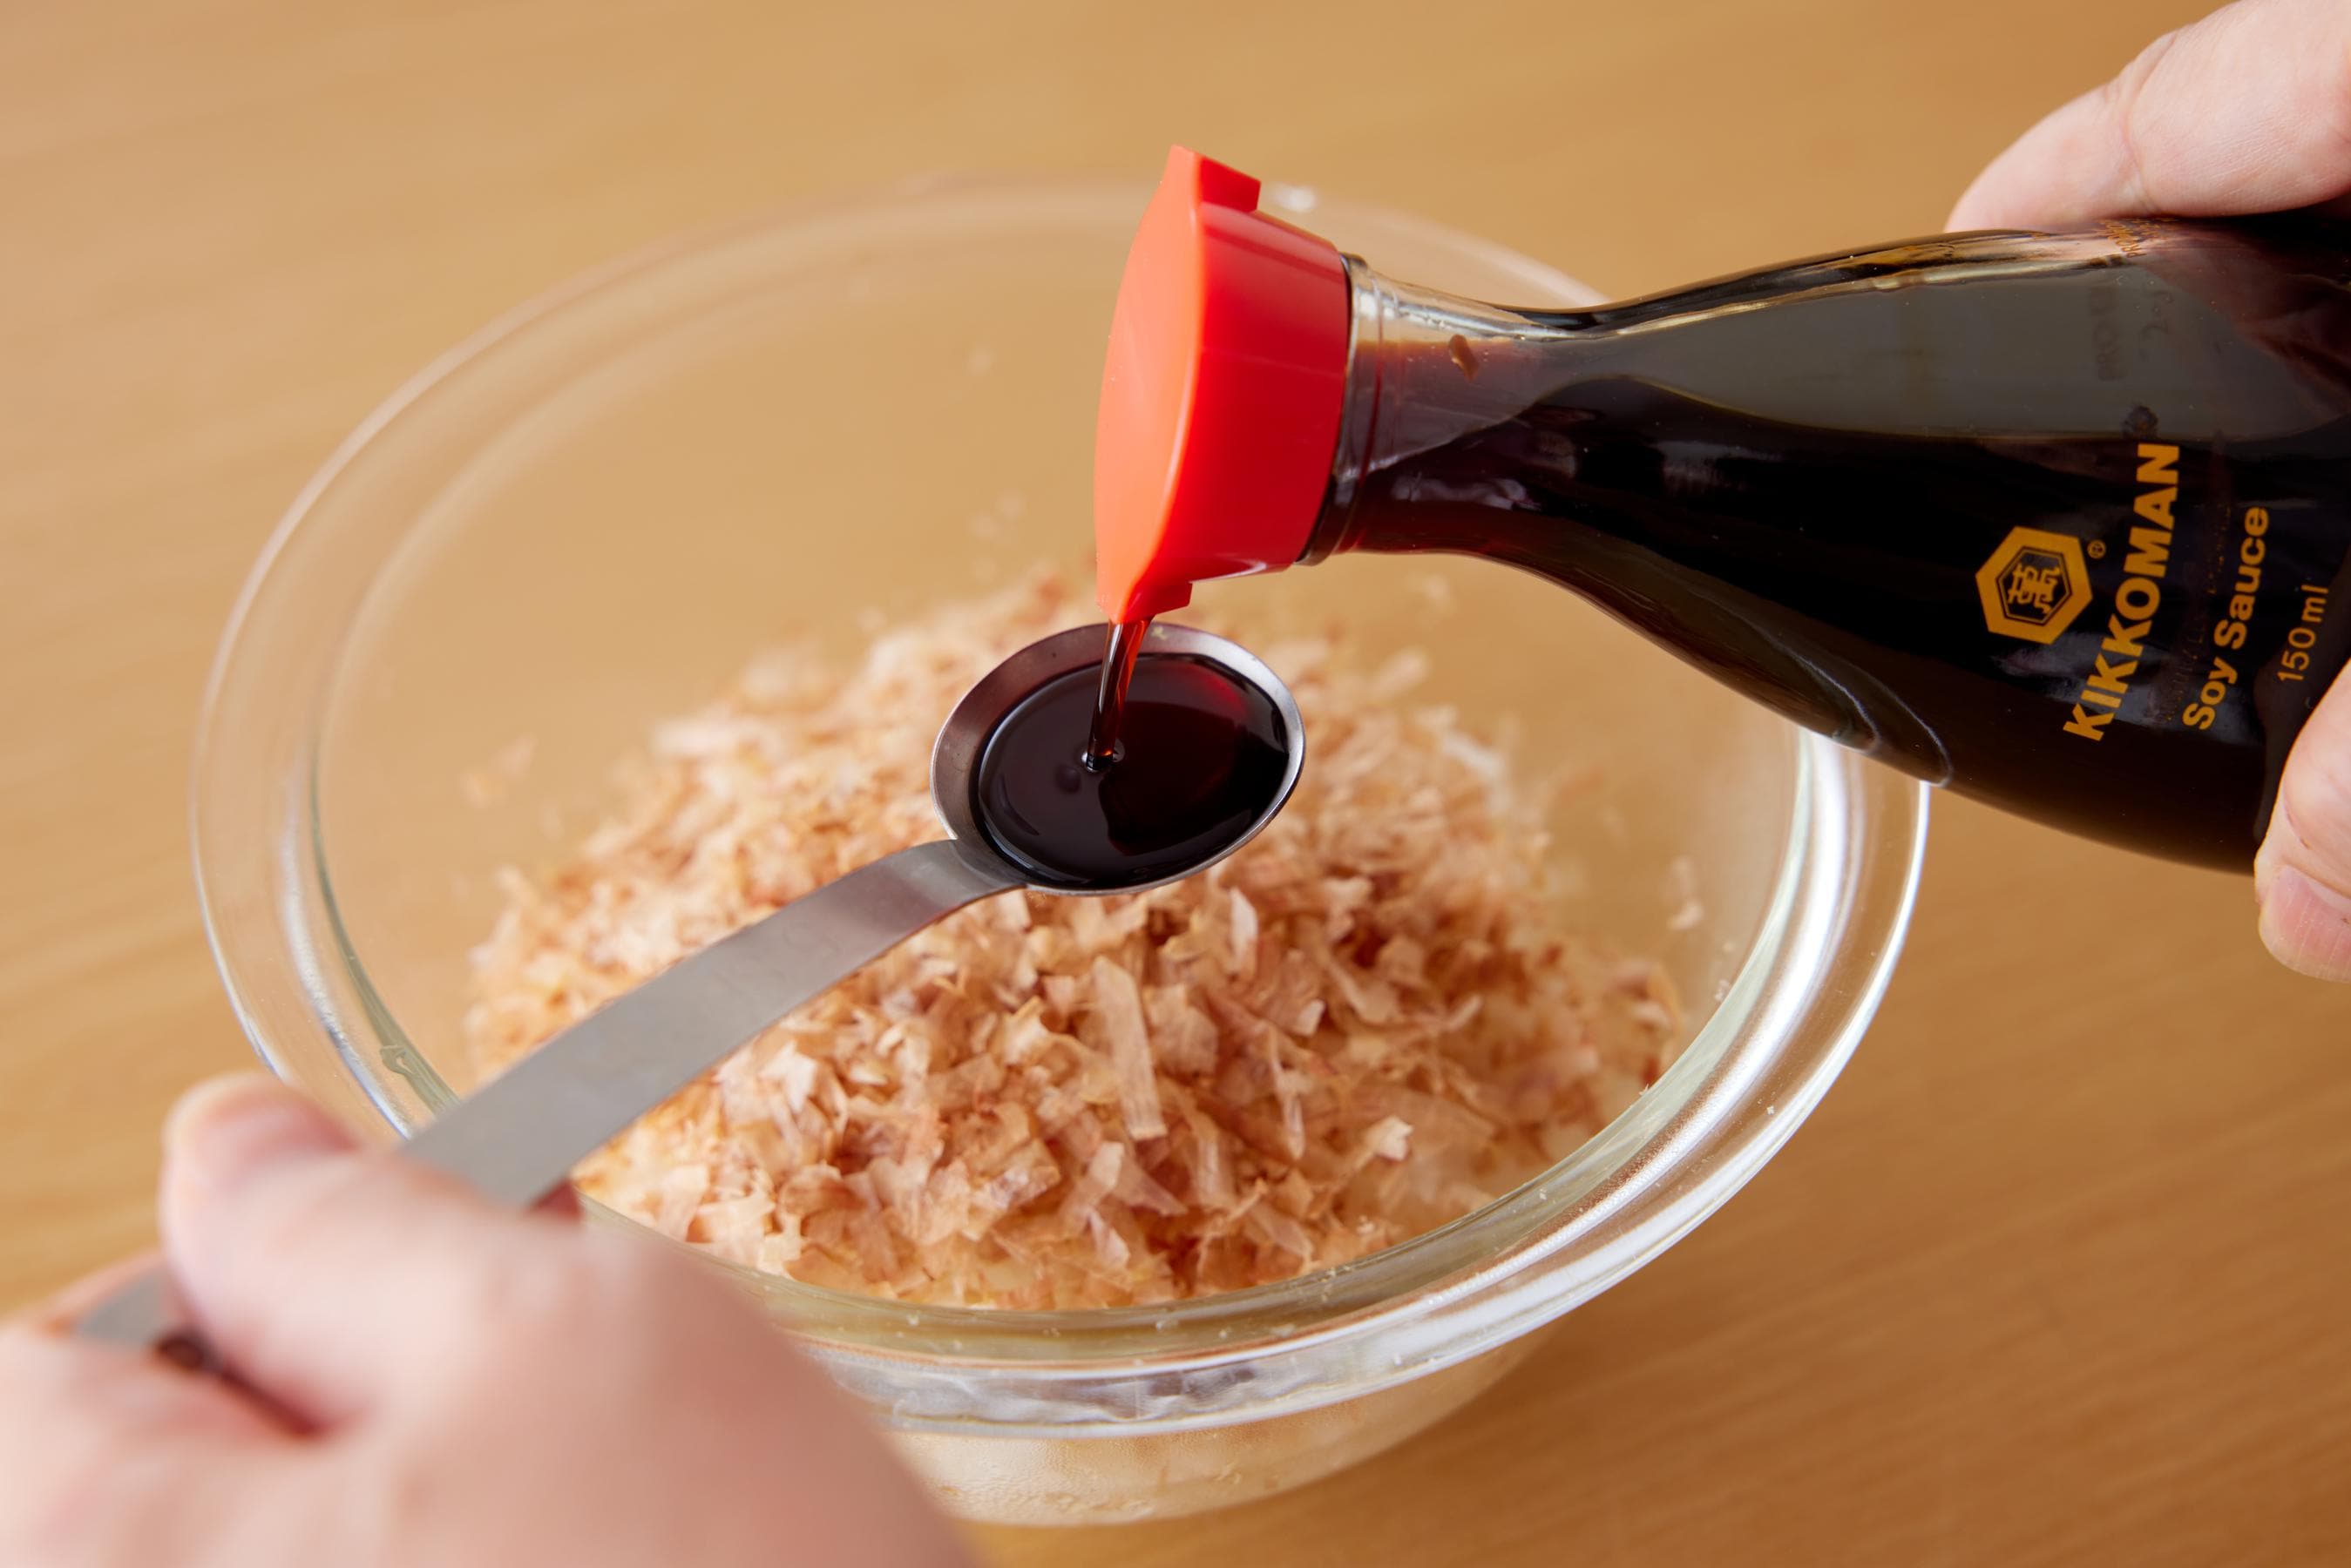
- 1Put one-half of the rice (200g / 7.05 oz.) in a bowl and add the bonito soy sauce ingredients.

- 2Stir well so that the ingredients are mixed together.
Watch video for making the bonito soy sauce rice
Making the Tuna Mayonnaise

- 1Put the tuna mayonnaise ingredients in a bowl and mix together.
Watch video for making the tuna mayonnaise
Before Making the Onigiri
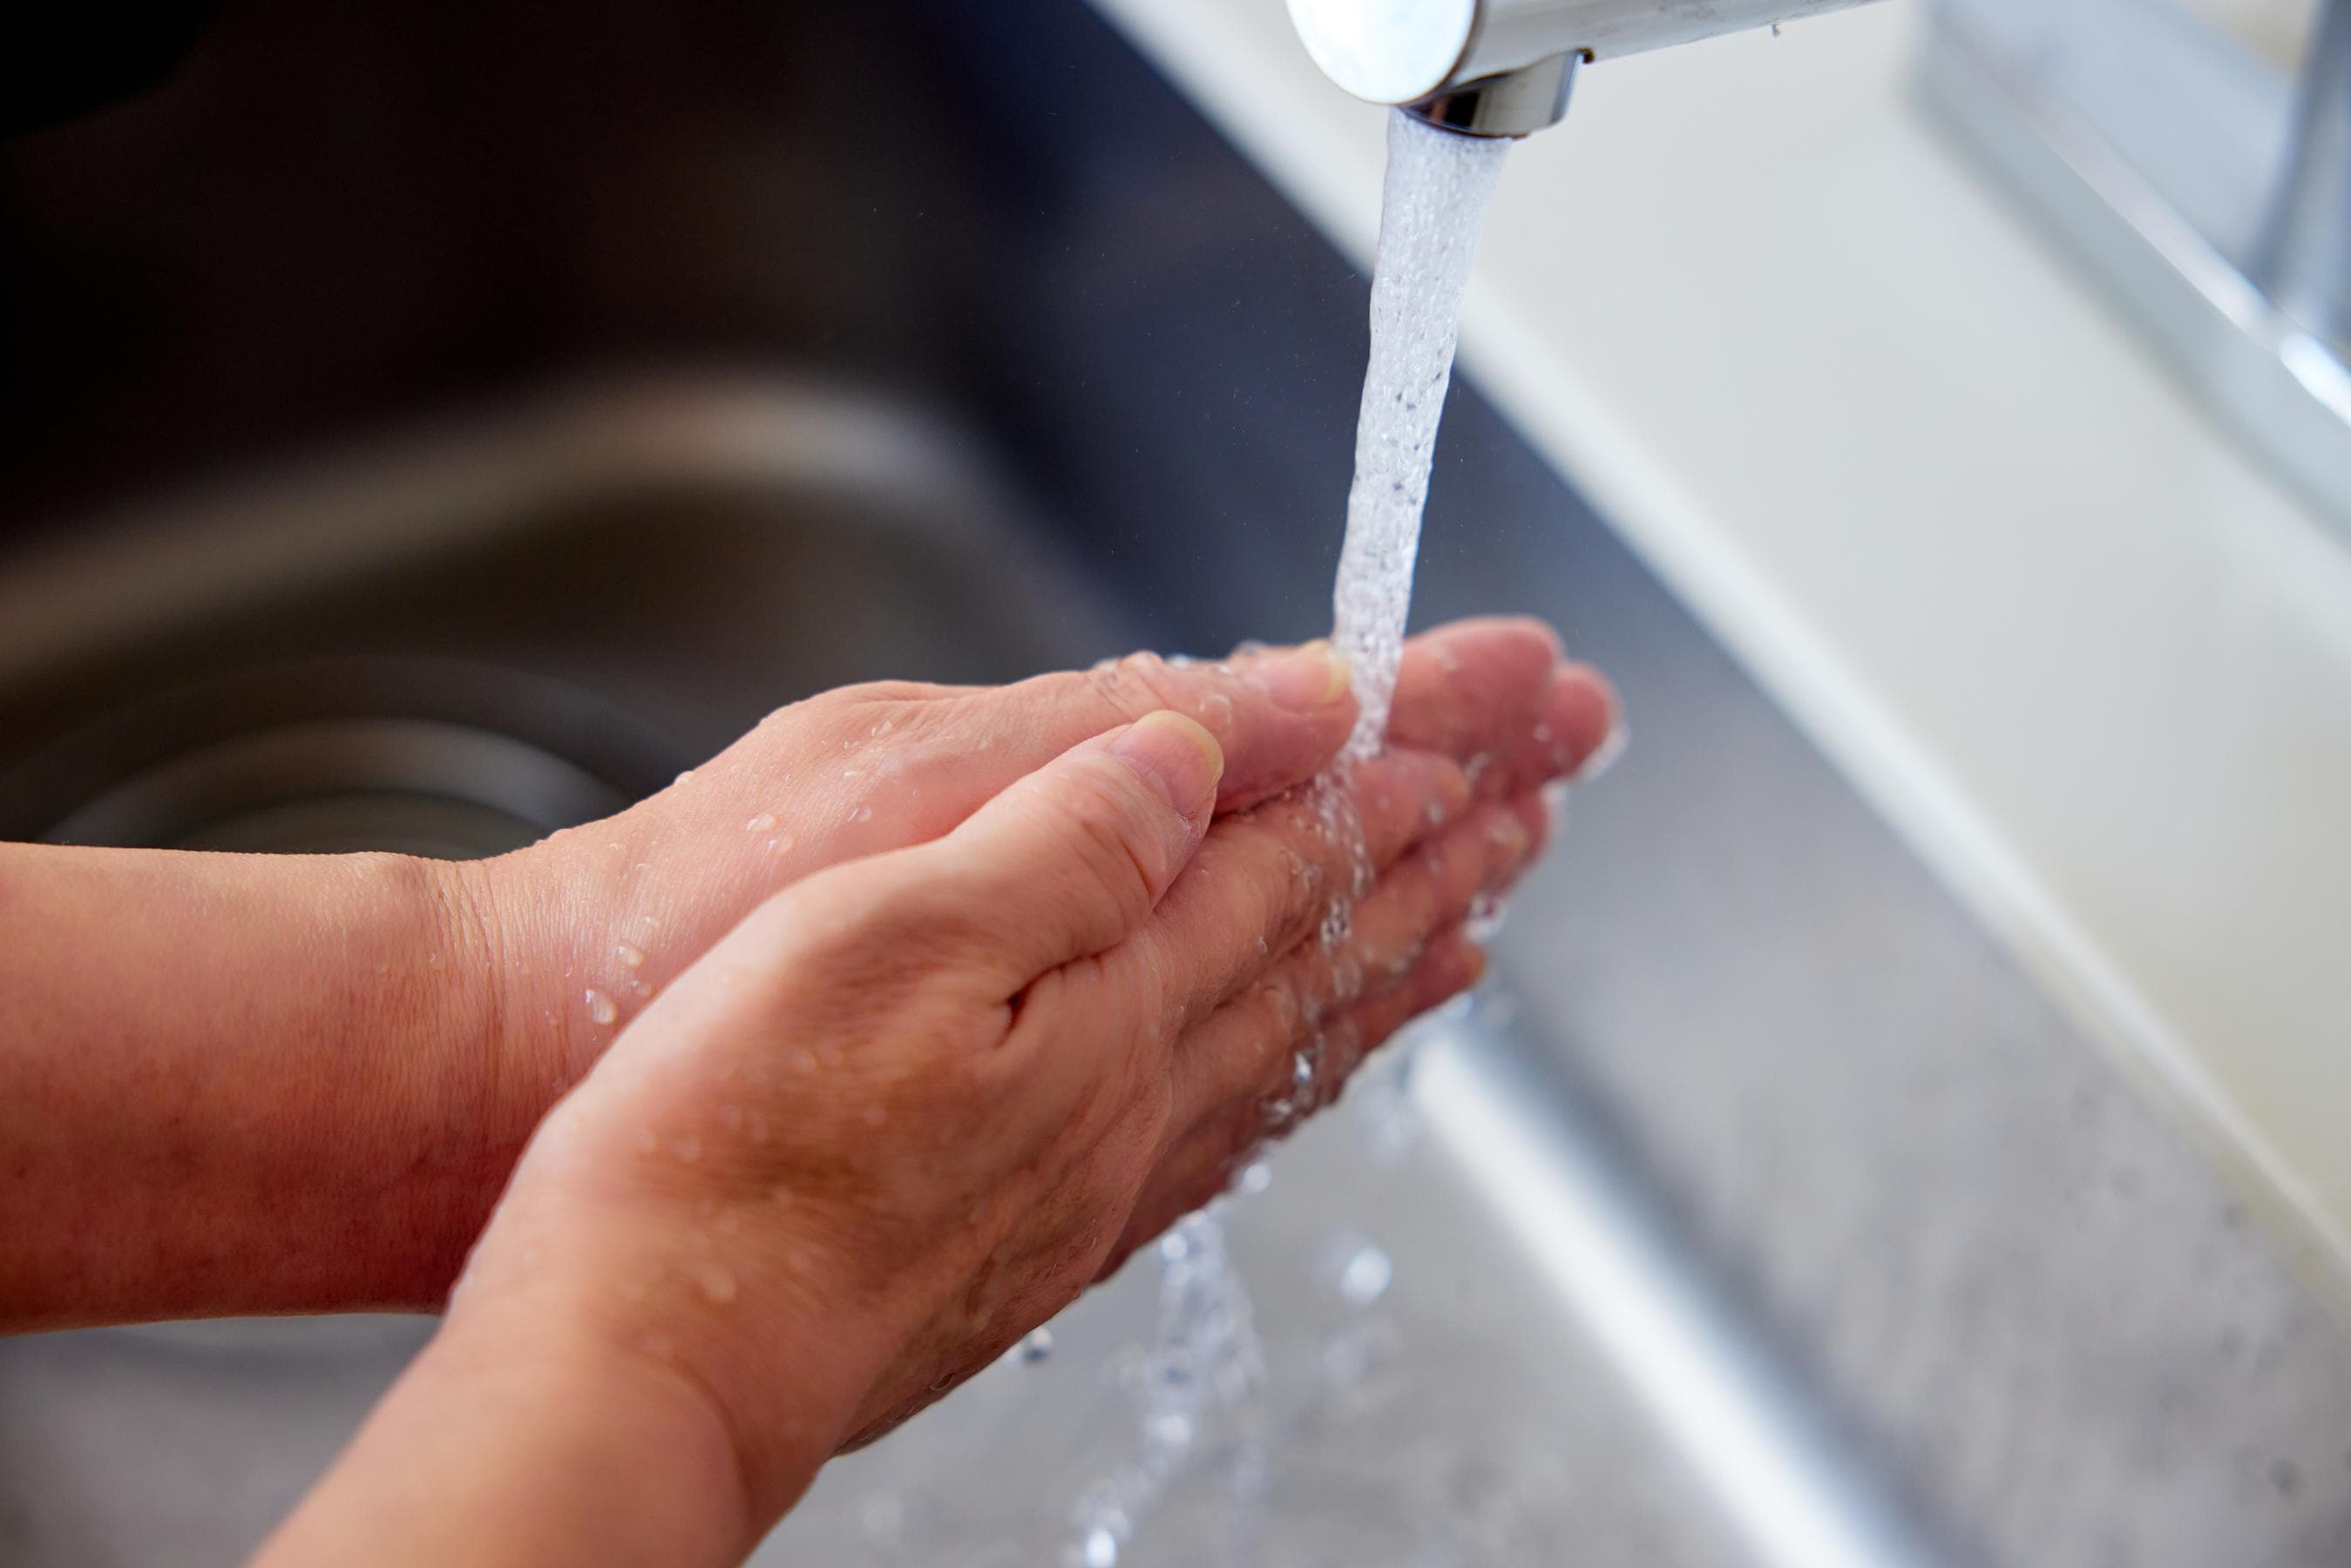
- 1Since you’ll be placing rice directly into your hands, disinfect your hands by washing well with soap prior to rolling the rice balls.
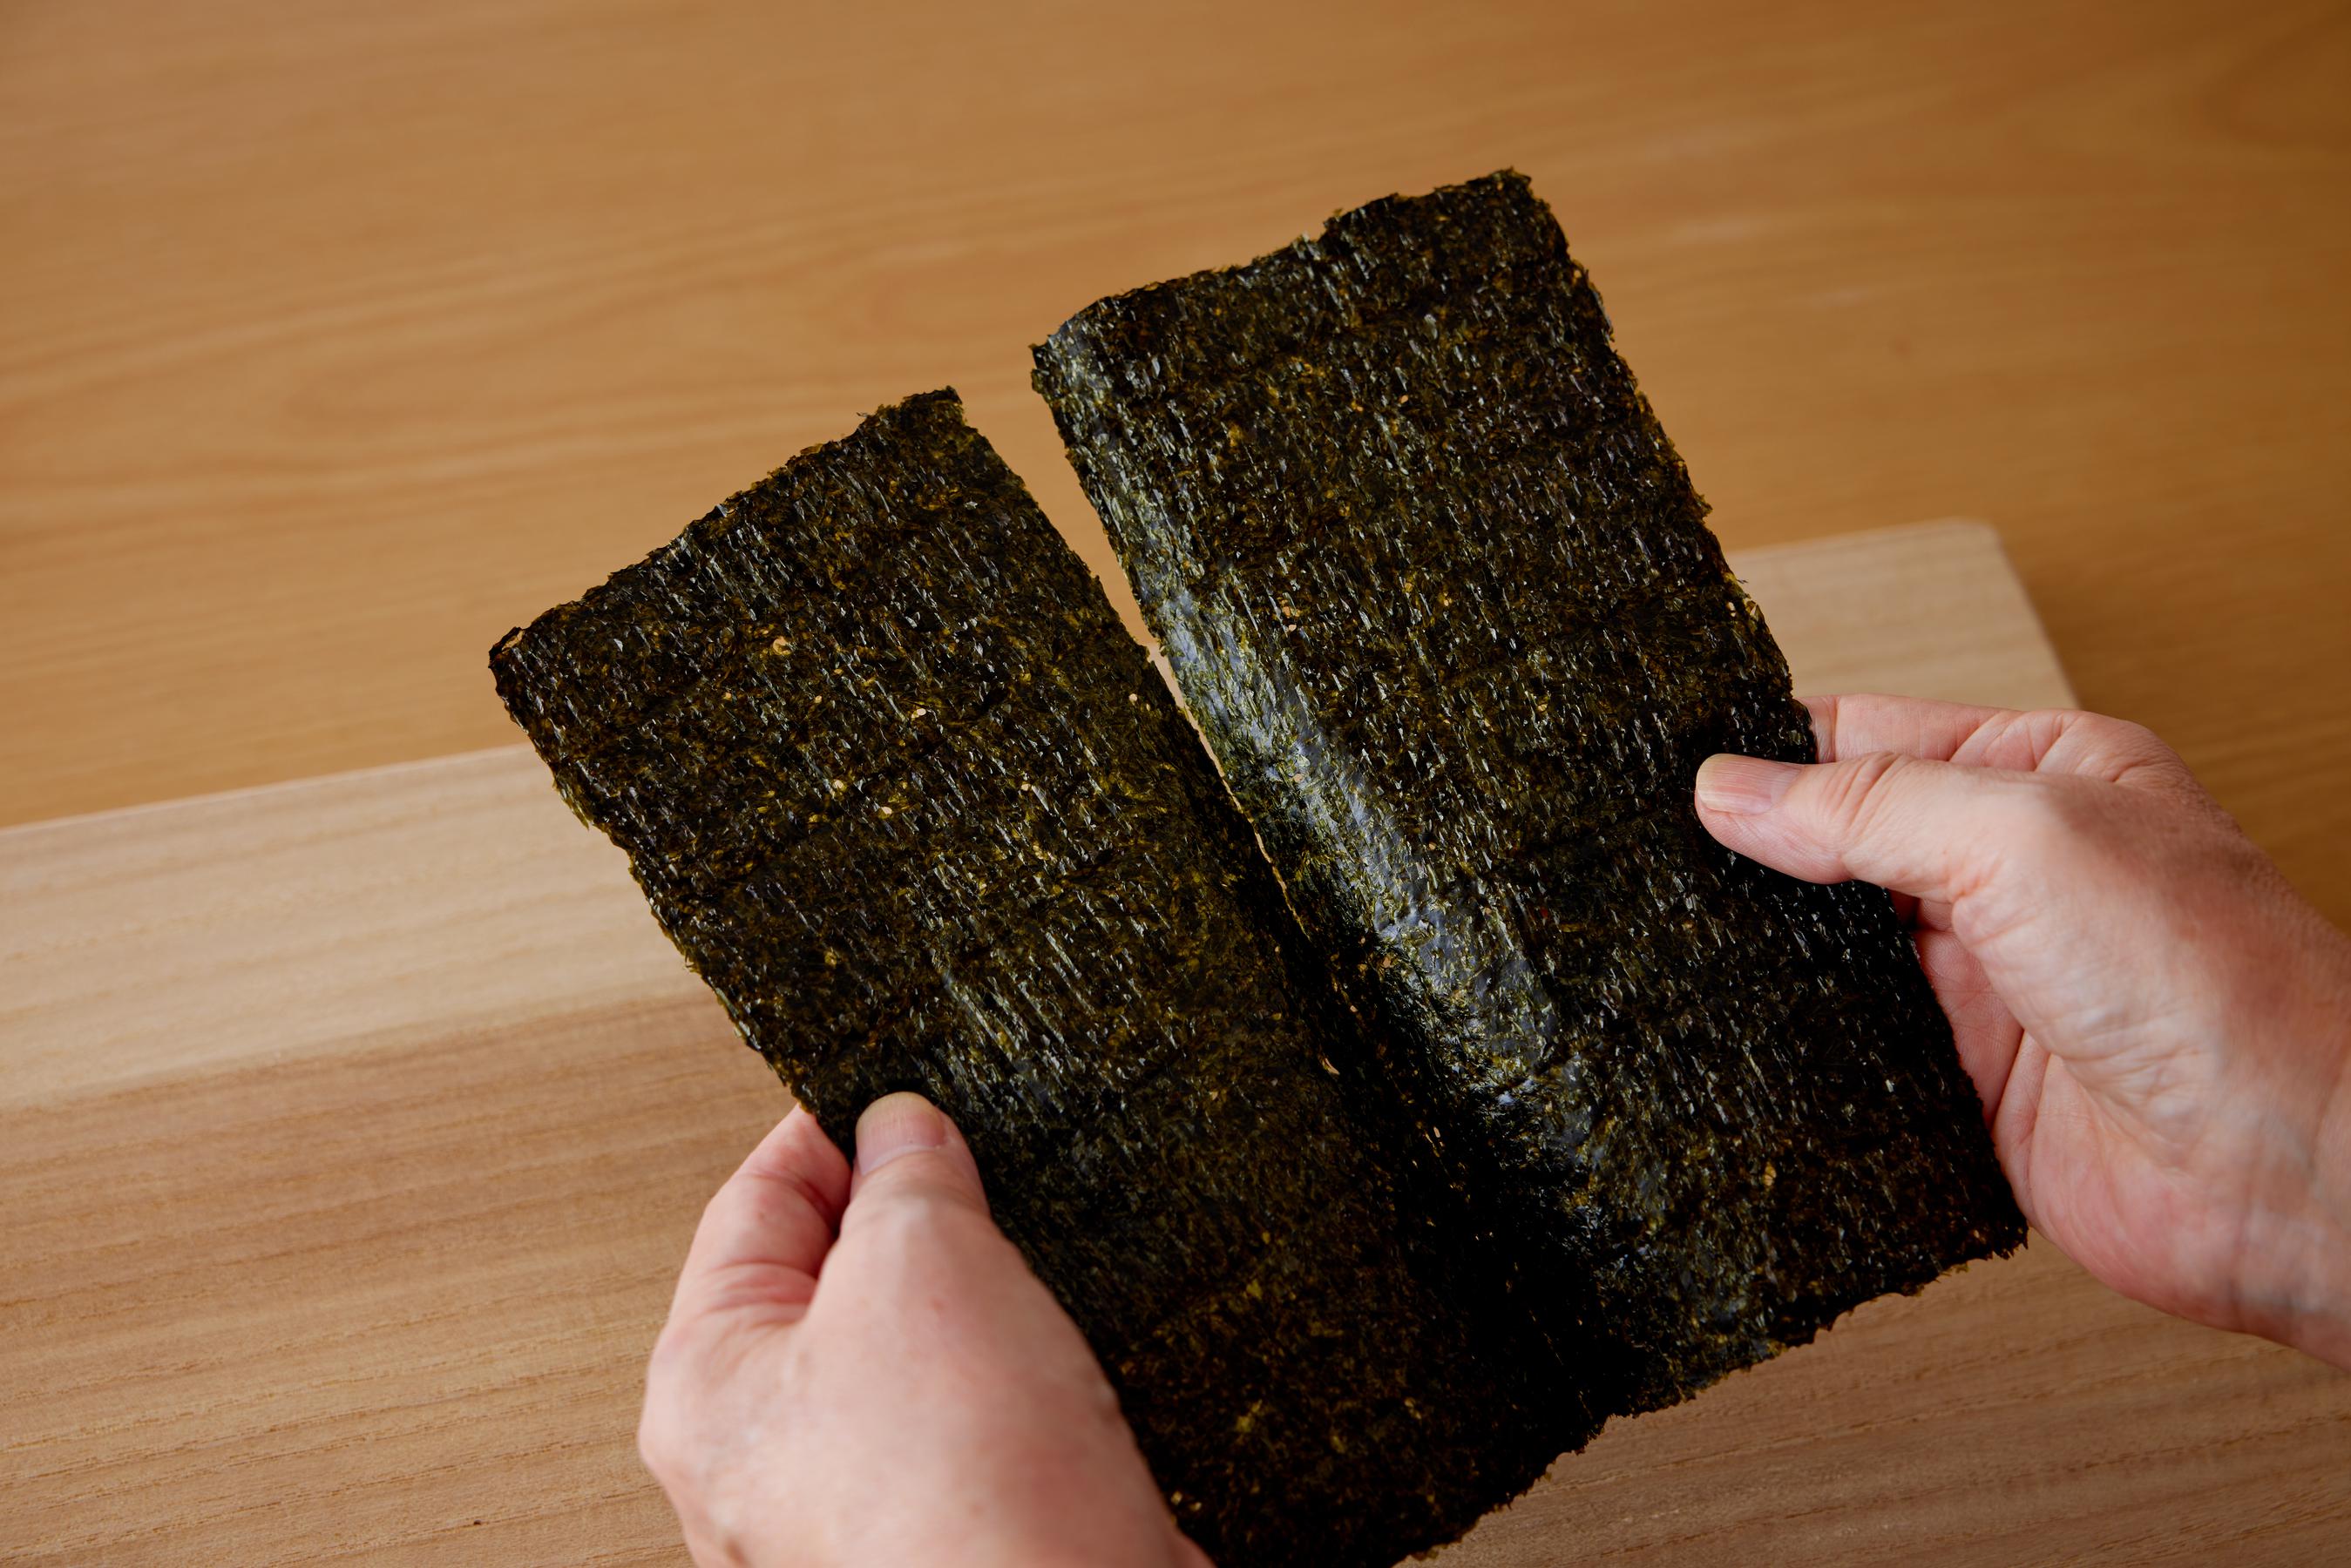
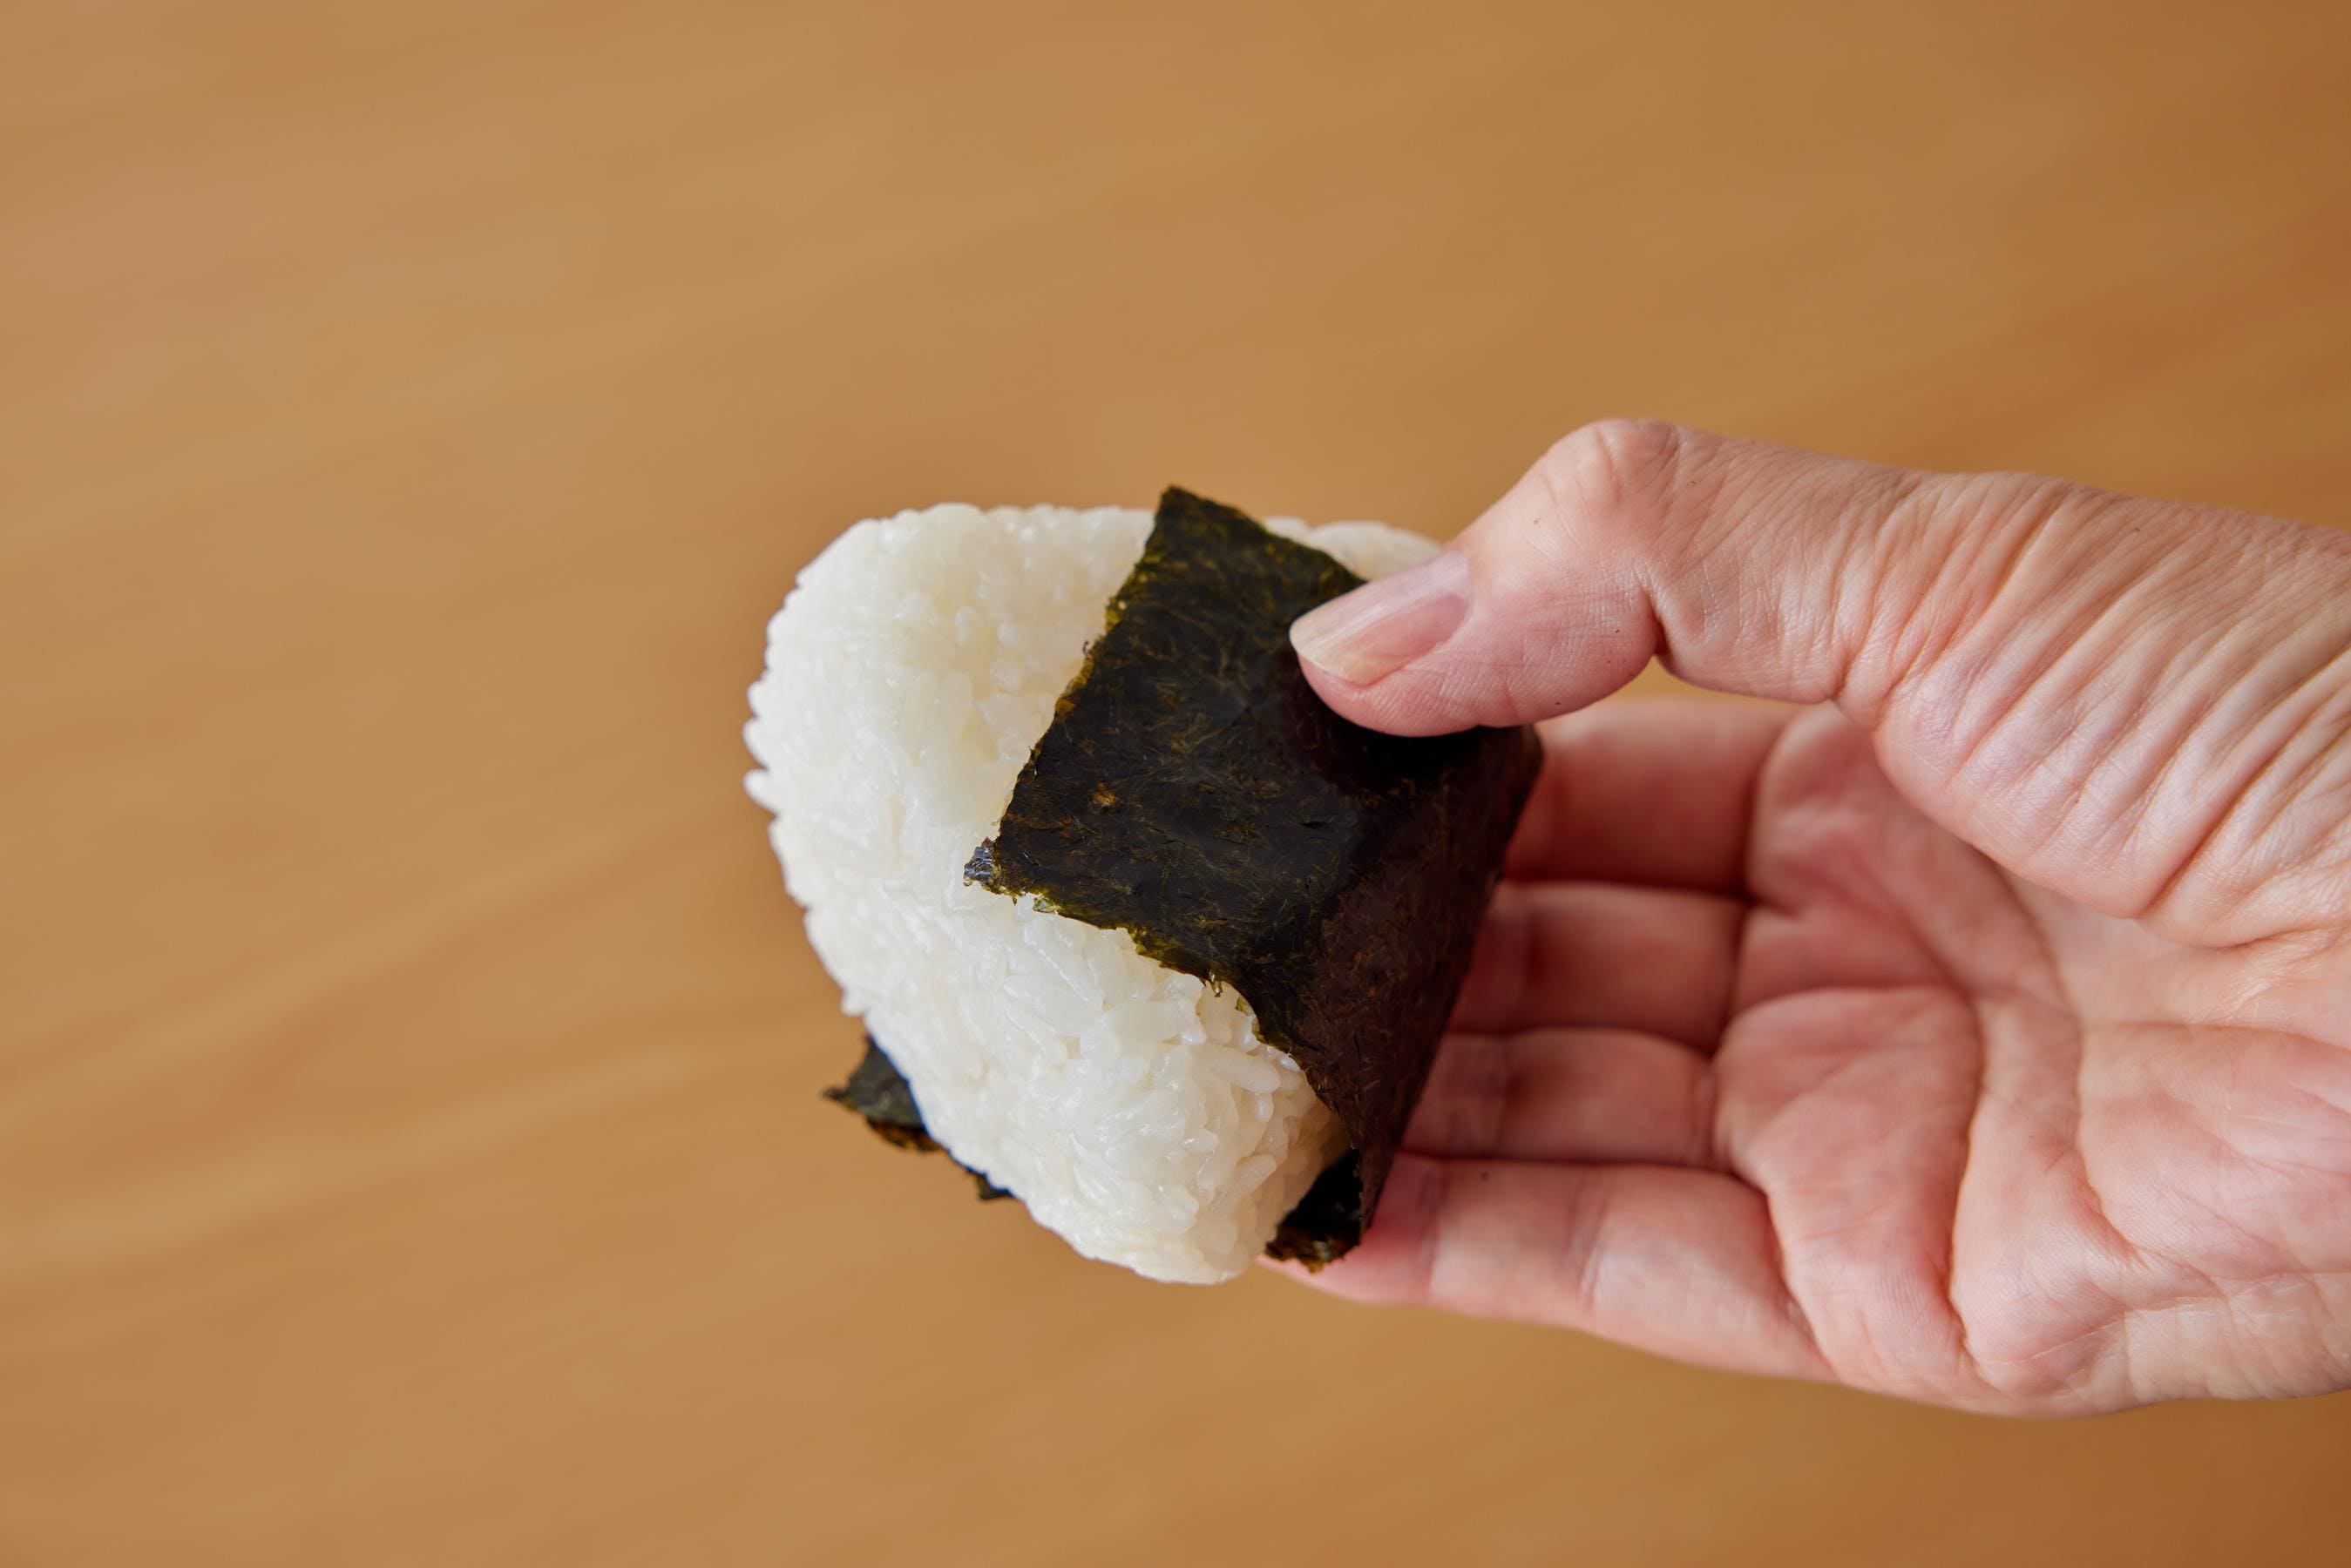
- 2Cut the dried seaweed into strips. A good rule of thumb is to separate one sheet into four equally-sized strips.
Watch video for preparation before making the Onigiri
How to Make the Onigiri
Making the Bonito Soy Sauce Onigiri
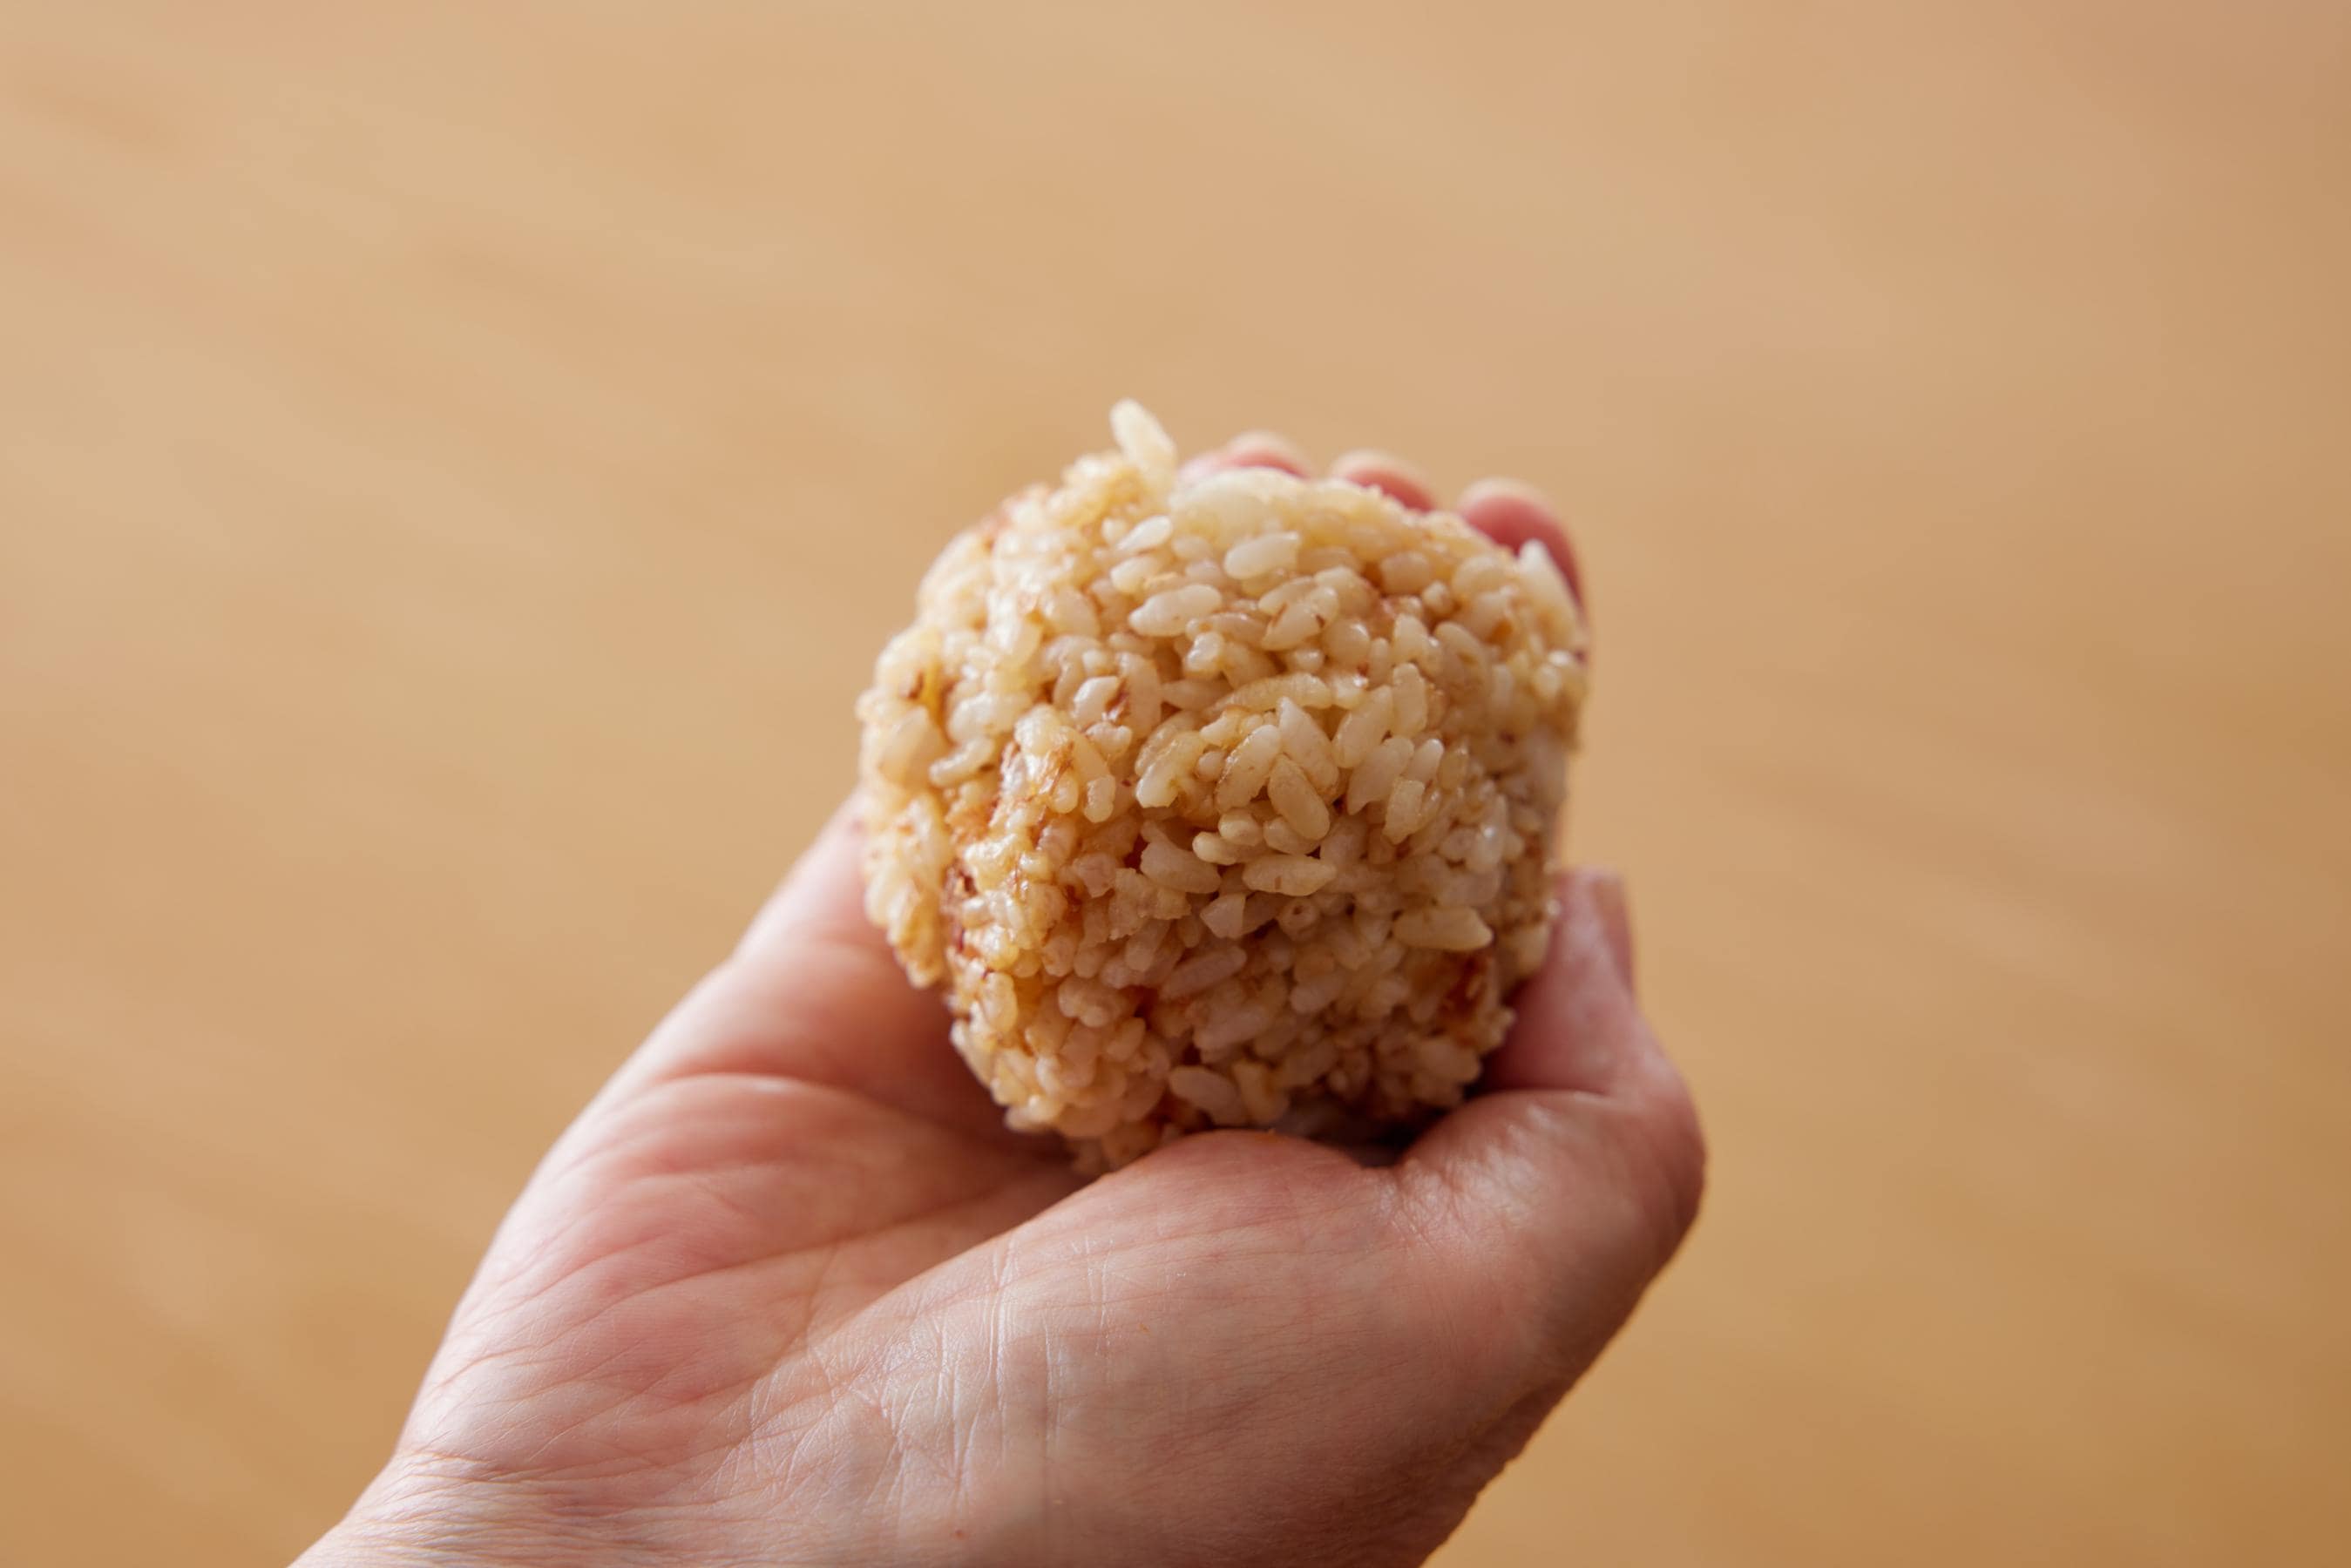
- 1Pour water into a bowl. Wet your hands with the water, then put half of the bonito soy sauce rice into your hands, using your hands to gently roll the rice into a ball.
- TipsWetting your hands makes it harder for the rice to stick to them, and easier to squeeze the rice balls.
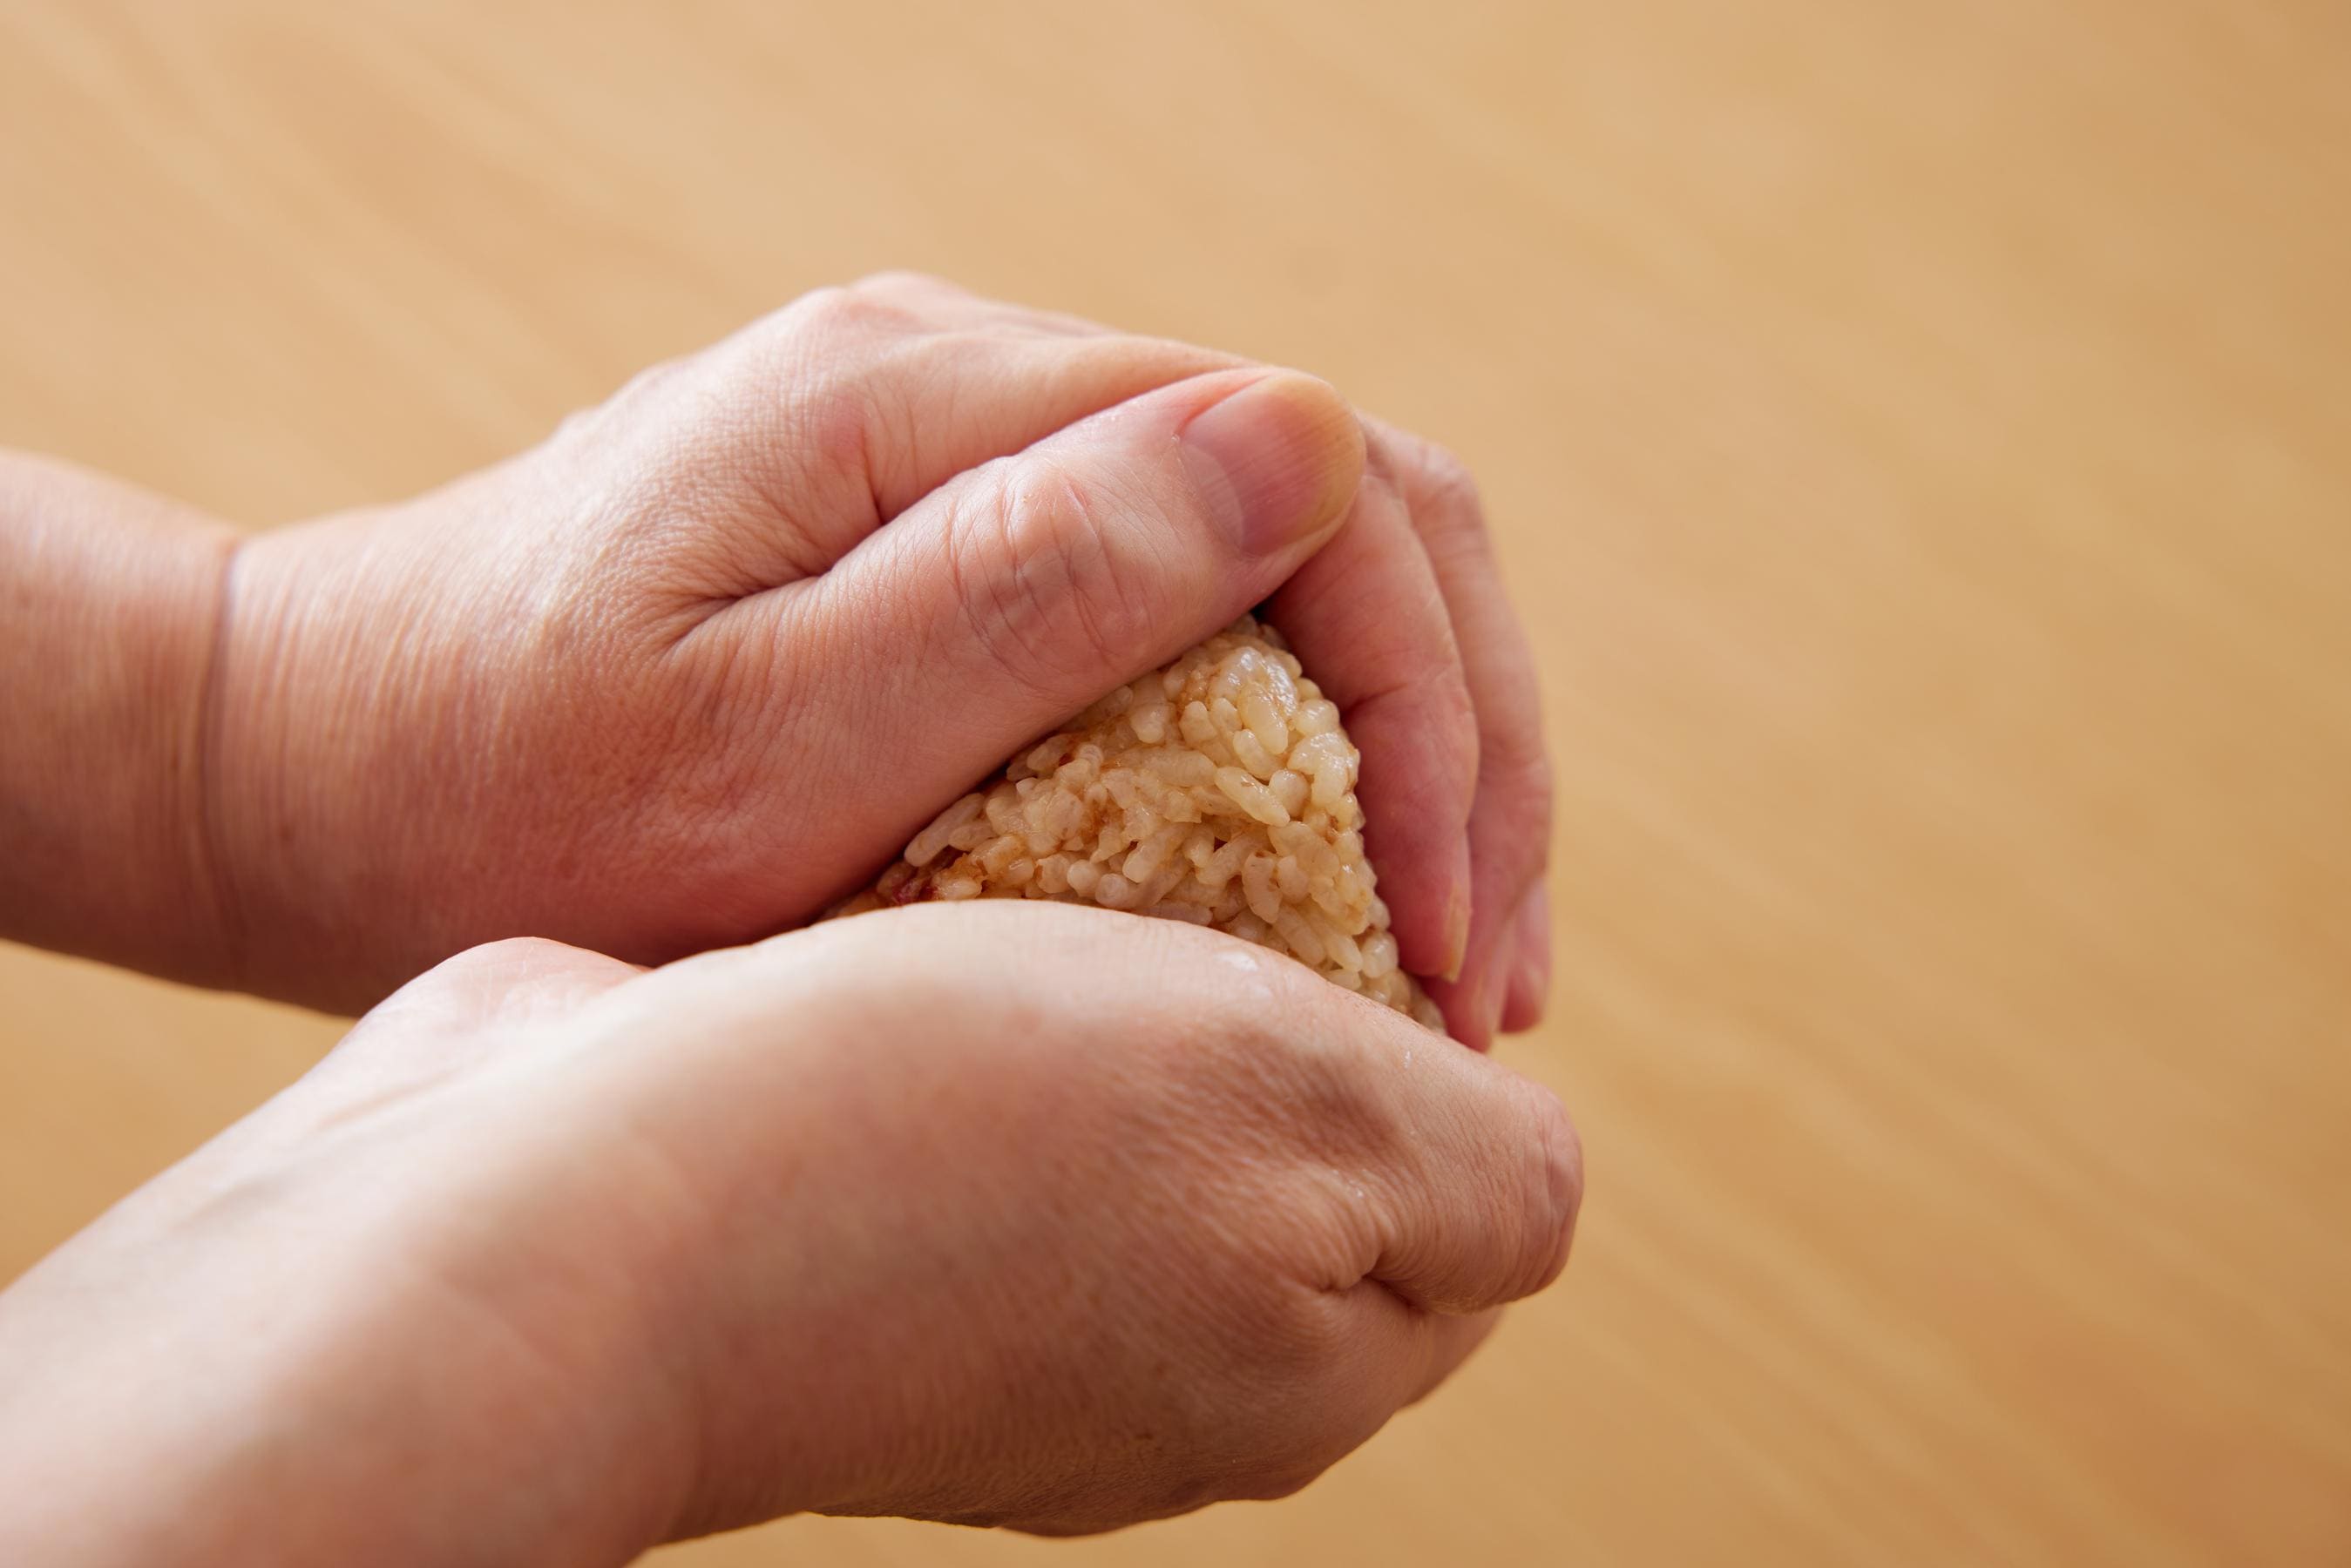
- 2Gently squeeze the rice ball in one hand, and with your other hand’s fingers bent, gently press on the surface to form one of the triangle’s corners.
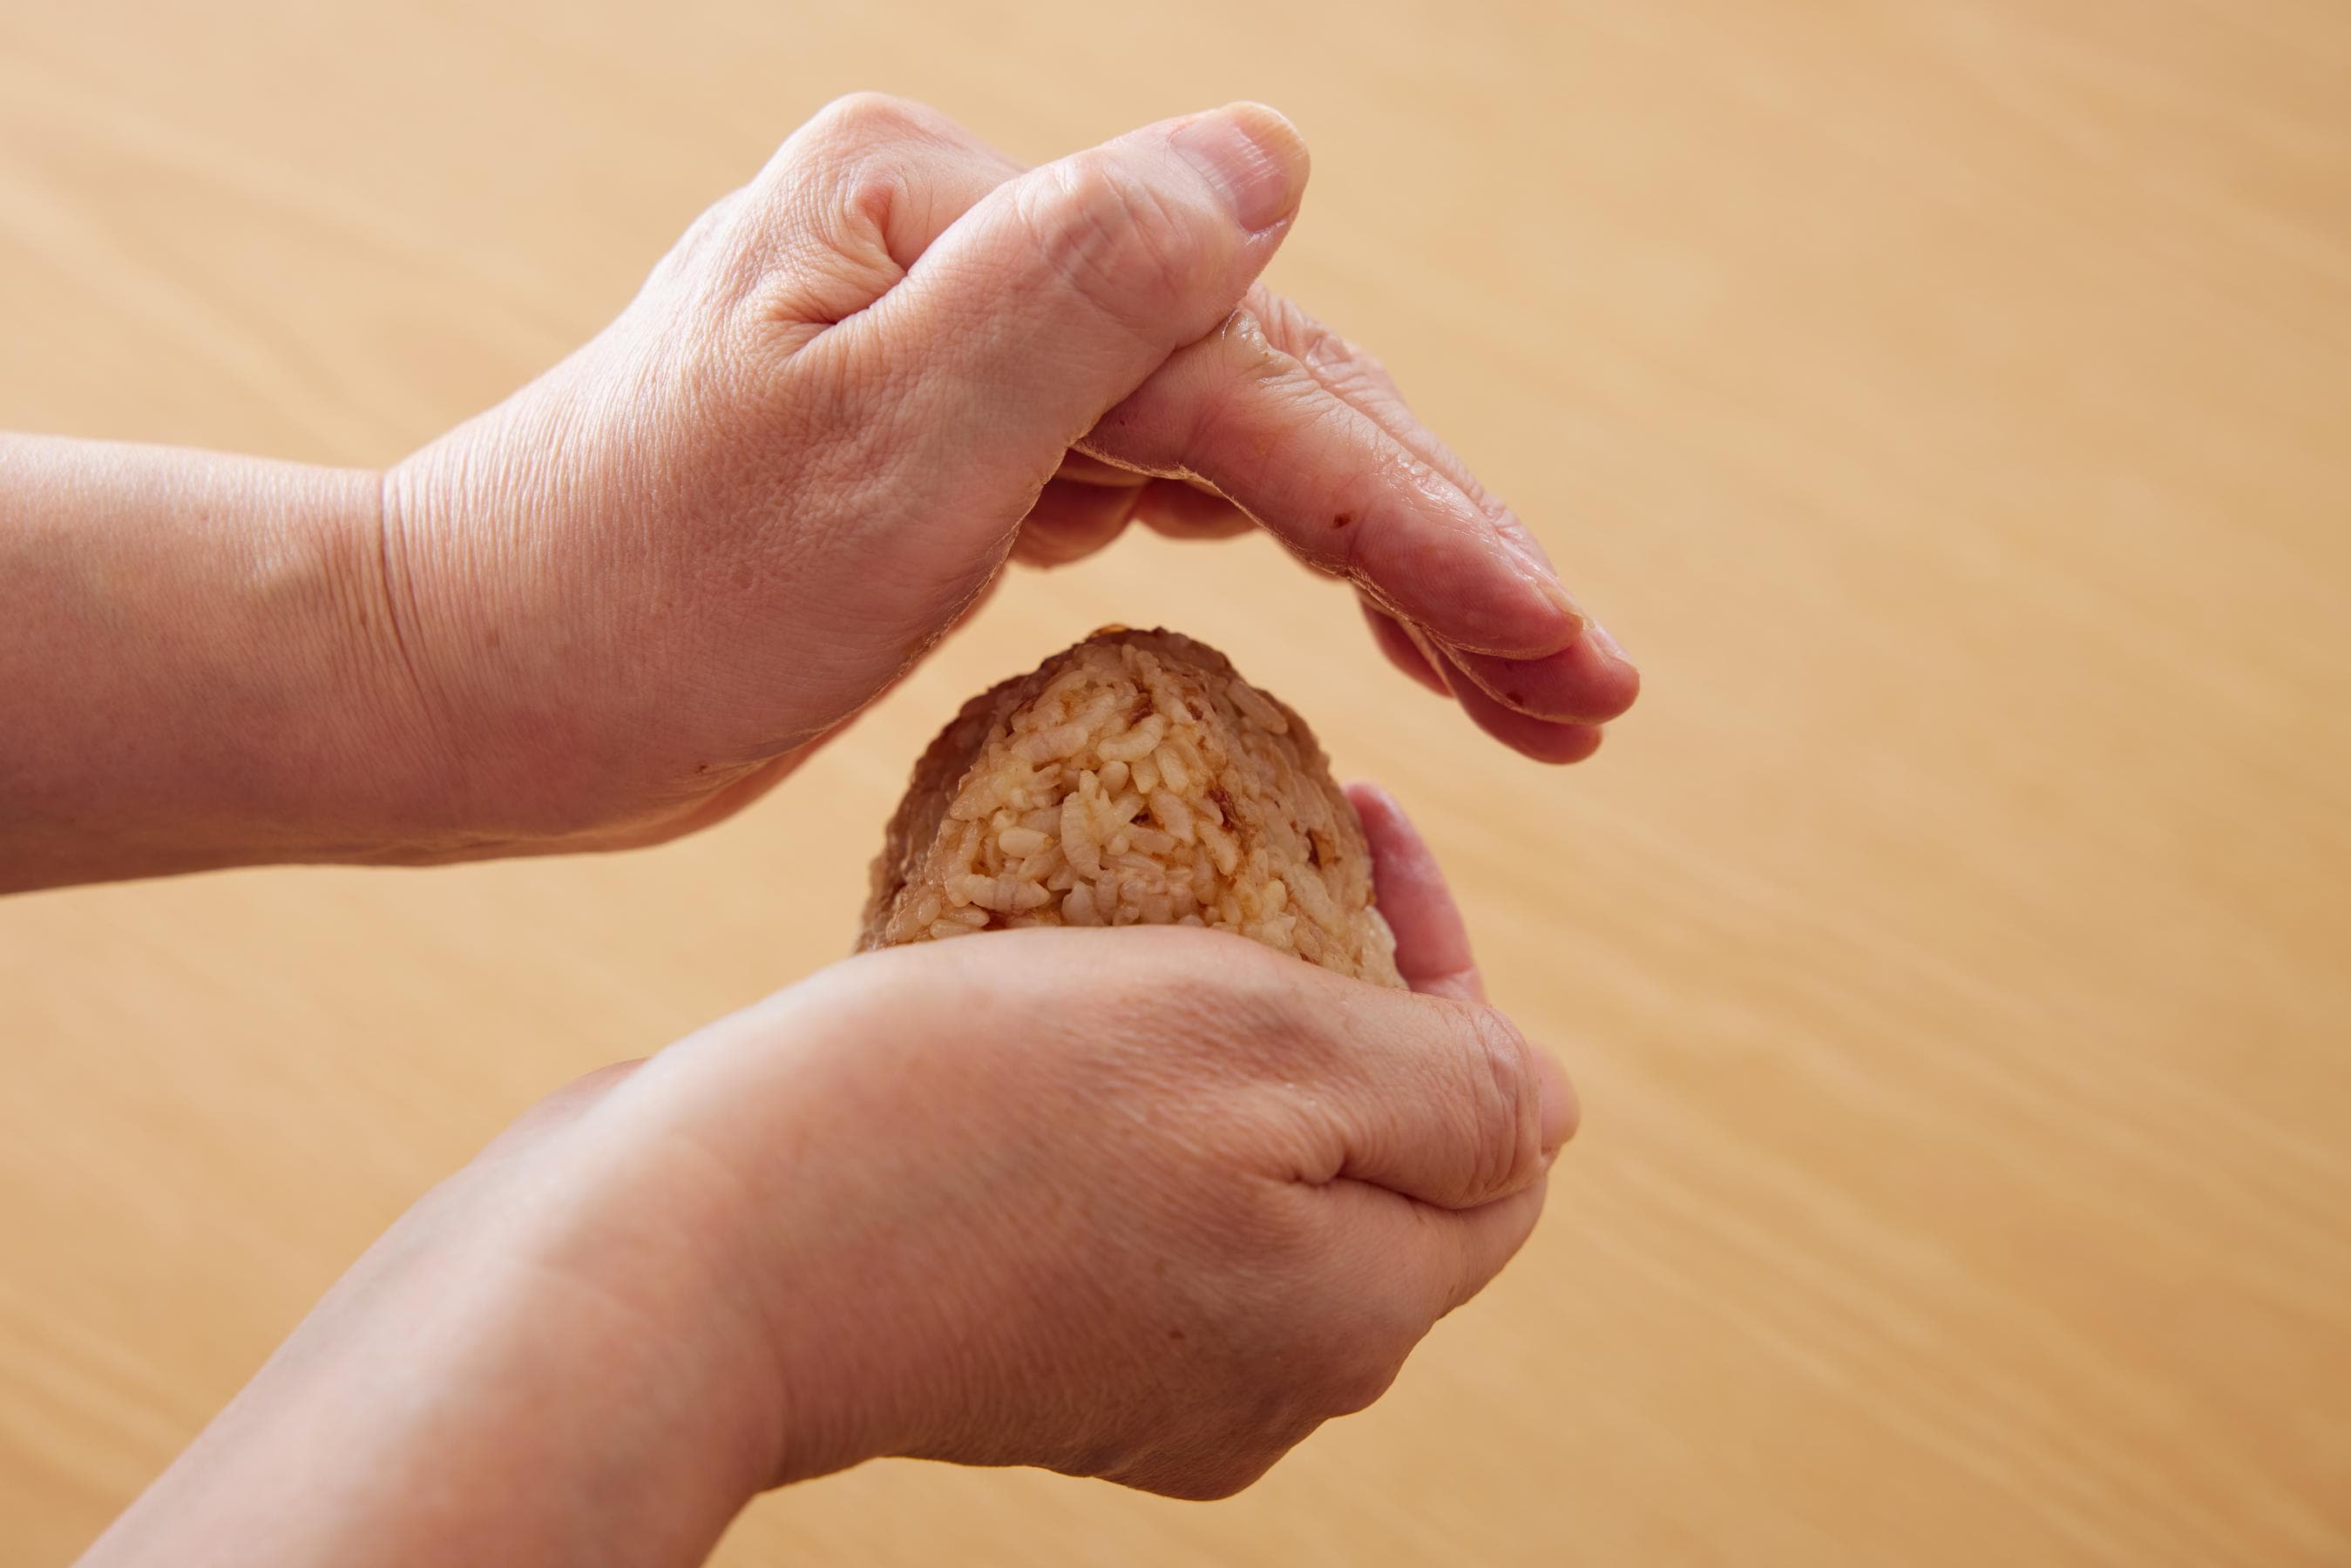
- 3Roll it around in your hand with a different corner facing upward, and then squeeze gently.
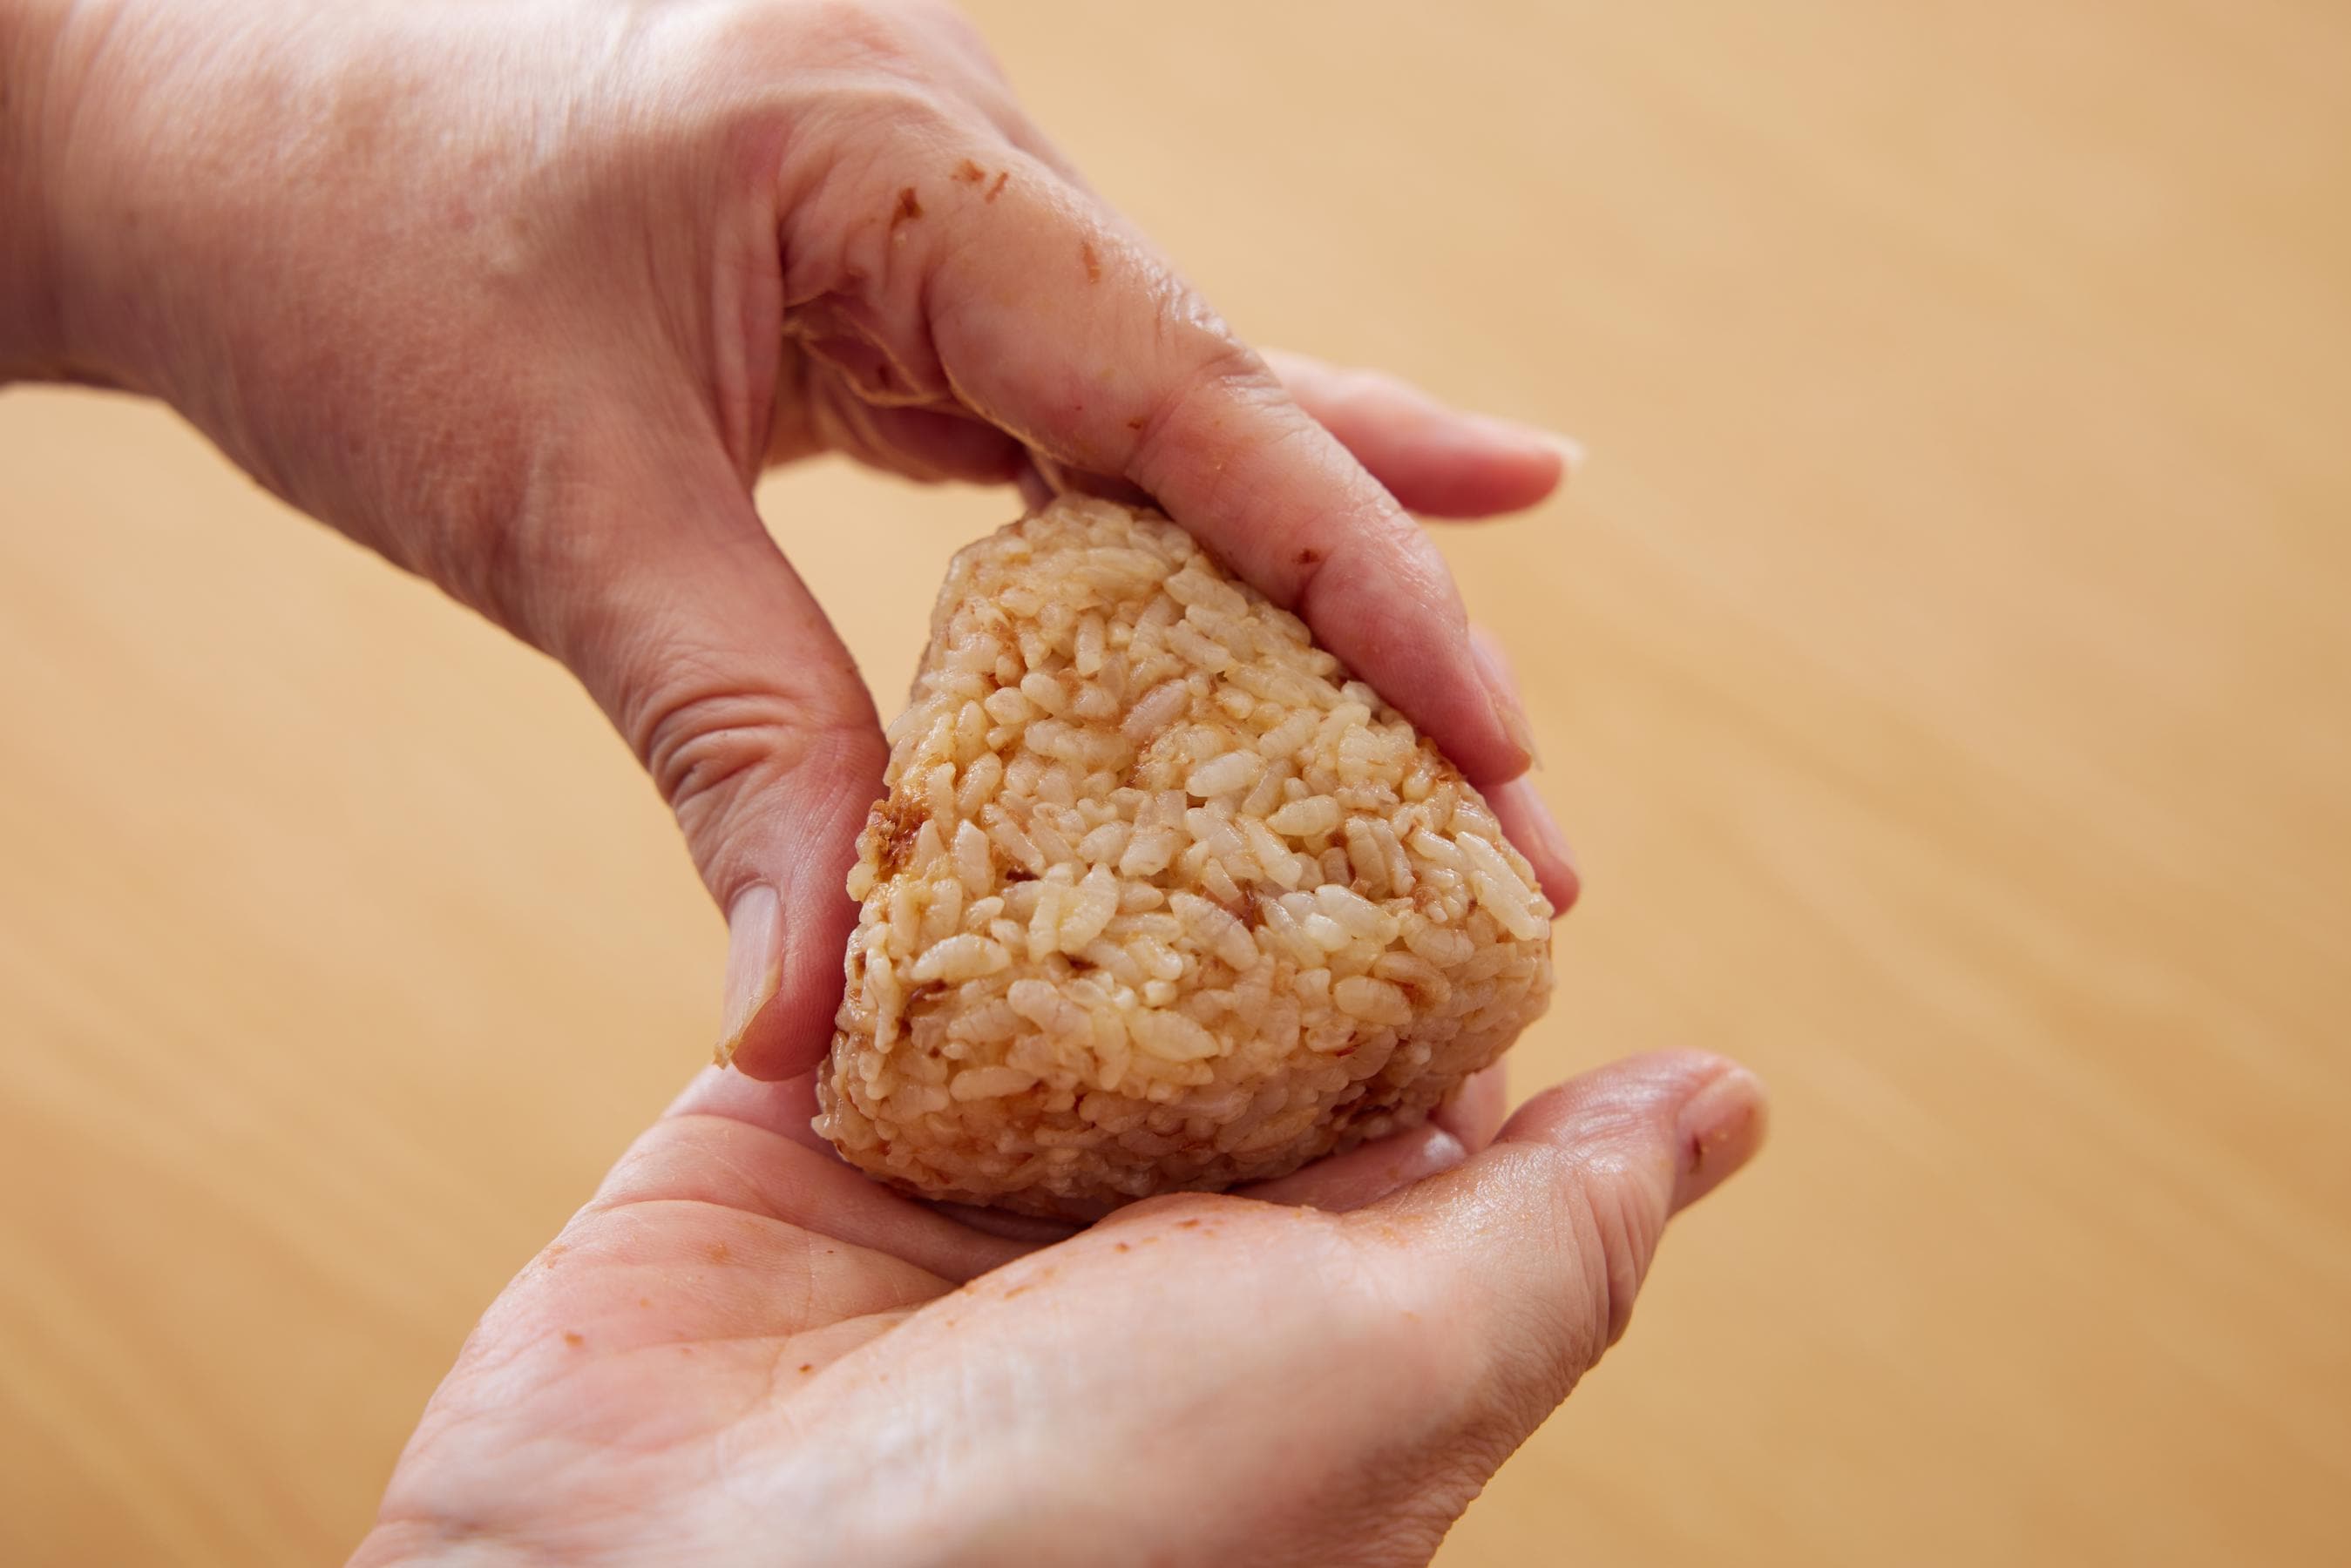
- 4Once the shape begins to form, use your fingers to adjust the triangular shape.

- 5Use one cut strip of dried seaweed and press it on the lower half of the rice ball to wrap it. If the seaweed is too long, cut it to a suitable length. After squeezing, repeat this ball-forming process with the remaining half-portion of bonito soy sauce rice.
Watch video for making the Bonito Soy Sauce Onigiri
Making the Tuna Mayo Onigiri
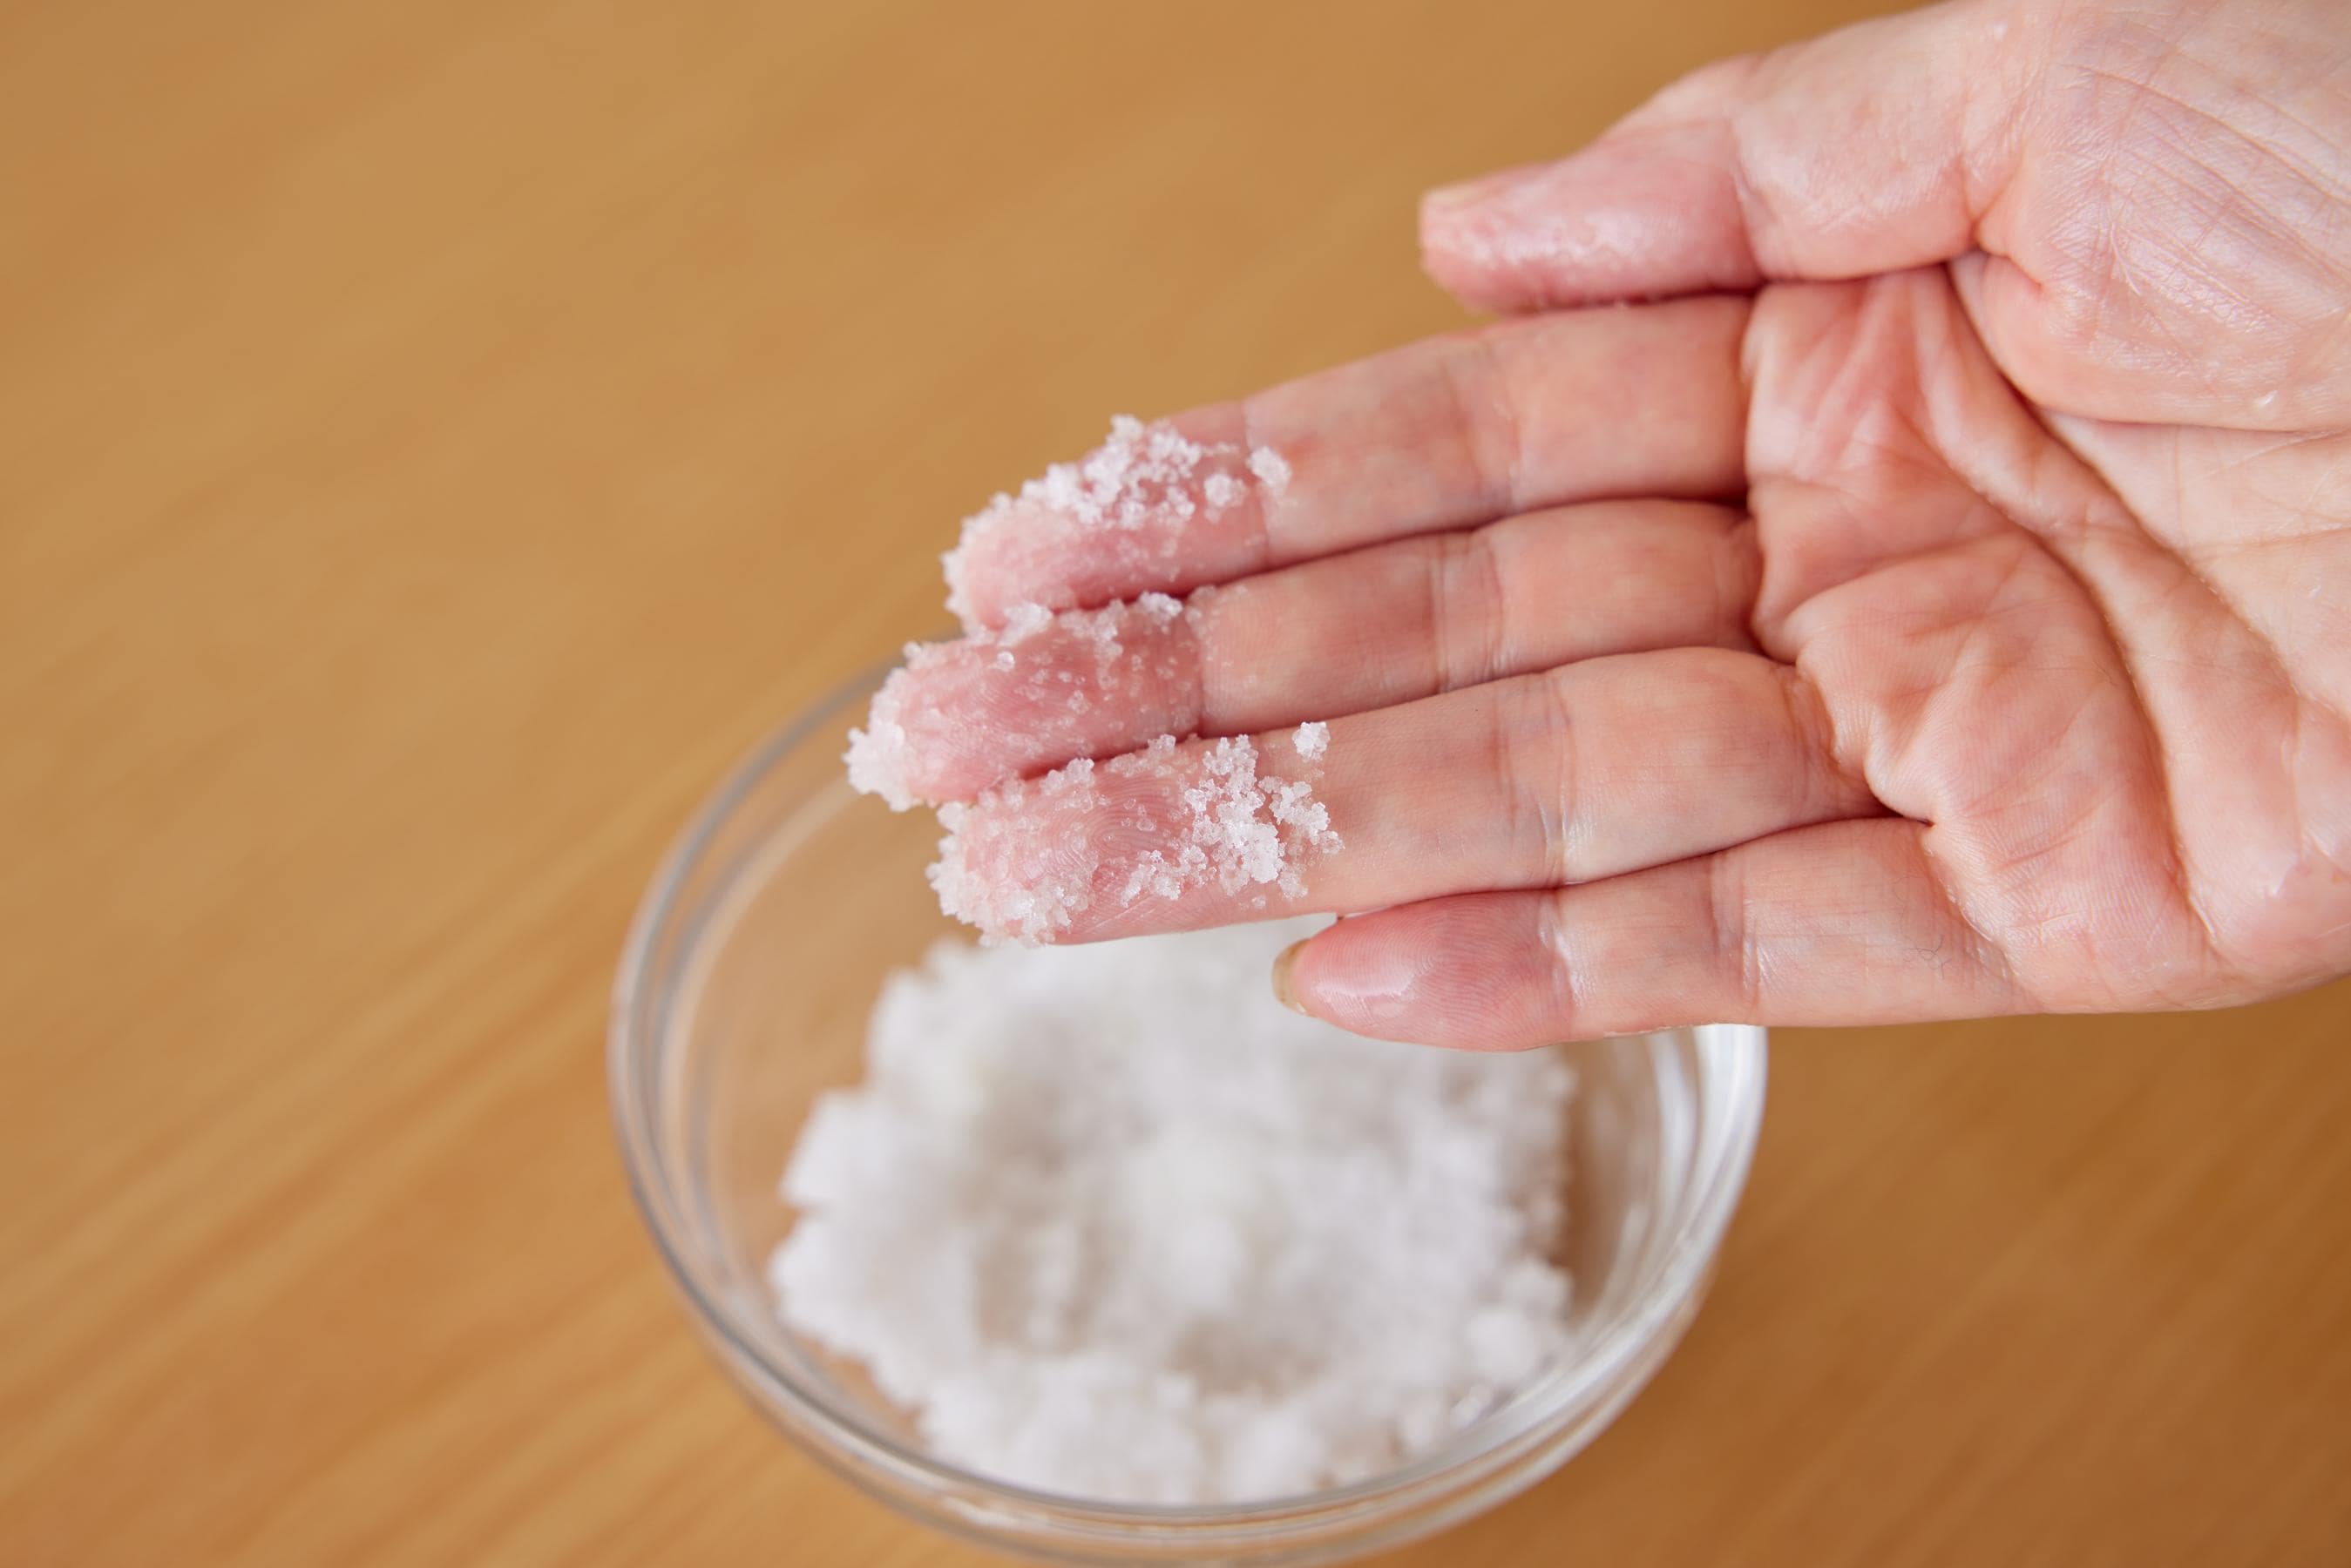
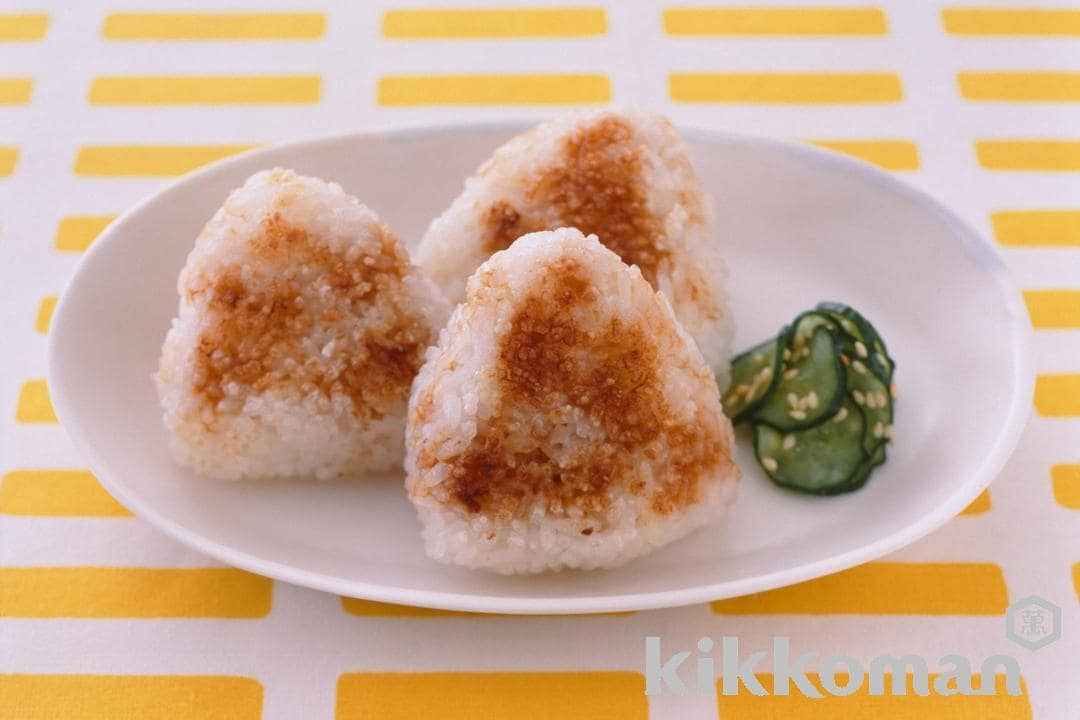
- 1Wet your hands with the bowl of water. Put a little salt on your fingertips and rub your palms together to spread salt on both hands.
- TipsWhen squeezing the white rice into a ball, coating the surface with salt adds flavor and even helps the Onigiri to stay fresh for a little longer. Covering your palms in salt makes it easy to coat the whole Onigiri.
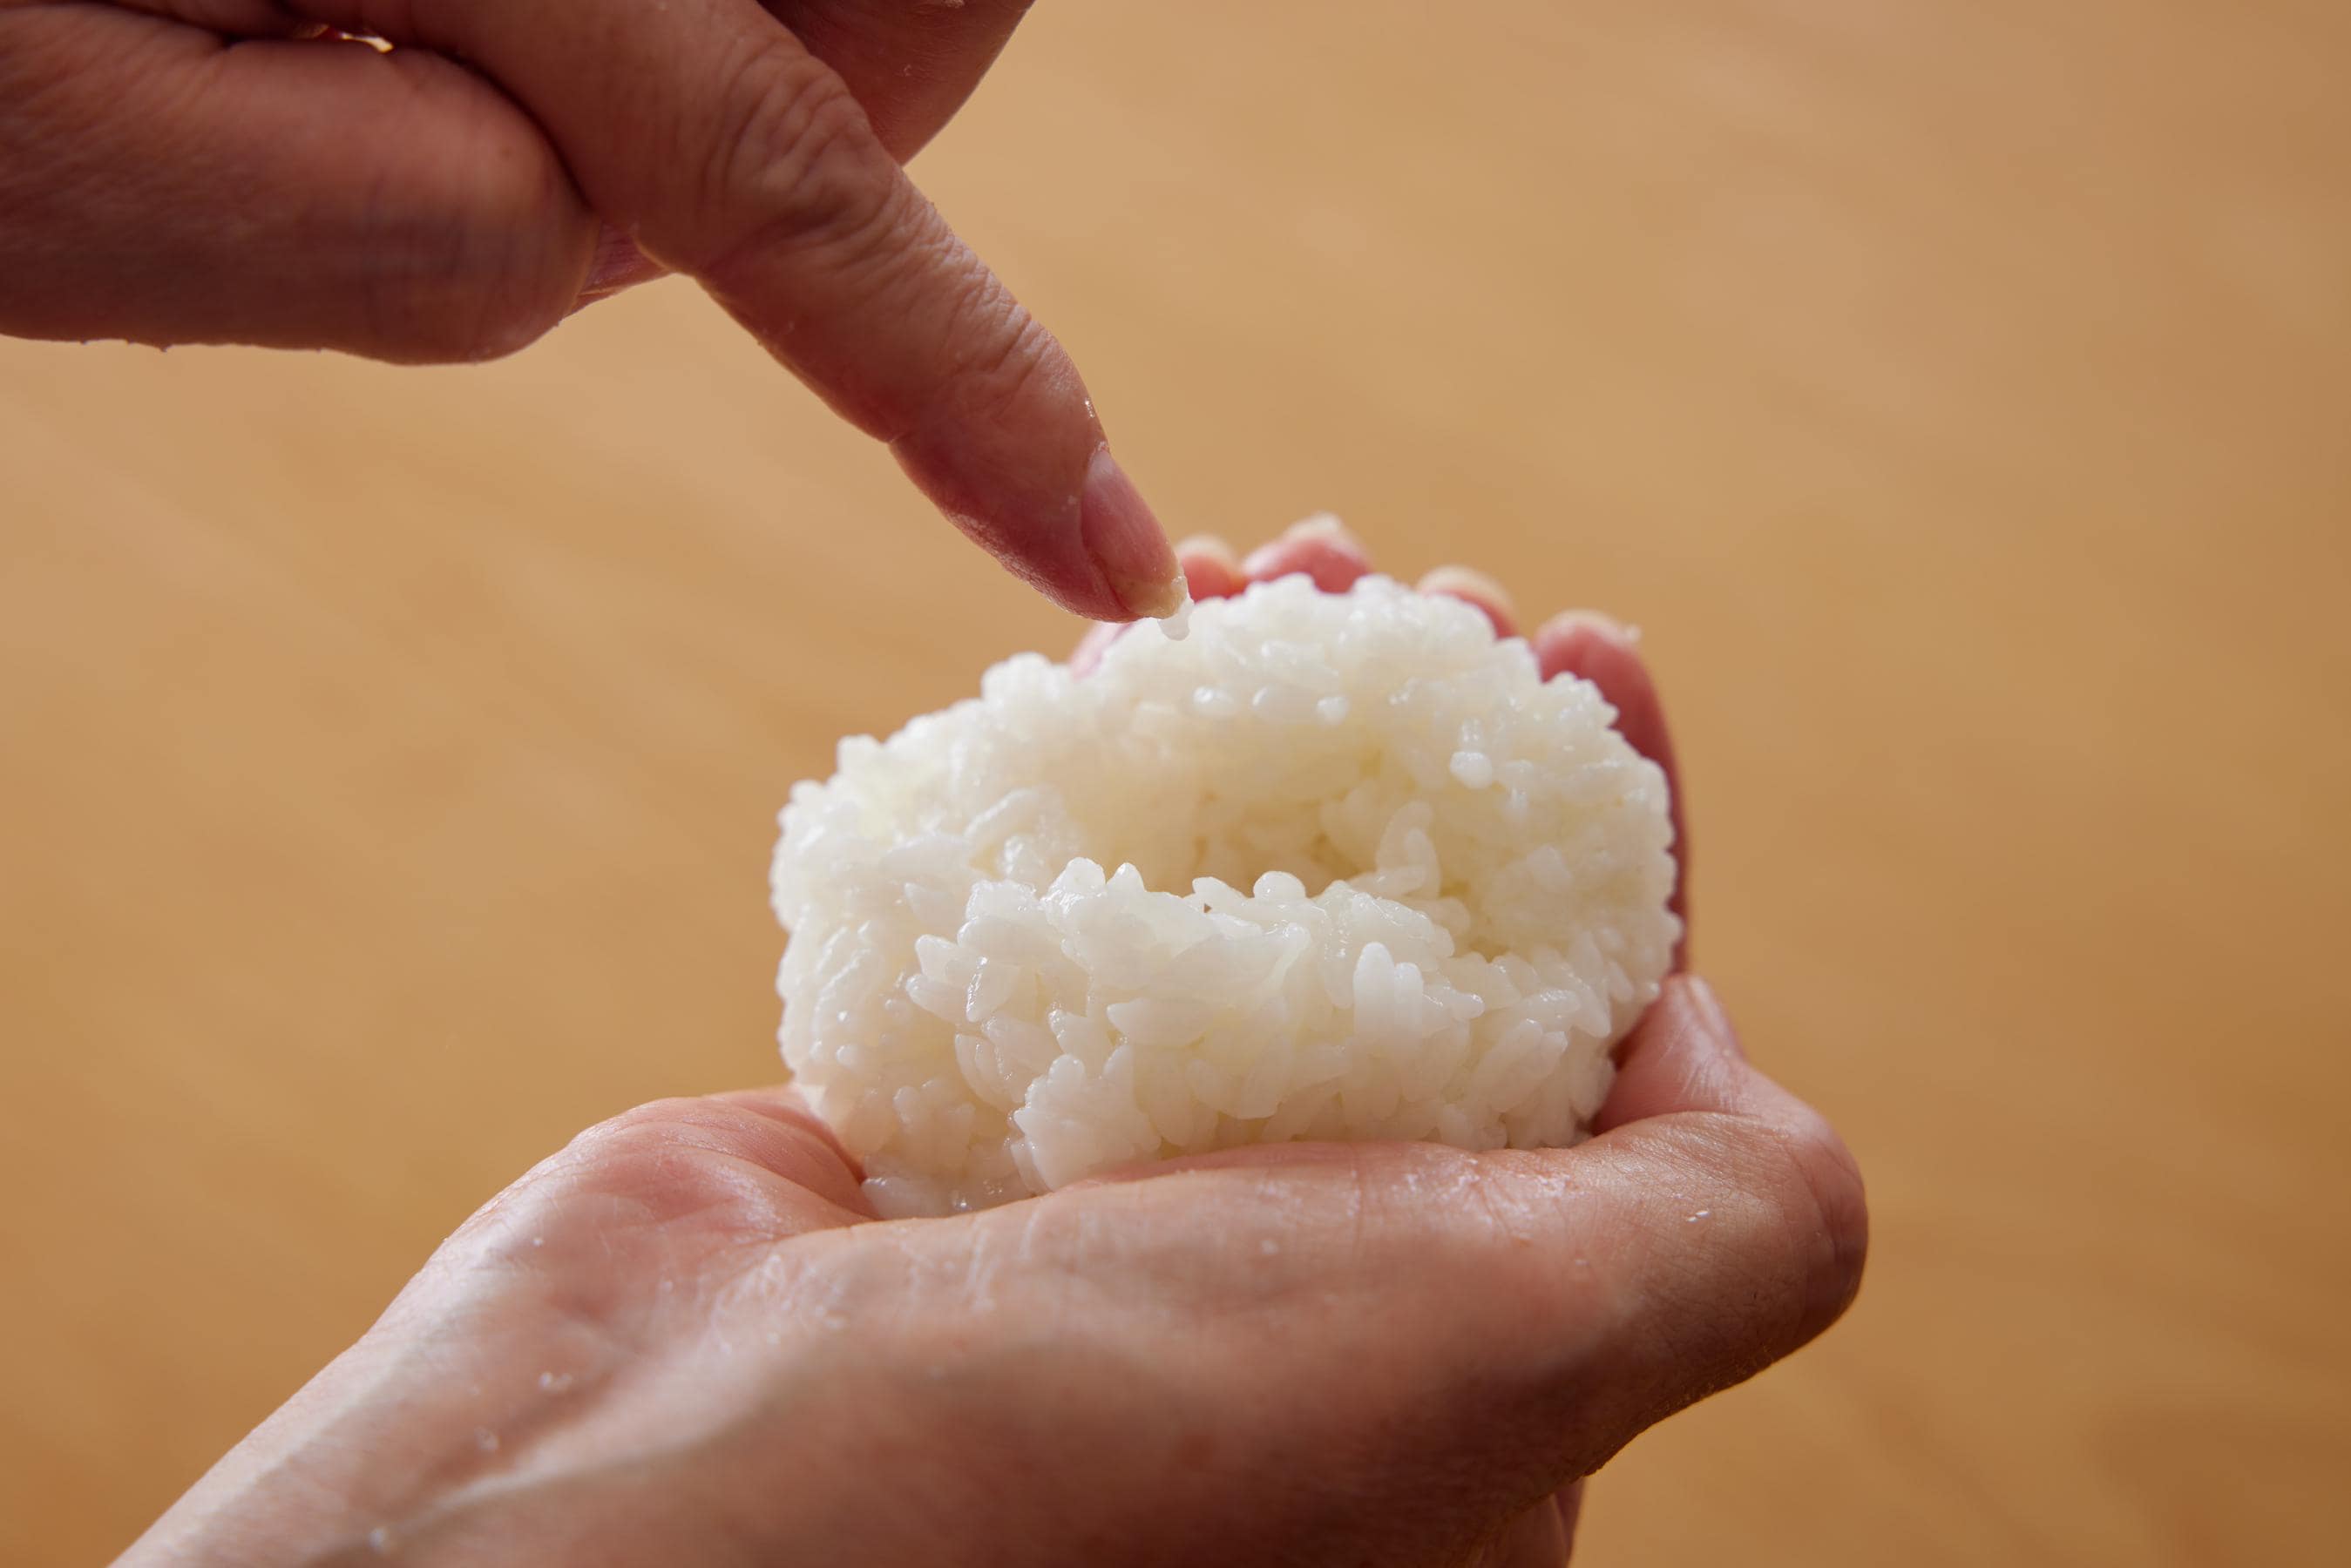
- 2Put the remaining half of white rice into the palm of your hand and roll it gently. Use your fingers to form a small hole in the center of the rice ball, then insert one-half of the tuna mayonnaise.
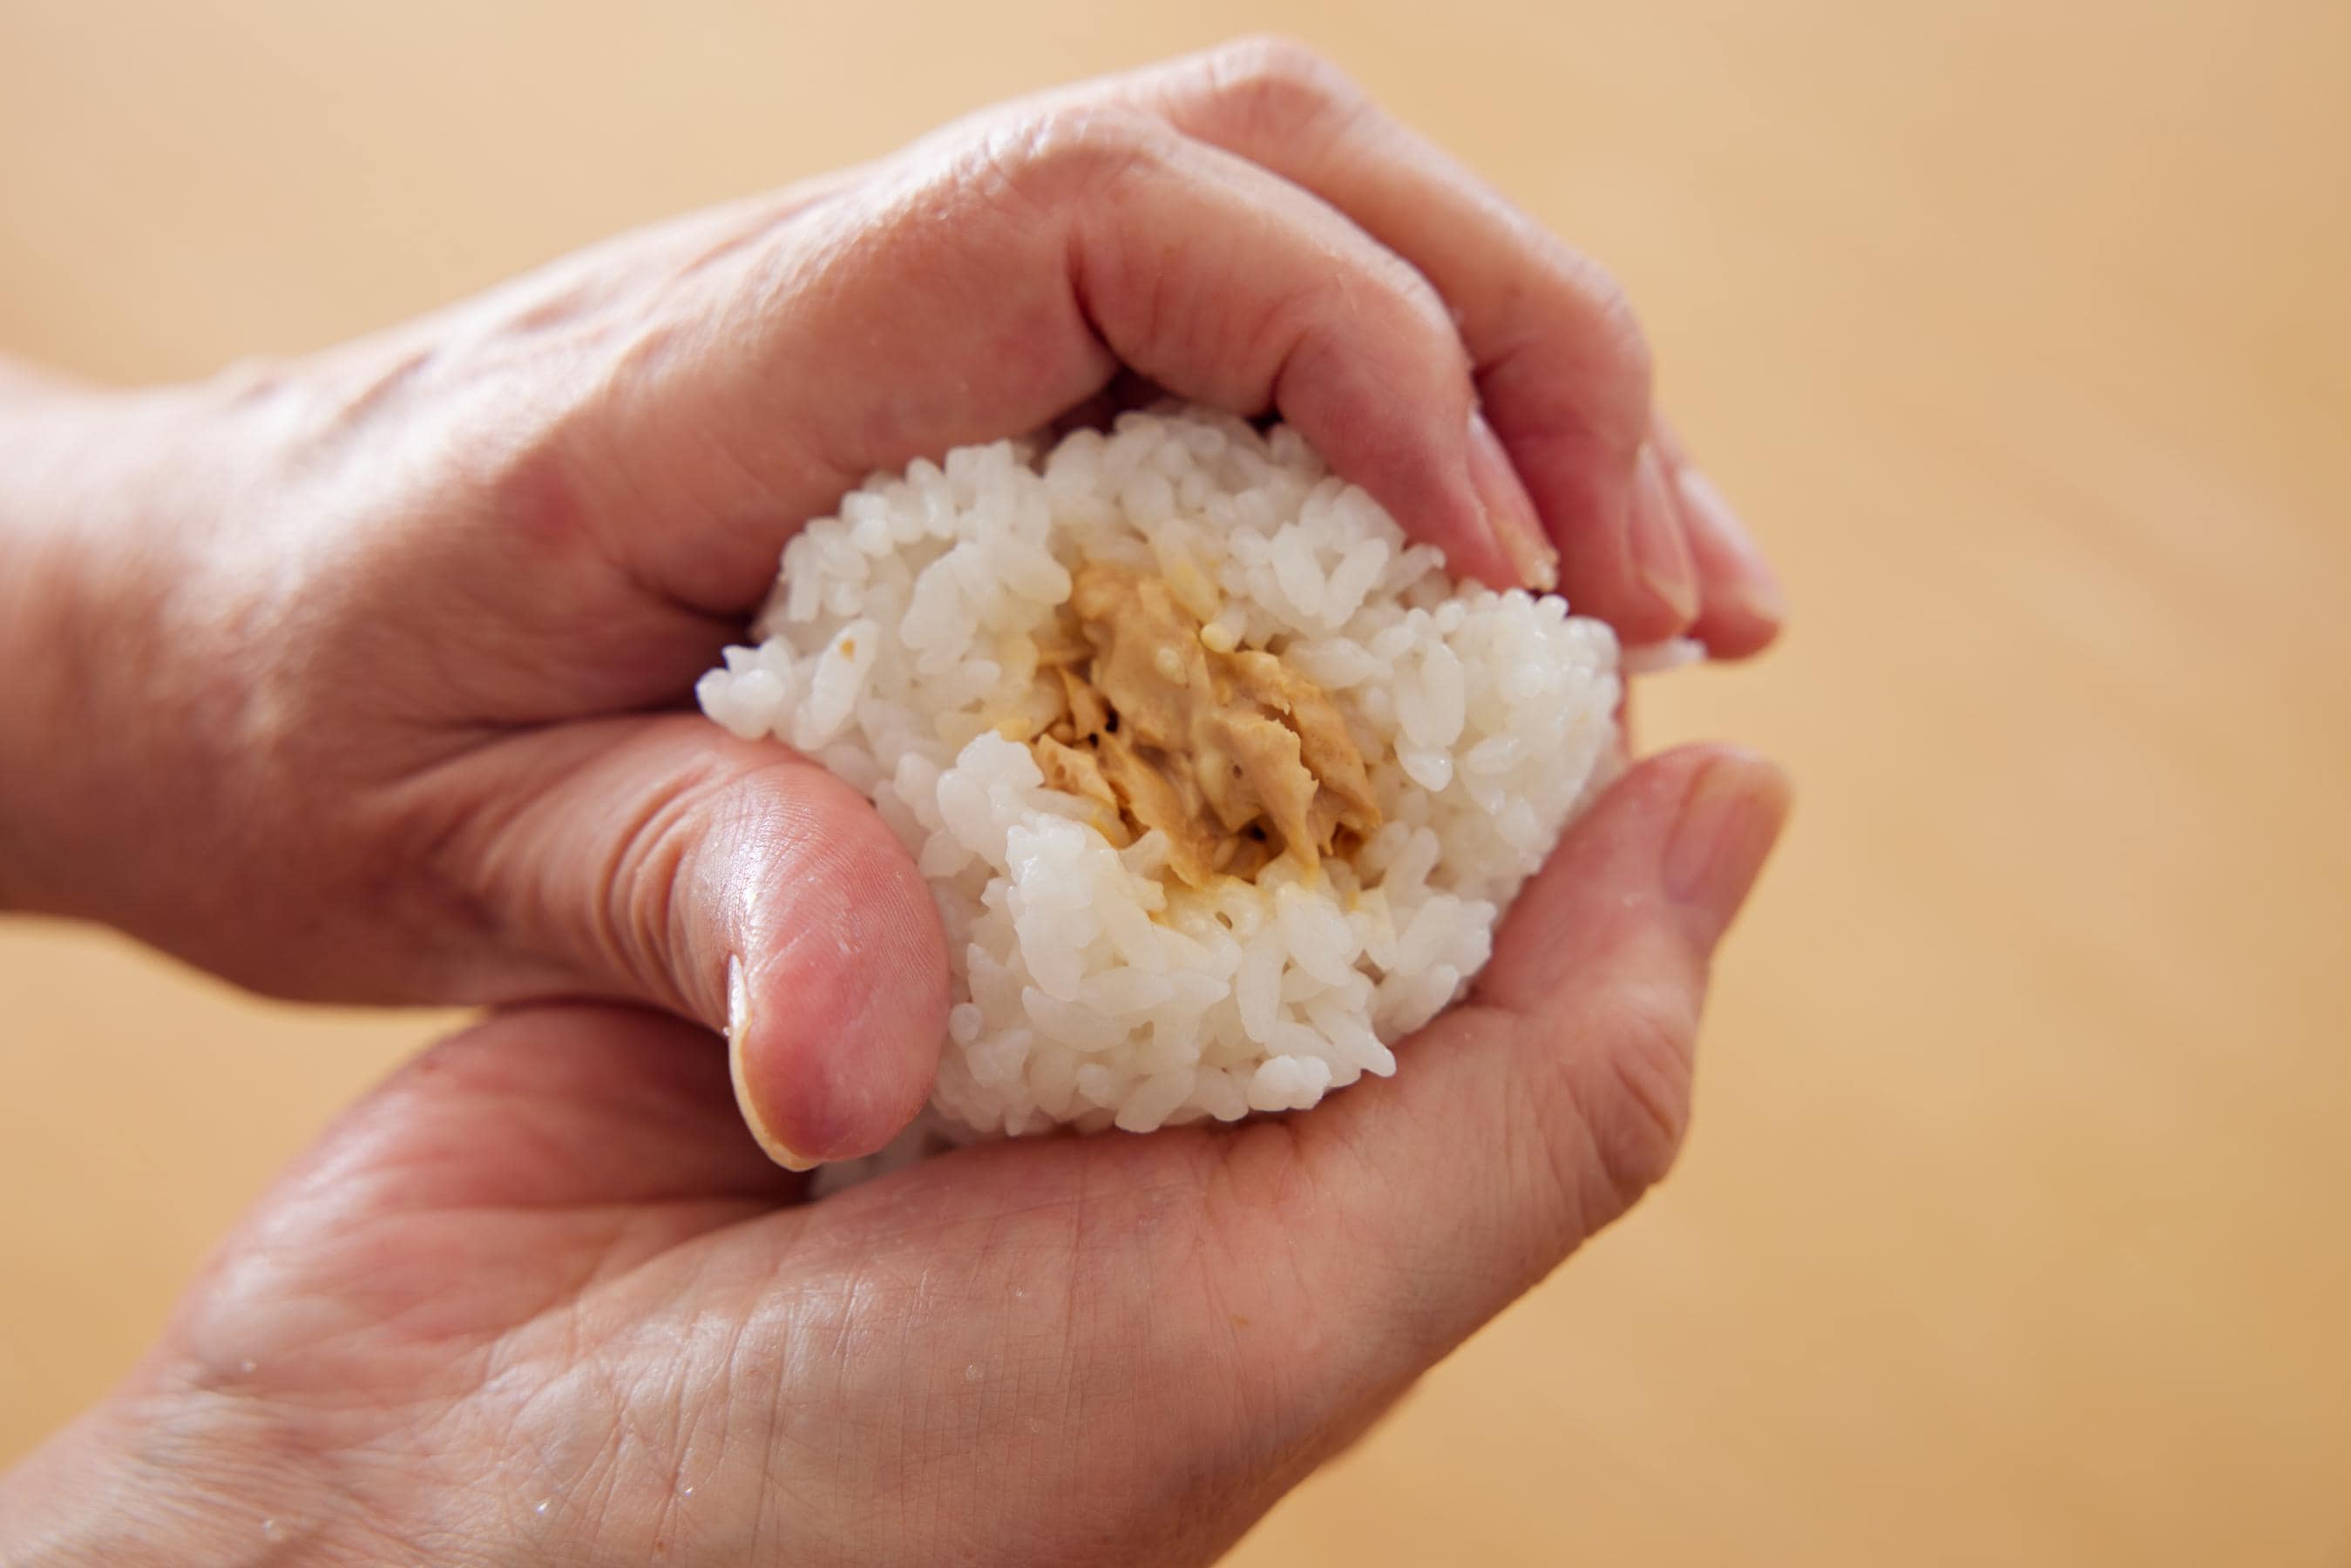
- 3Make the hand holding the rice round, and roll the rice in it so as to wrap the rice ball closed. After that, adjust the shape into a triangular as you did for the bonito soy sauce Onigiri, and then wrap it with seaweed. After finished squeezing the rice ball, use the remaining half-portion of rice to make another rice ball.
- TipsIf the filling seems like it will leak out, wrap the rice ball closed while pressing with the fingers of your free hand.
Watch video for making the Tuna Mayo Onigiri
More Ways to Enjoy Onigiri
Mix Beans and Herbs into the Rice to Make “Maze-Gohan Onigiri”
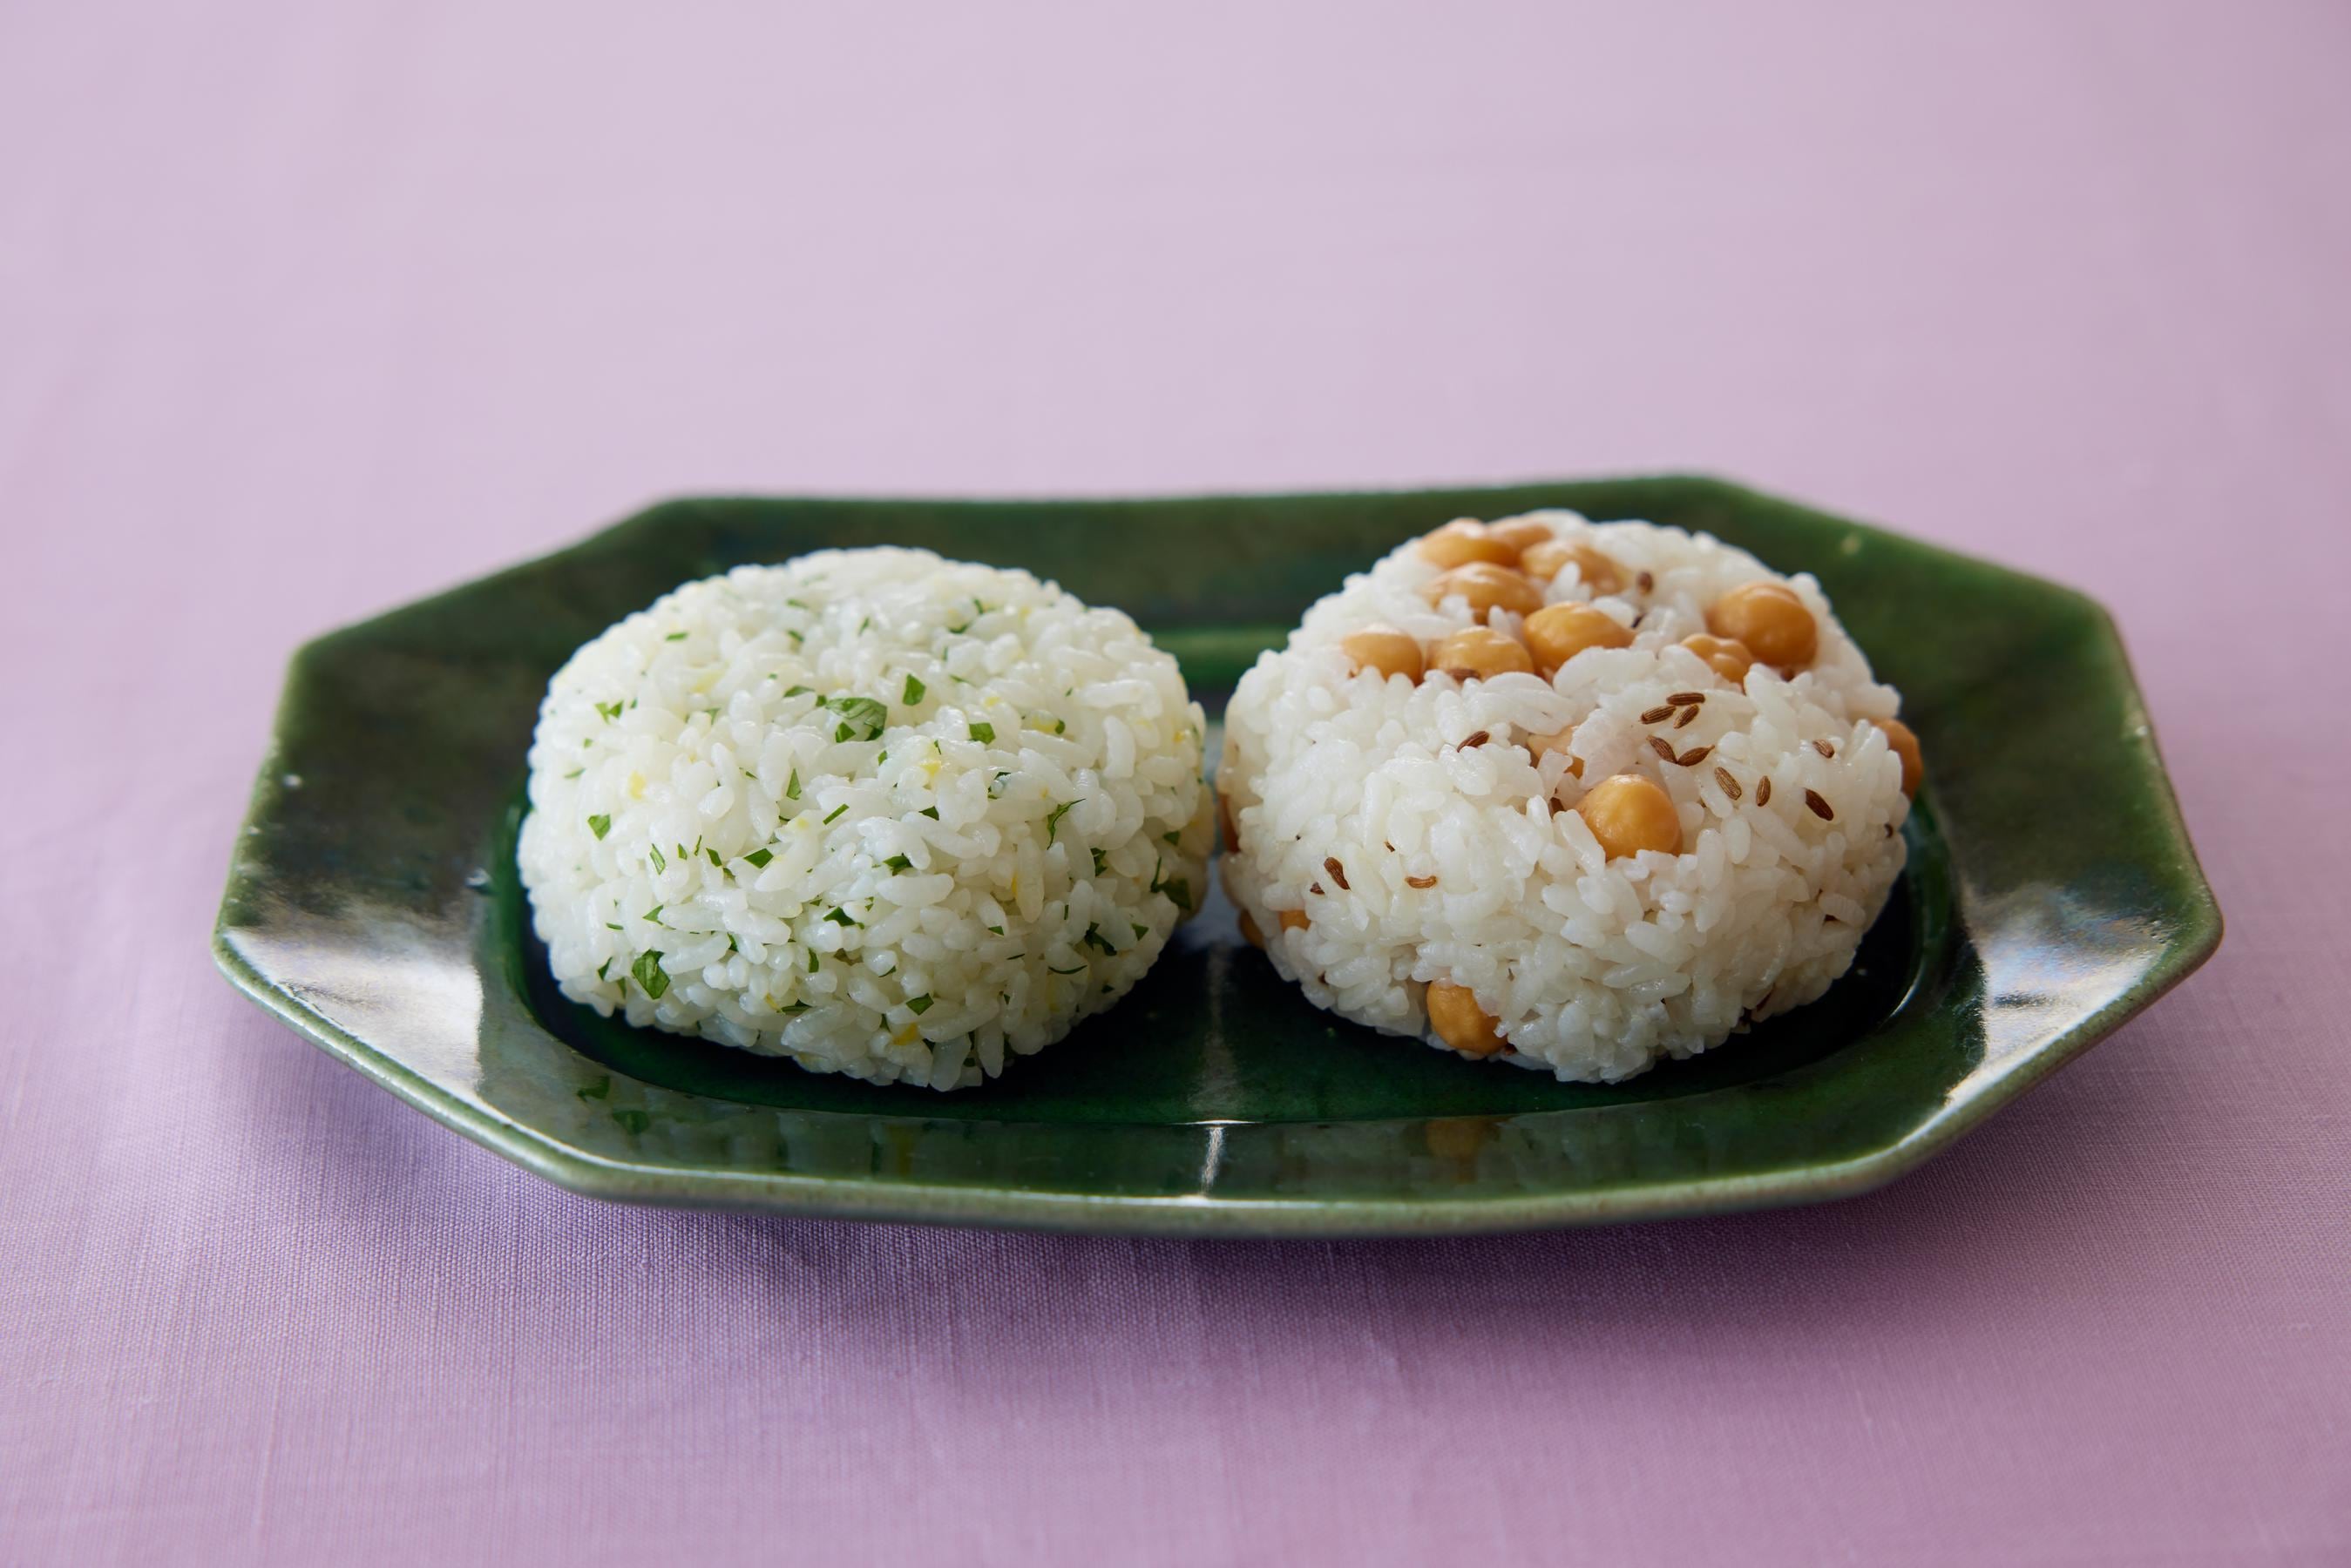
One type of maze-gohan Onigiri can be made by mixing boiled chickpeas and cumin seeds with Kikkoman Soy Sauce. Another type uses minced Italian parsley mixed with salt and lemon zest for a refreshing aroma. For these, squeeze the rice balls into a flatter disc-like shape.
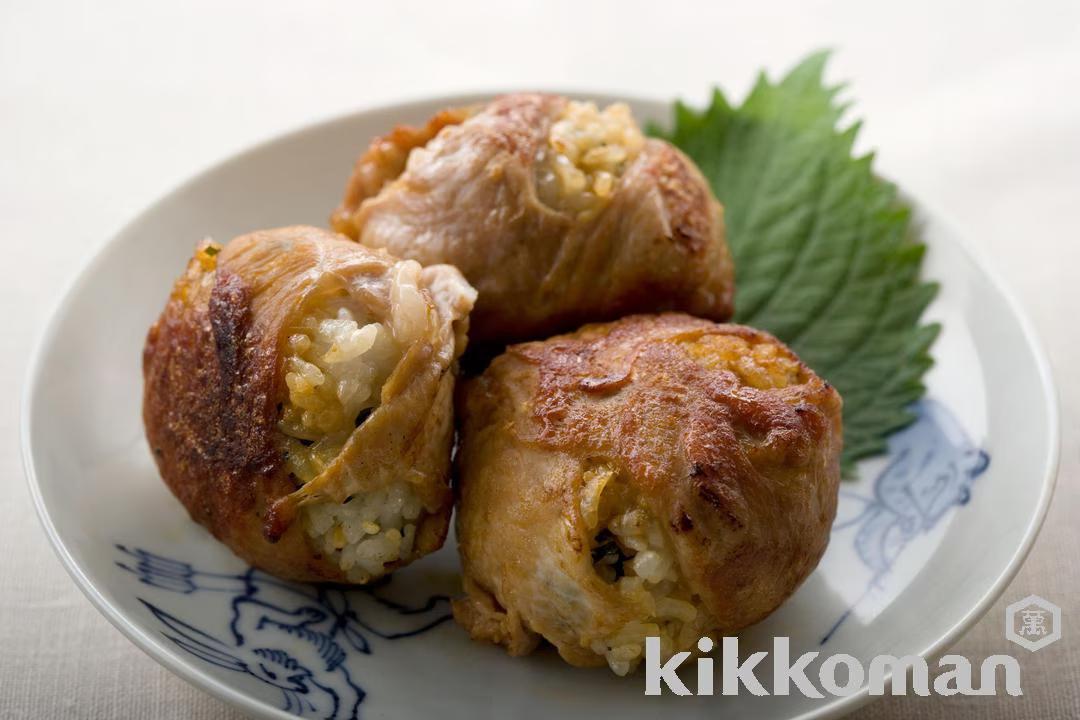
Fill with Your Favorite Ingredients and Wrap with Prosciutto
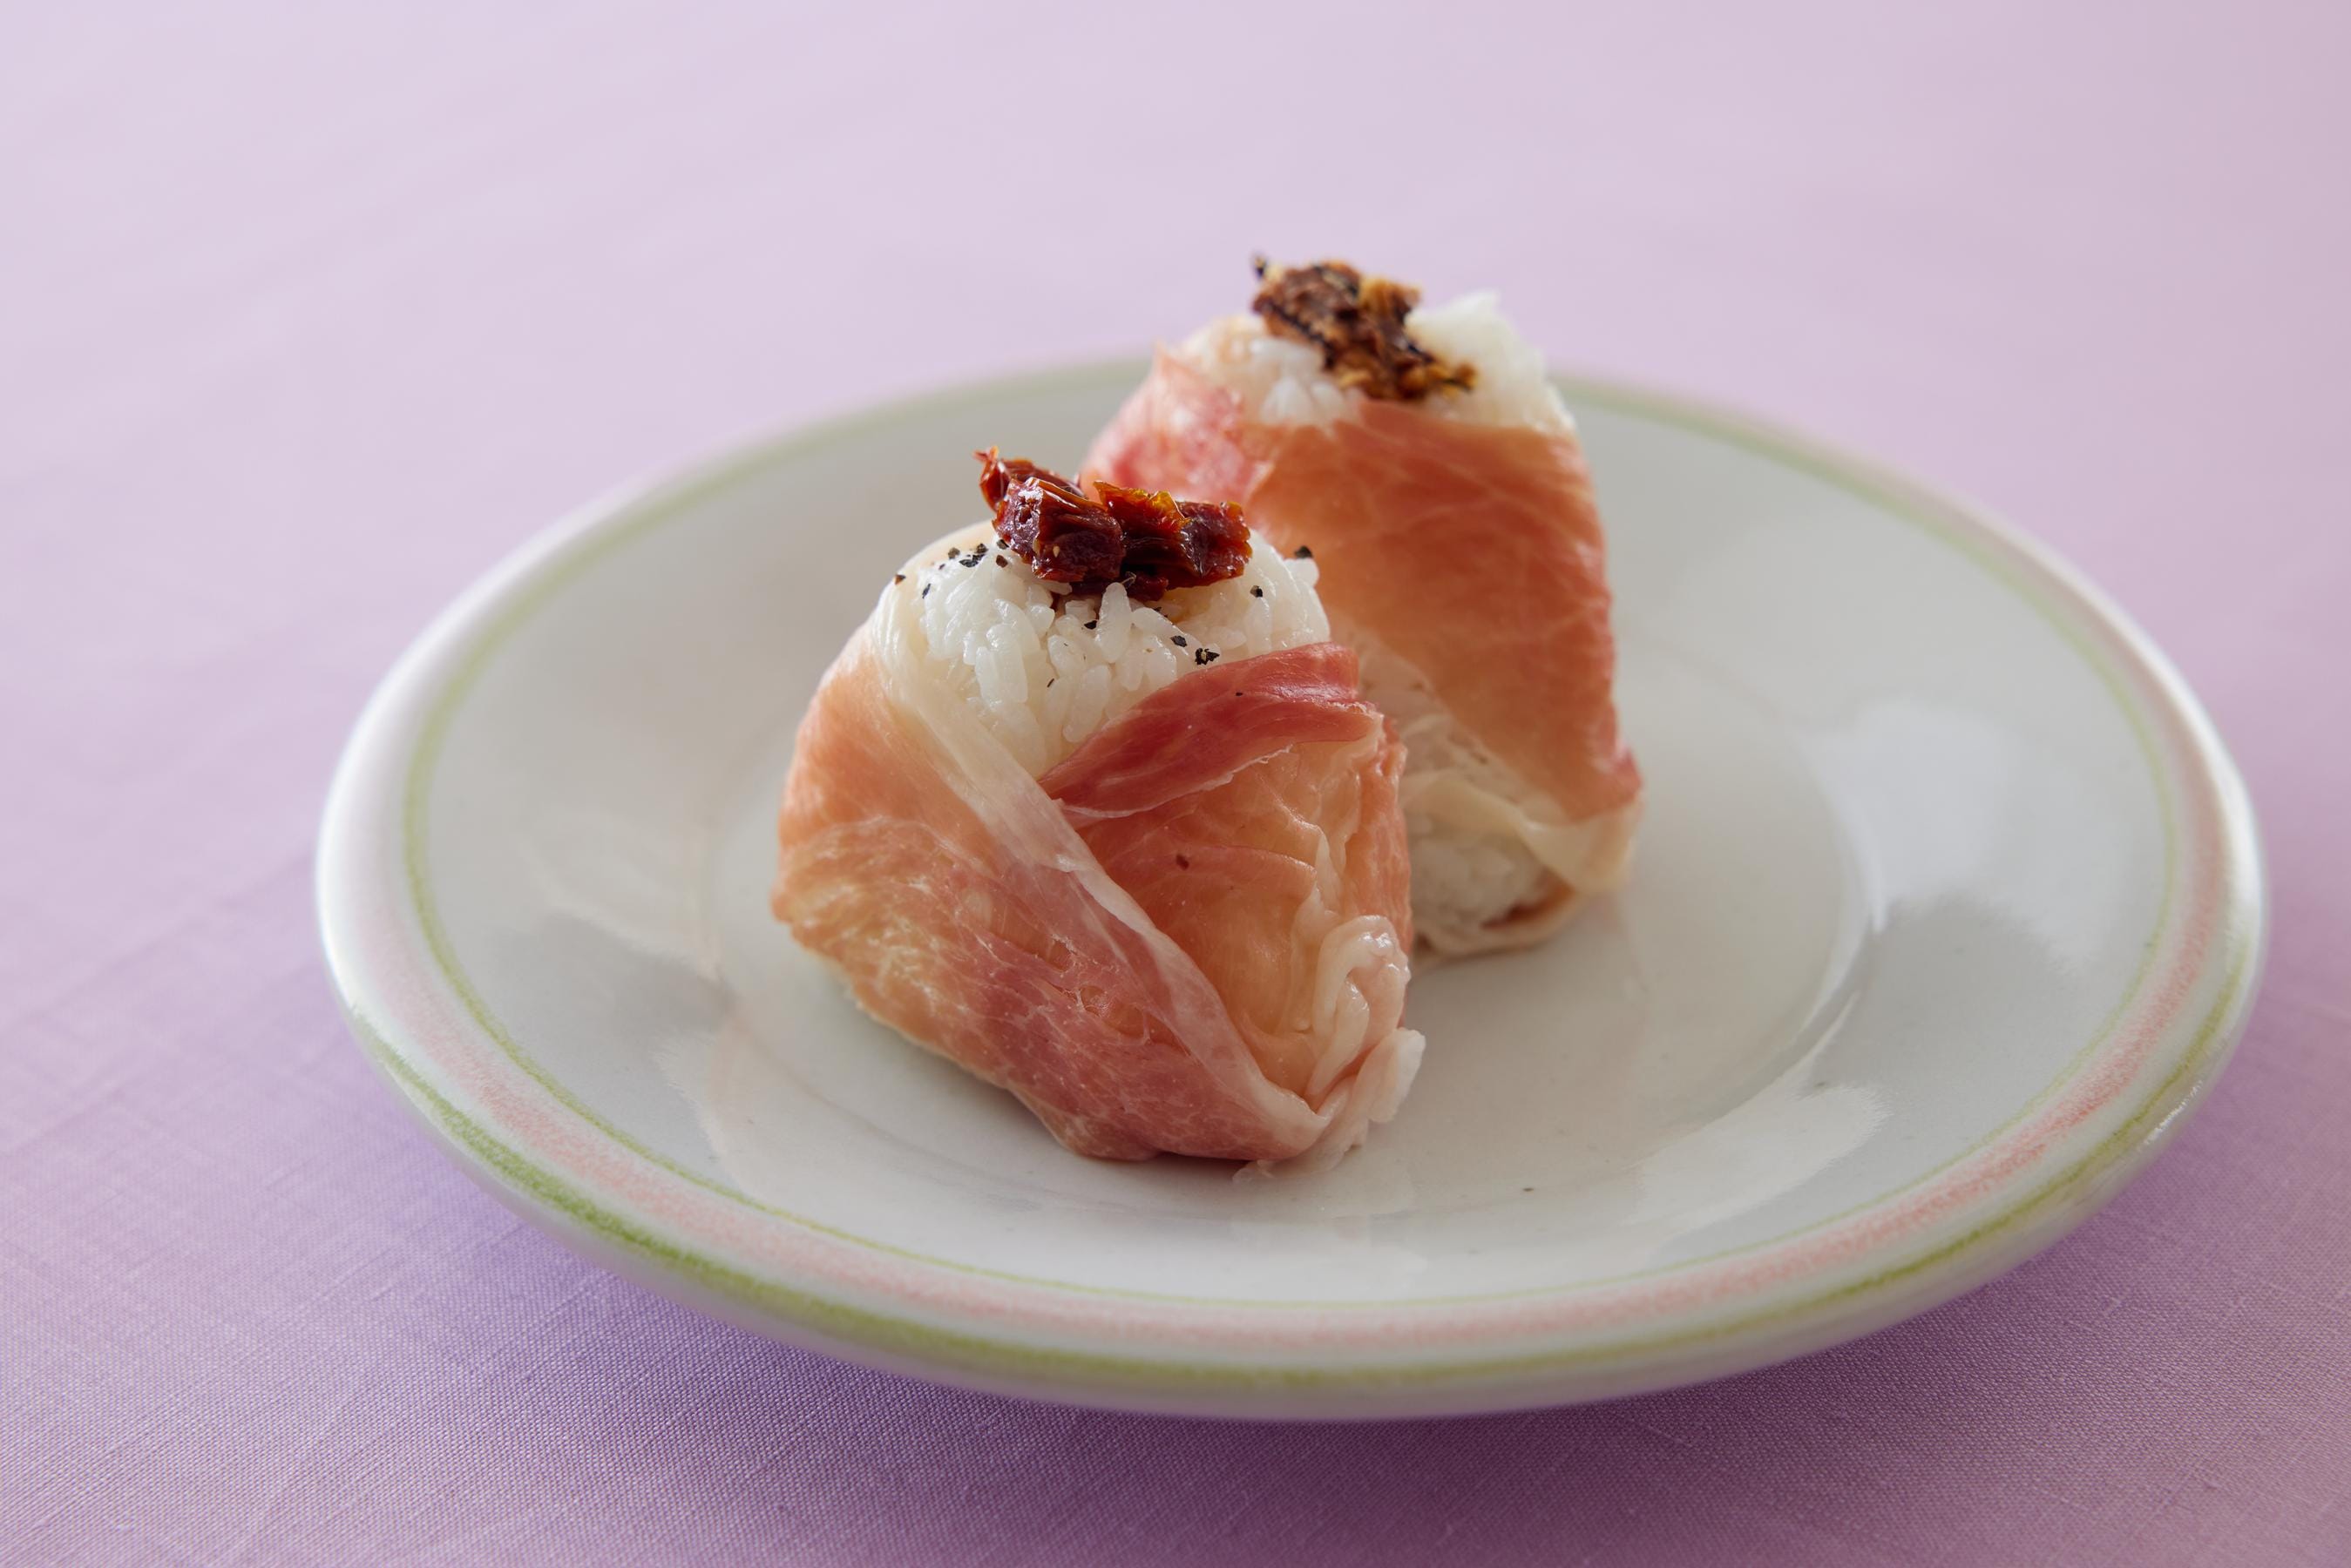
We also recommend trying Onigiri wrapped in dry-cured ham (prosciutto) instead of seaweed. Make your Onigiri even tastier by using salty fillings, or using salt or soy sauce to season the rice! One variation of this uses sun-dried tomatoes in oil mixed with Kikkoman Soy Sauce. Another way to make this is by using oil-soaked sardines mixed with Kikkoman Soy Sauce, and rolling the rice into triangular balls. After wrapping each type with the ham, you can put a little of the filling ingredients atop each Onigiri so it’s easier to tell which filling is inside.
FAQ
What is the best type of rice for Onigiri?

Since Onigiri is put together using only rice, it is best to avoid using rice that is dry or not sticky. Use japonica rice, which turns sticky and shiny when cooked. Overseas, brands of rice produced in North America and Europe, such as Nishiki and Tamanishiki, are widely loved as rice suitable for Japanese cuisine.
What Are the Most Common Fillings for Onigiri?
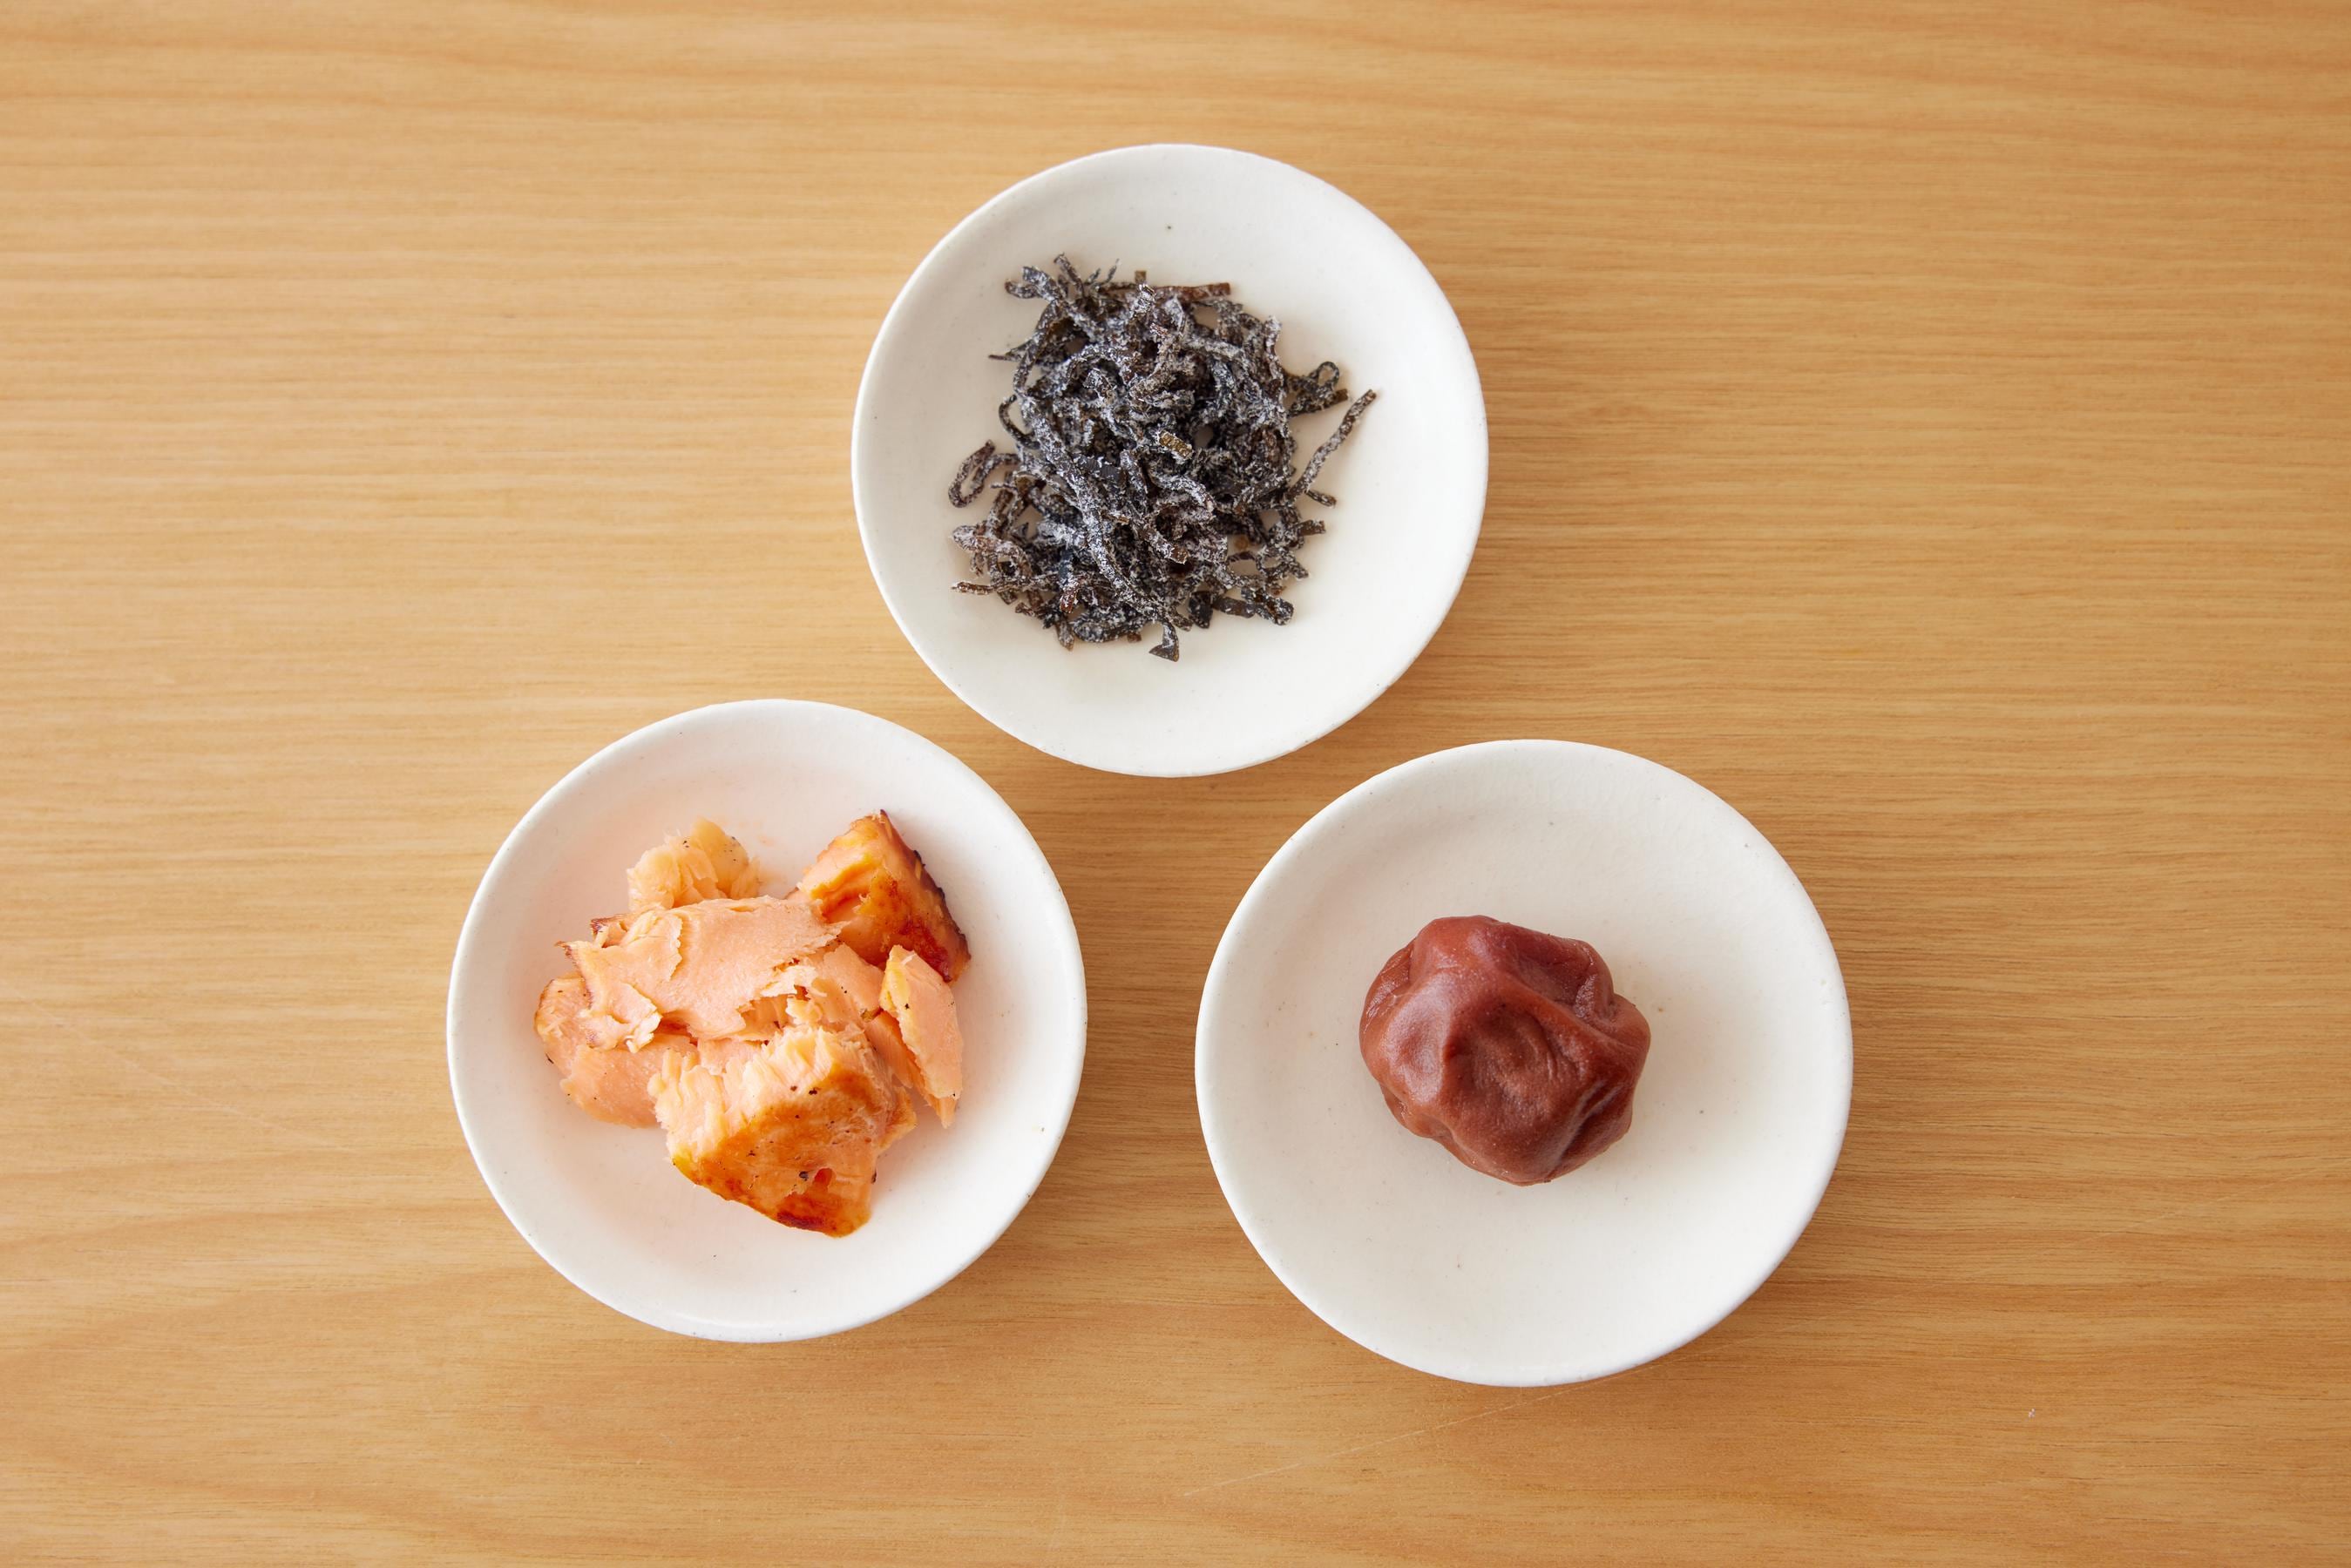
Popular fillings that have been commonly eaten for centuries and are still popular today are kelp pickled in salt or made into “tsukudani”; salted salmon that has been baked and squashed; and pickled Japanese apricots (“umeboshi”). You can use any ingredient as a filling as long as it’s not too watery and its flavor goes well with rice.
What kinds of shapes is Onigiri made into?
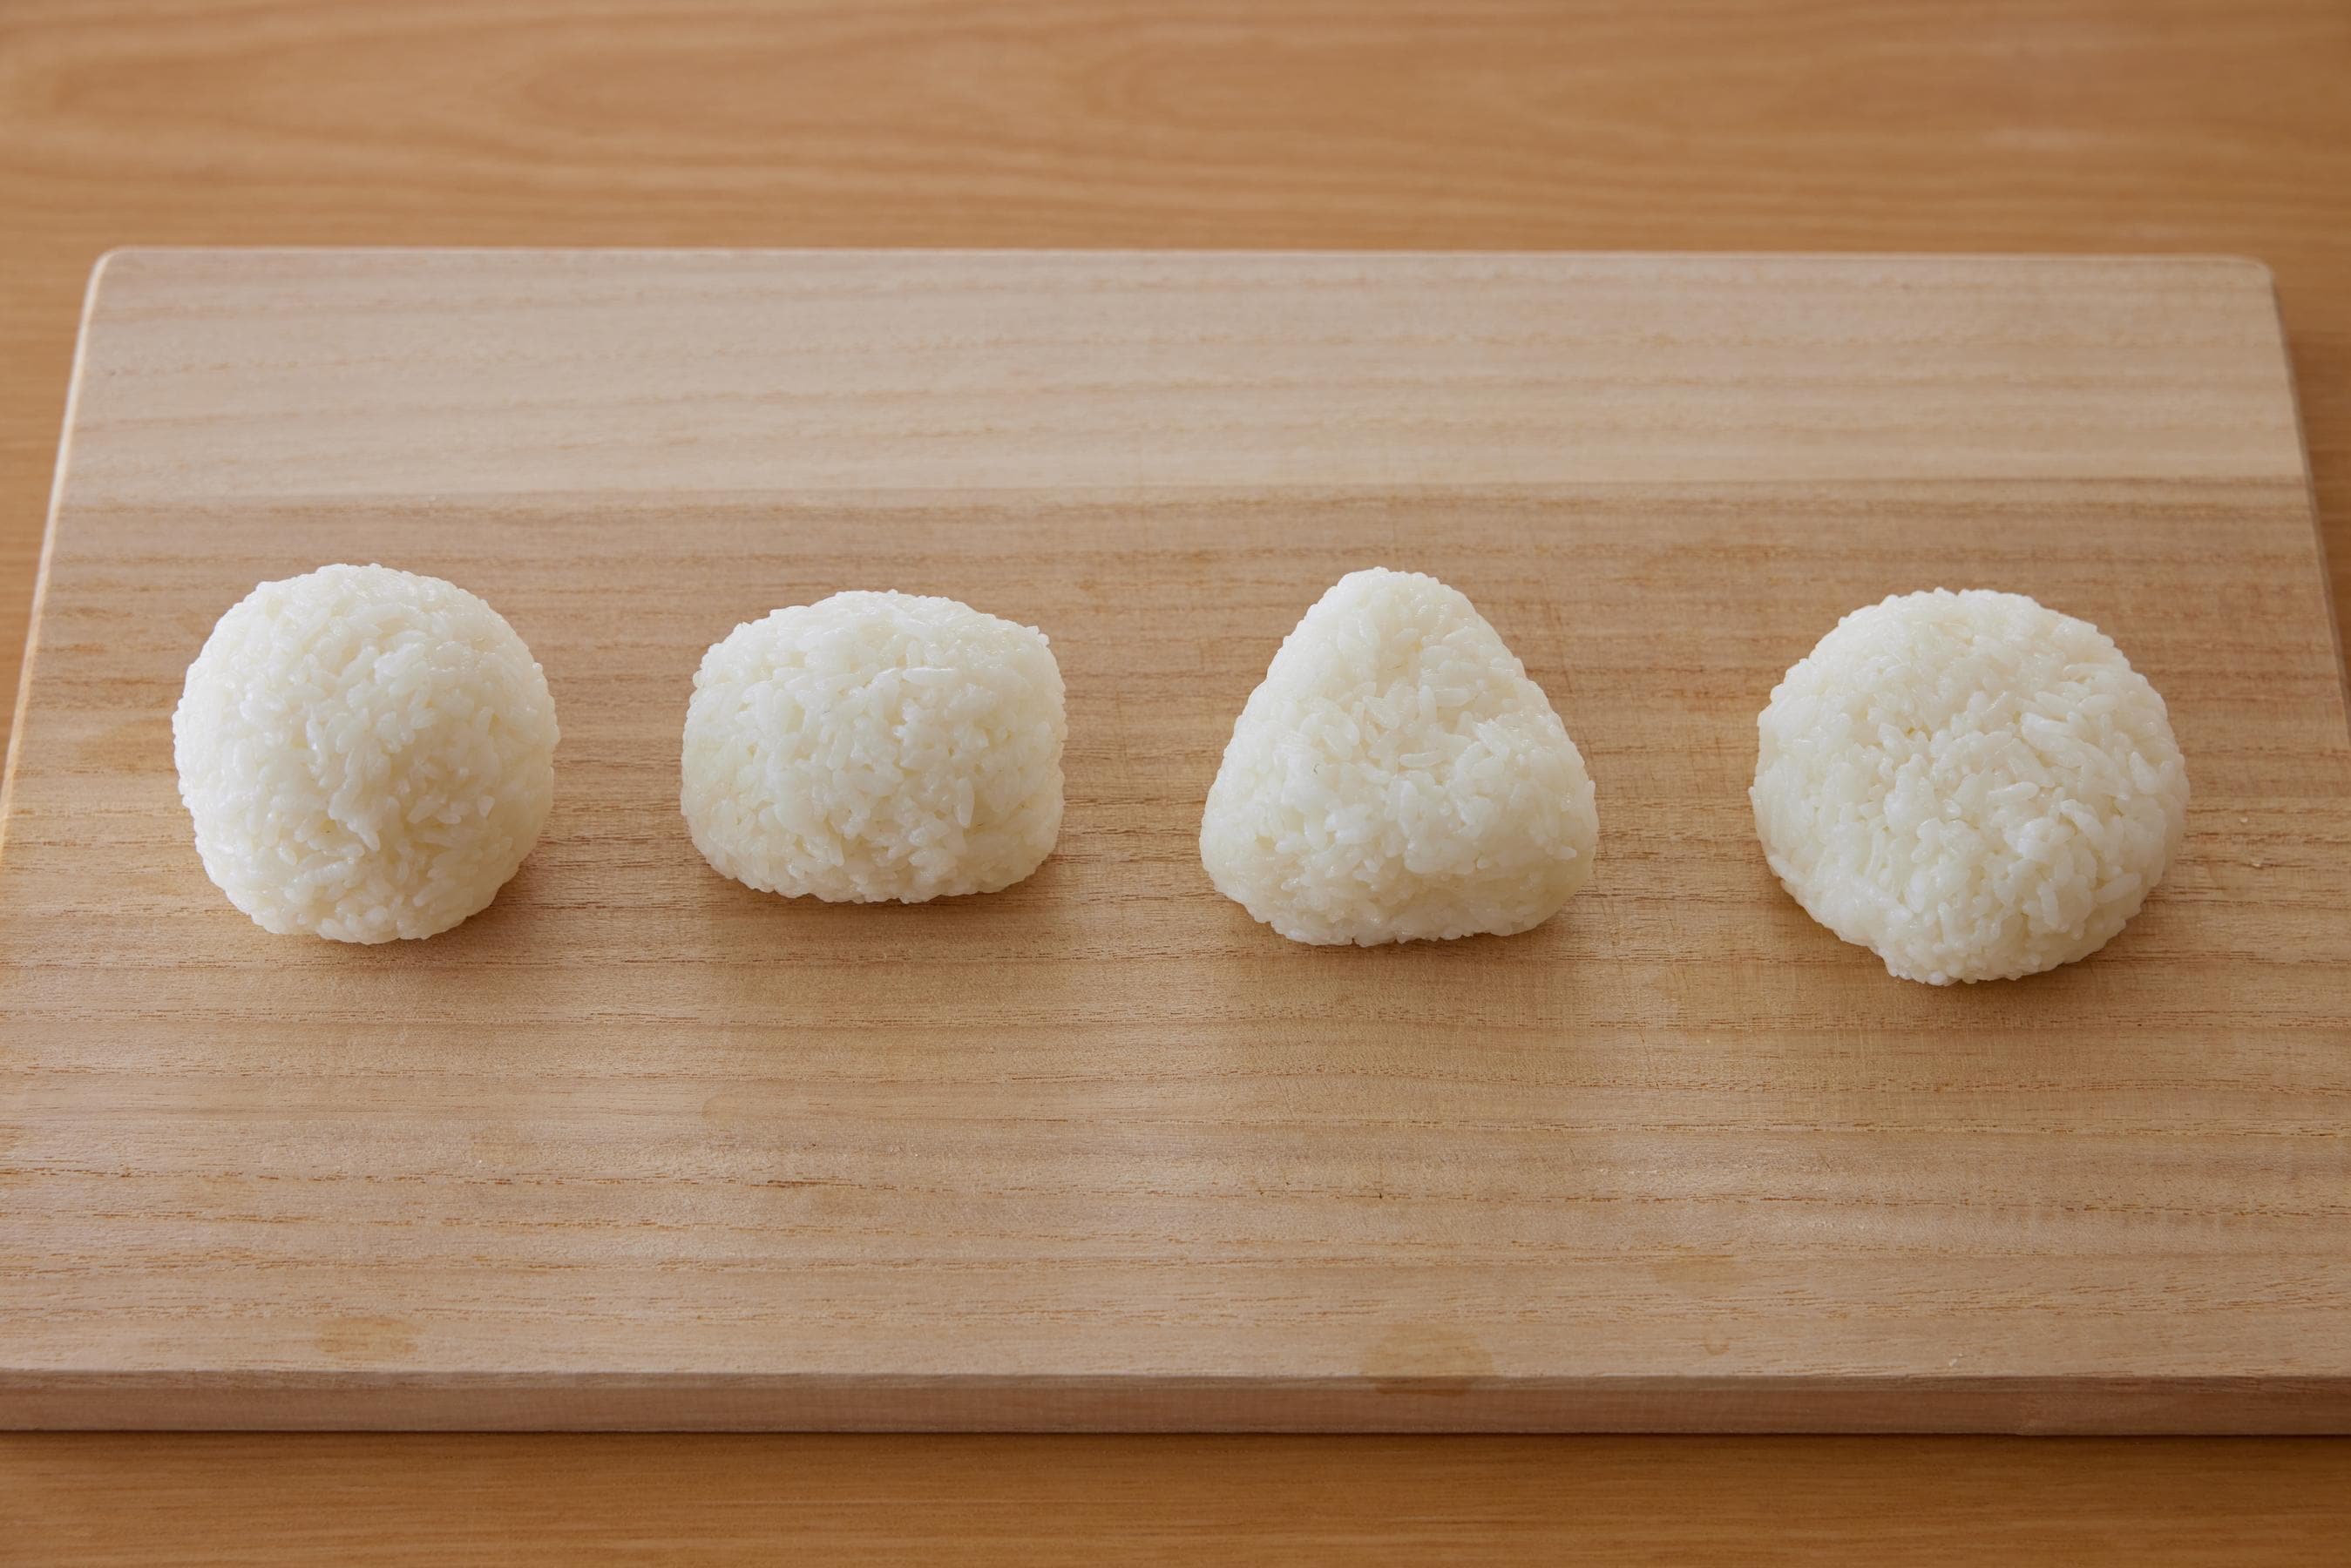
Although triangular rice balls are the standard, round ball shapes or flatter disc-like shapes, as well as rectangular shapes also exist. Use whatever shape you like for your Onigiri!
Is there a way to make Onigiri without touching it directly?
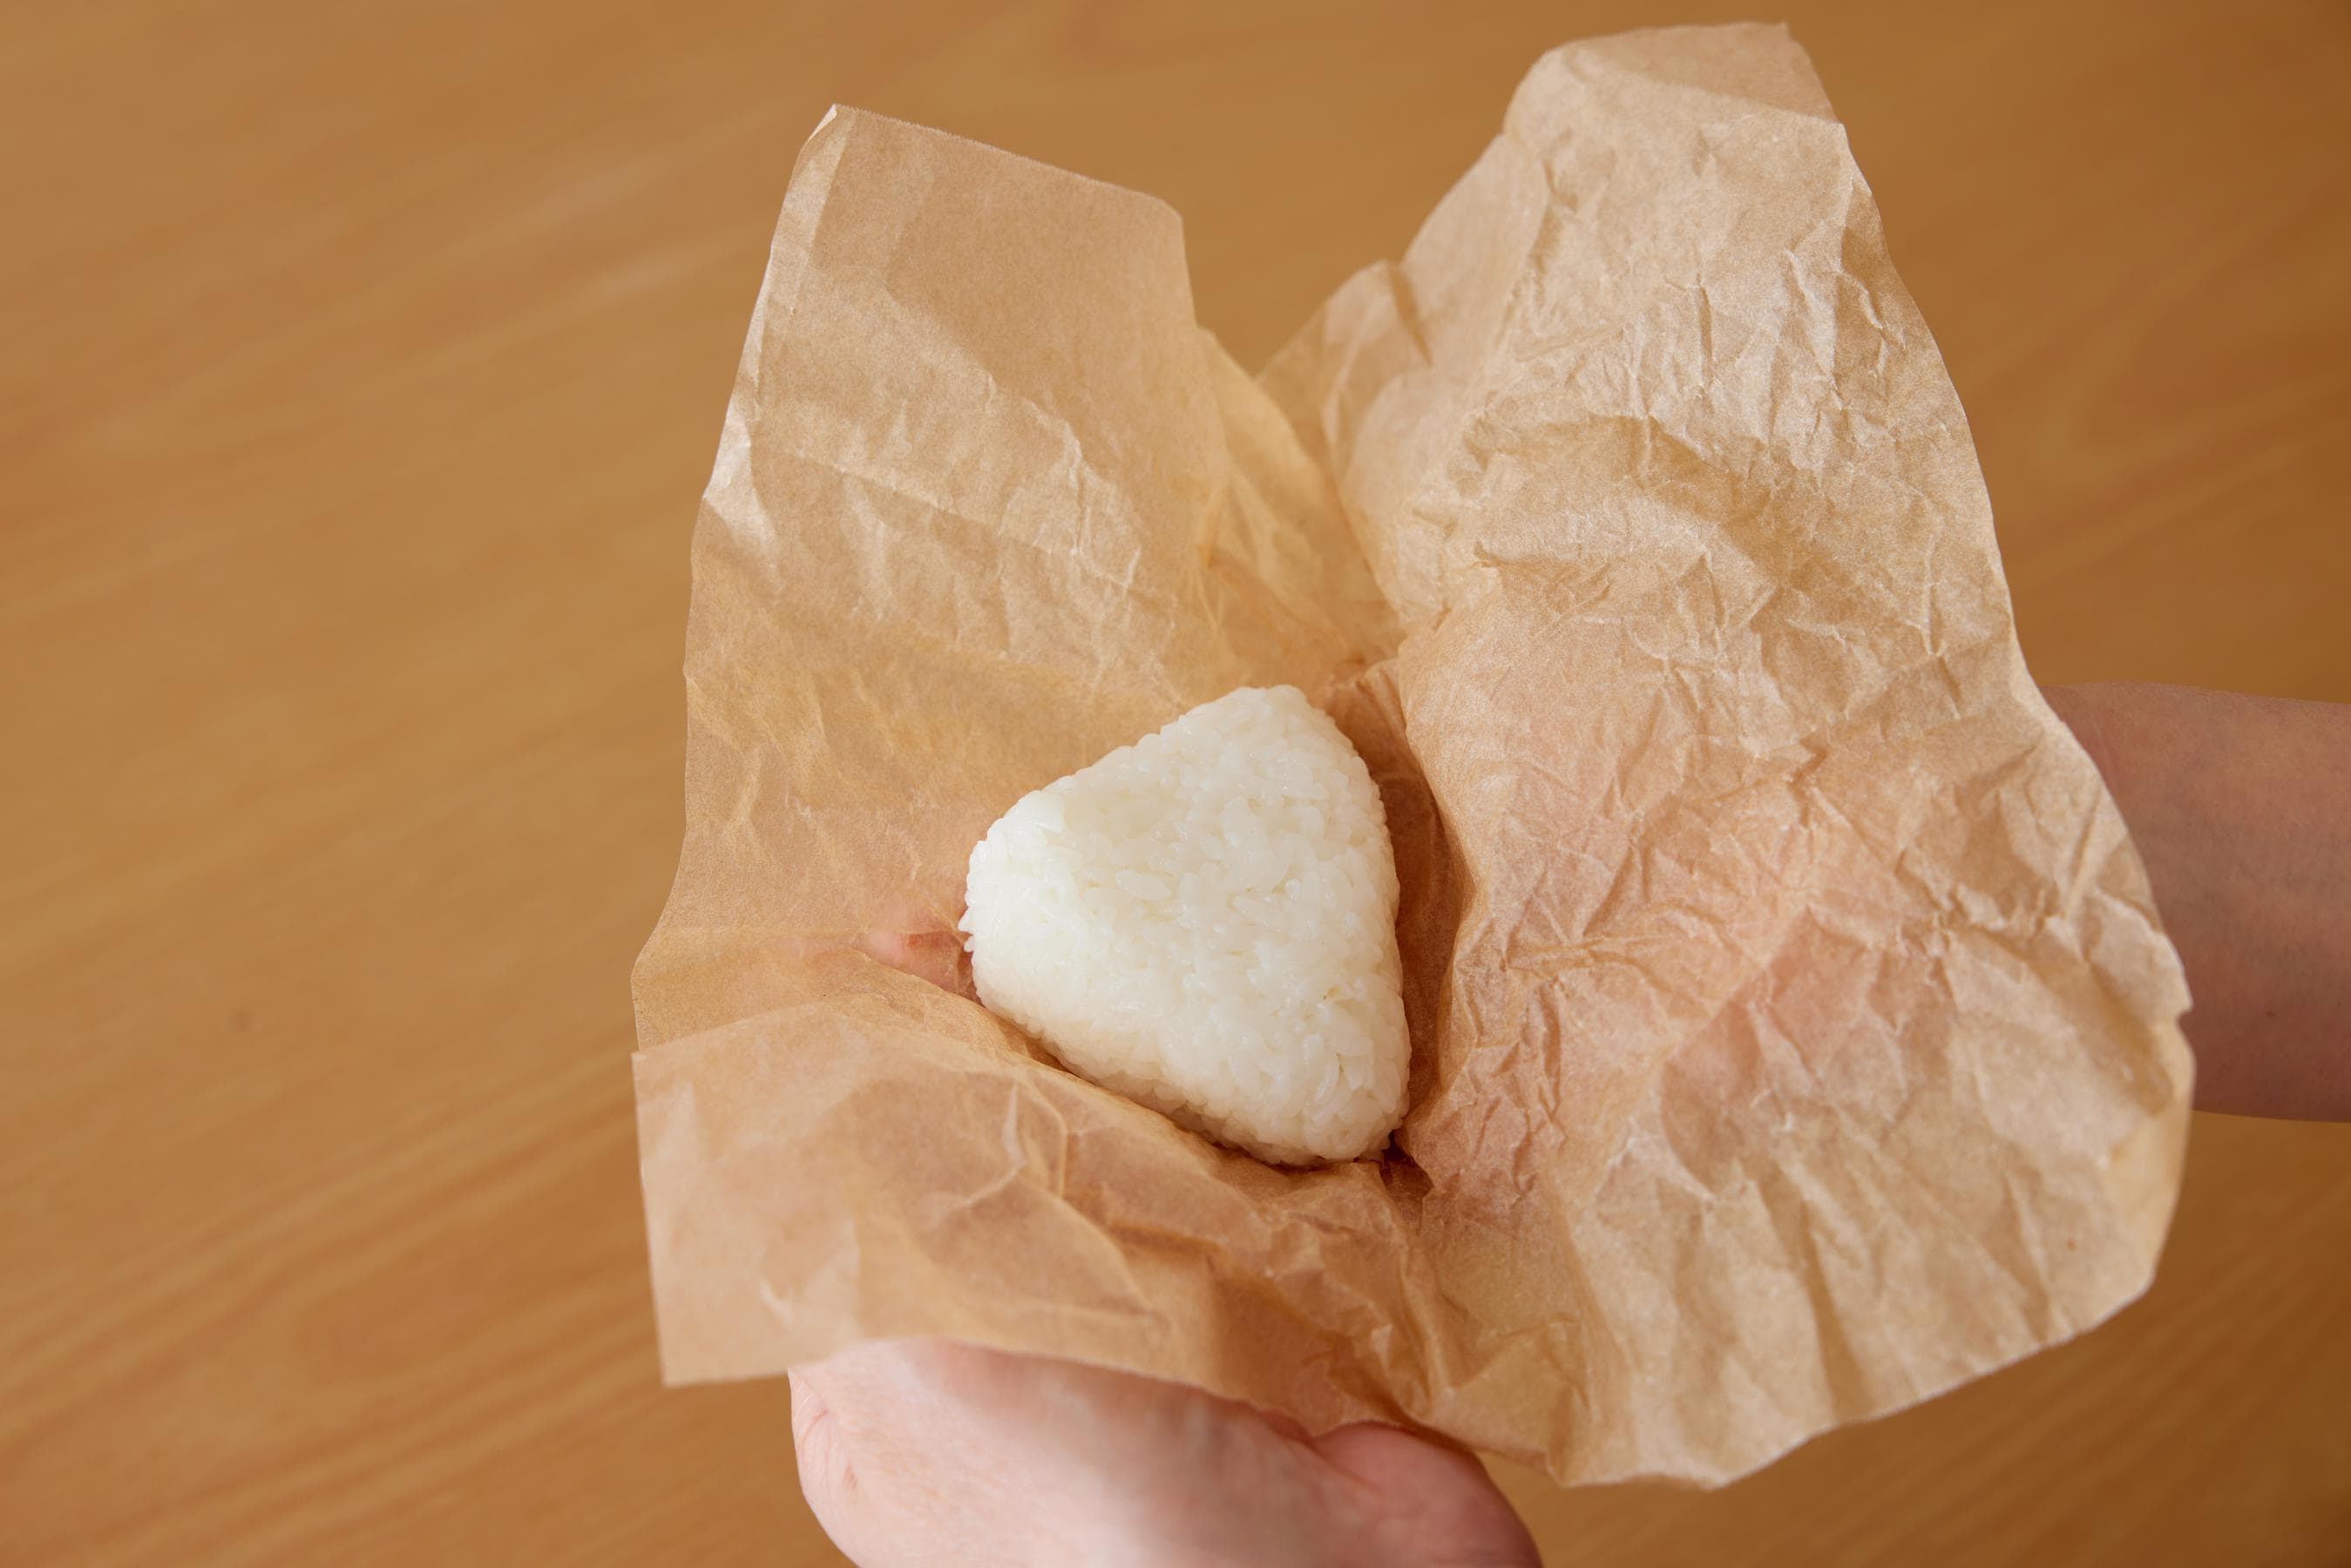
Yes. You can hold the rice in a sheet of parchment paper and wrap it this way to make the same shape.
What should I do if I can’t squeeze the Onigiri rice balls well?
If you are not used to squeezing Onigiri rice balls using your hands, you can use a kitchen tool called an “Onigiri-gata” (Onigiri mould) that allows you to make nice, uniform shapes! These moulds come in a variety of different shapes and materials.
Press the rice into the mould, then remove it to achieve a beautiful shape. When making filled Onigiri, put only half of the rice into the mould first, the press the filling into the center, and then put more rice on top and then form the rice ball’s shape in the mould.
Tools for Making Delicious Onigiri
Ohitsu (round, wooden container for cooked rice)
In Japan, there is a tool called an “Ohitsu” that is used to contain cooked rice. The wooden material is breathable and absorbs just the right amount of moisture from the rice to keep it tasty. Make your Onigiri using the rice transferred to the Ohitsu for an even more delicious result.
For more information about Ohitsu, please see our Glossary page.
Onigiri as Food On-the-Go
Onigiri rice balls have come to be valued as portable food because they are easy to carry. In the past, Onigiri would be kept in bamboo baskets like the one shown in the photo. Lightweight, sturdy, and breathable, bamboo also has antibacterial properties, making it a perfect choice for a bento box!
Kikkoman Products Used in This Recipe
About the Recipe Author

Yuko Ihara
Having lived in England and the U.S., Yuko Ihara is well-versed in a wide range of culinary genres. As a culinary researcher, she creates dishes for magazines and books, develops corporate menus, and also engages in product development and food consulting. She introduces easy-to-follow tips on how to make delicious food at home, emphasizing the importance of seasonality and healthful eating. When travelling, she loves to search for delicious vegetables and ingredients.
Instagram: @iharayukoo
About Washoku Lesson
Washoku Lesson is special content offering detailed and easy-to-understand explanations, including tips for making classic Japanese dishes as well as the many ways of enjoying these, and introductions to special Japanese cooking utensils and annual events.
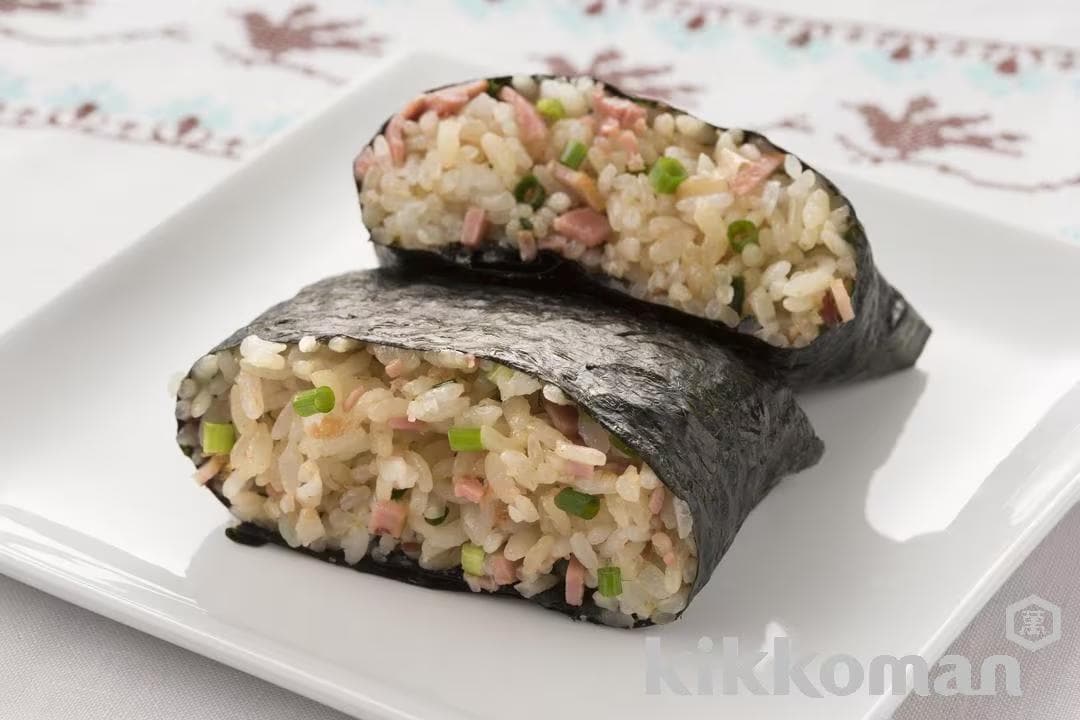
Related Recipes
 10min
10min 361kcal
 315mg
315mg
- 10min+
- 342kcal
- 900mg
- 20min
- 323kcal
- 700mg
- 10min+
- 371kcal
- 400mg